-
Upcycling Projects
My Facebook photos came up with a memory this week, of me fixing the stainglass lampshade I brought off ebay, two years ago. Since then it’s sat in a box, getting slowly dustier and dustier. However, having ummed and ahhed for years on how to safely hang it up, this week finally saw it hung in pride of place.
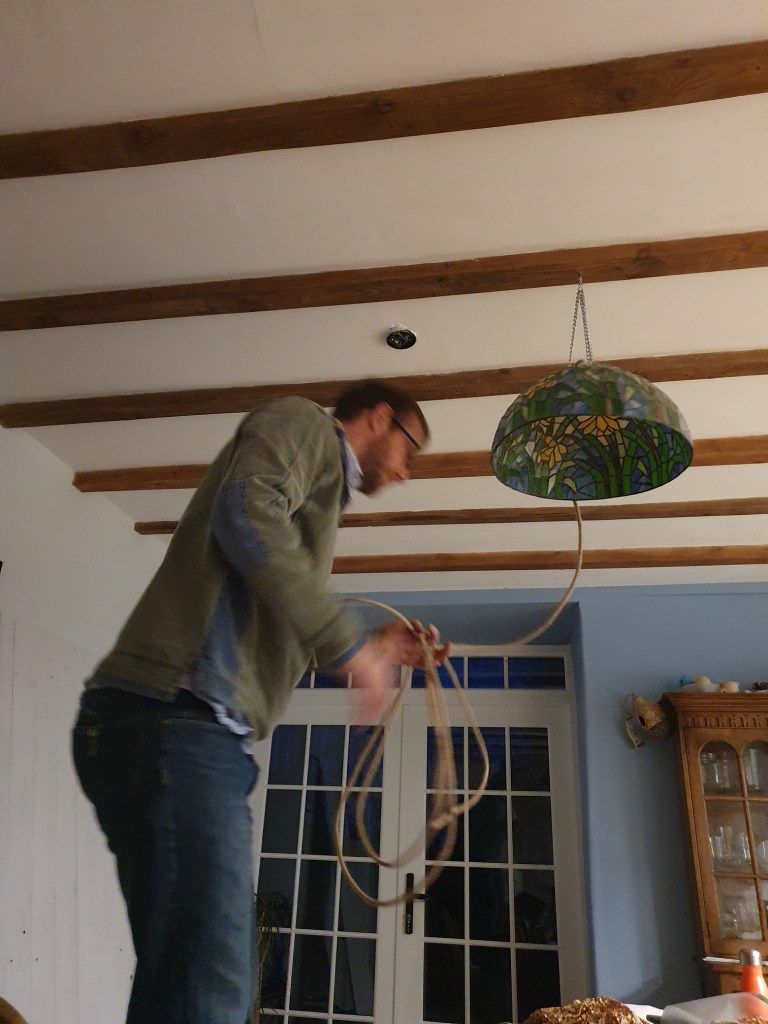
One of the issues had been that it had been designed for a lamp, but someone cut off the metal attachment allowing it to be used with a lampstand. So Chris instead drilled out a section from the metal middle, threading through the light bulb and wire, and then hooked three chains through the metalwork to attach to the beam. I had my doubts that the finished look would work but now it’s up it looks great.

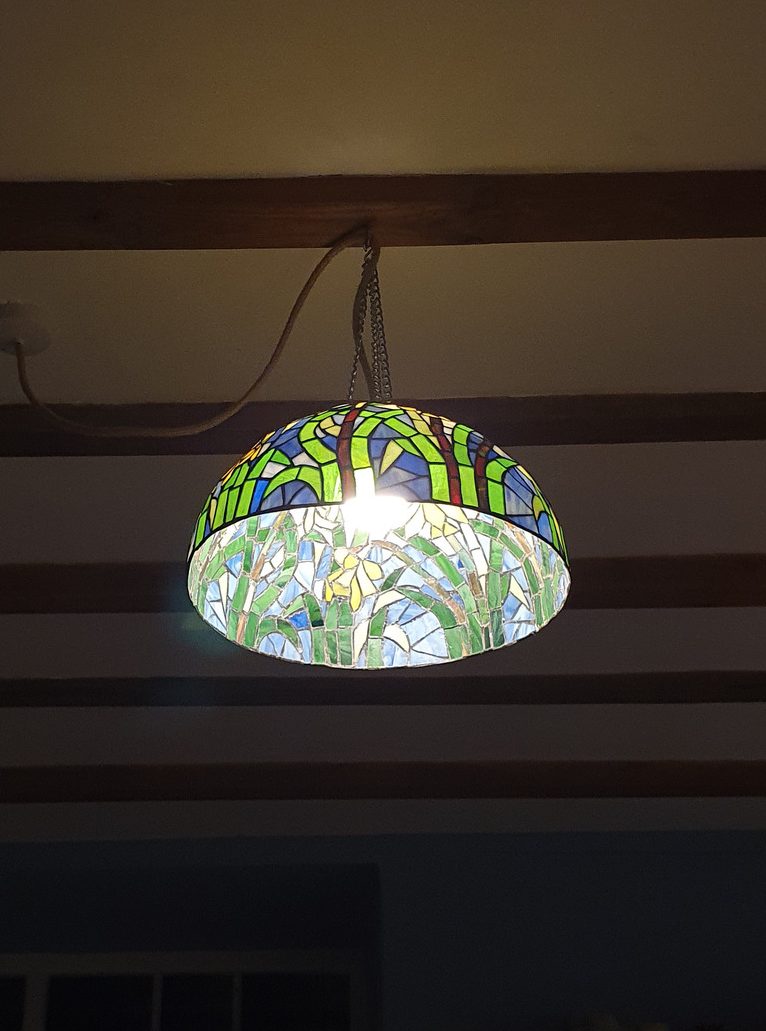
Because it was designed to be a lampshade we were also concerned you wouldn’t get enough of the pattern using it as a ceiling lightshade, despite it hanging up high you still get to enjoy the daffodils. Certainly worth the £20 and the bit of effort repairing and adjusting it.
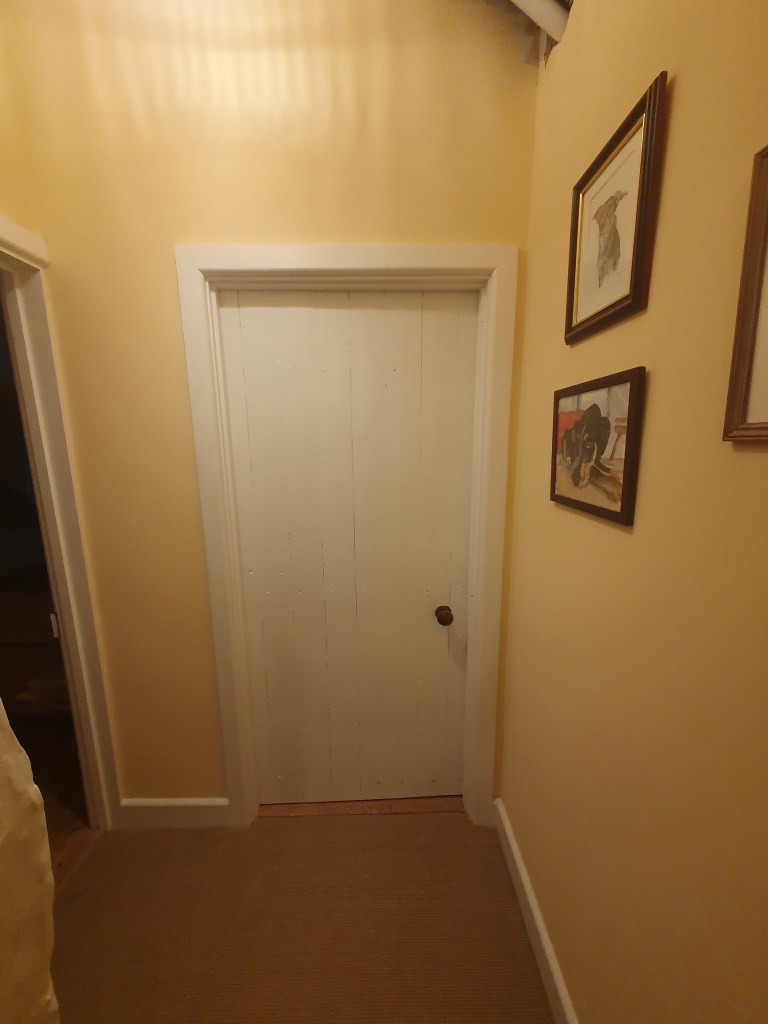
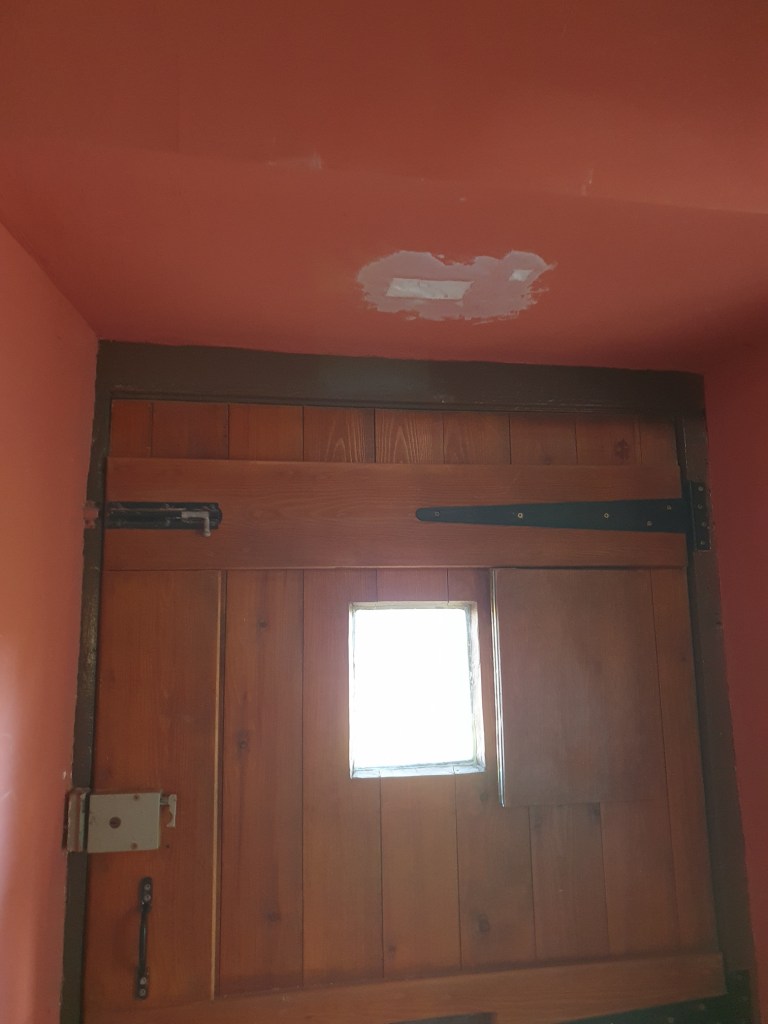
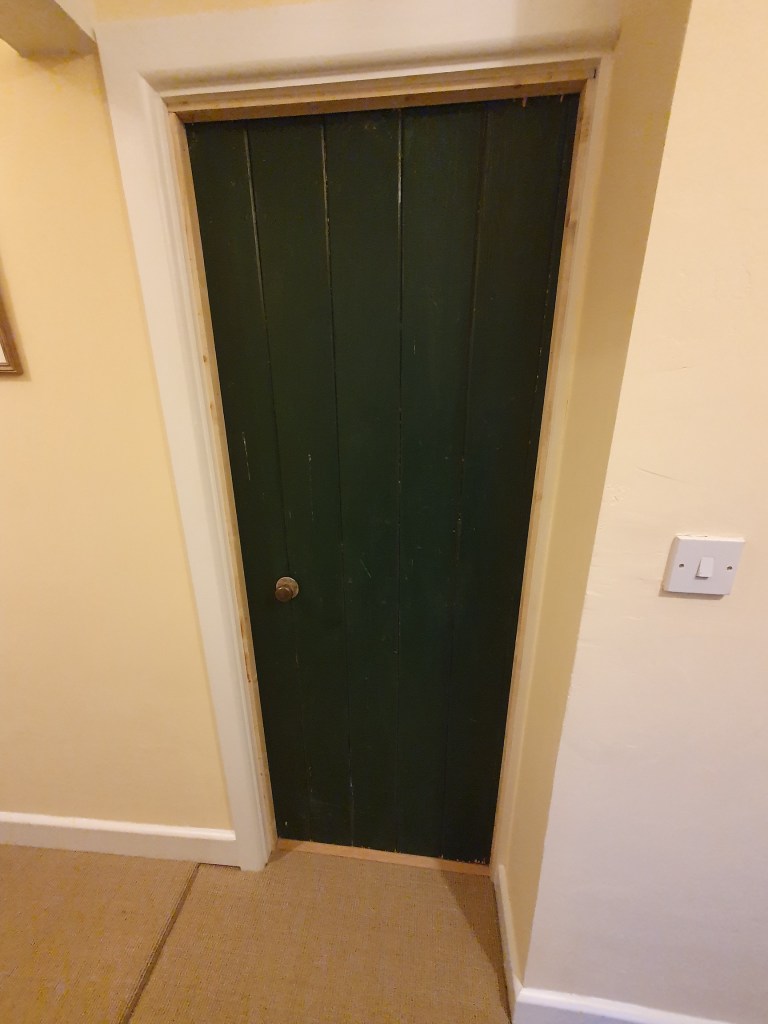
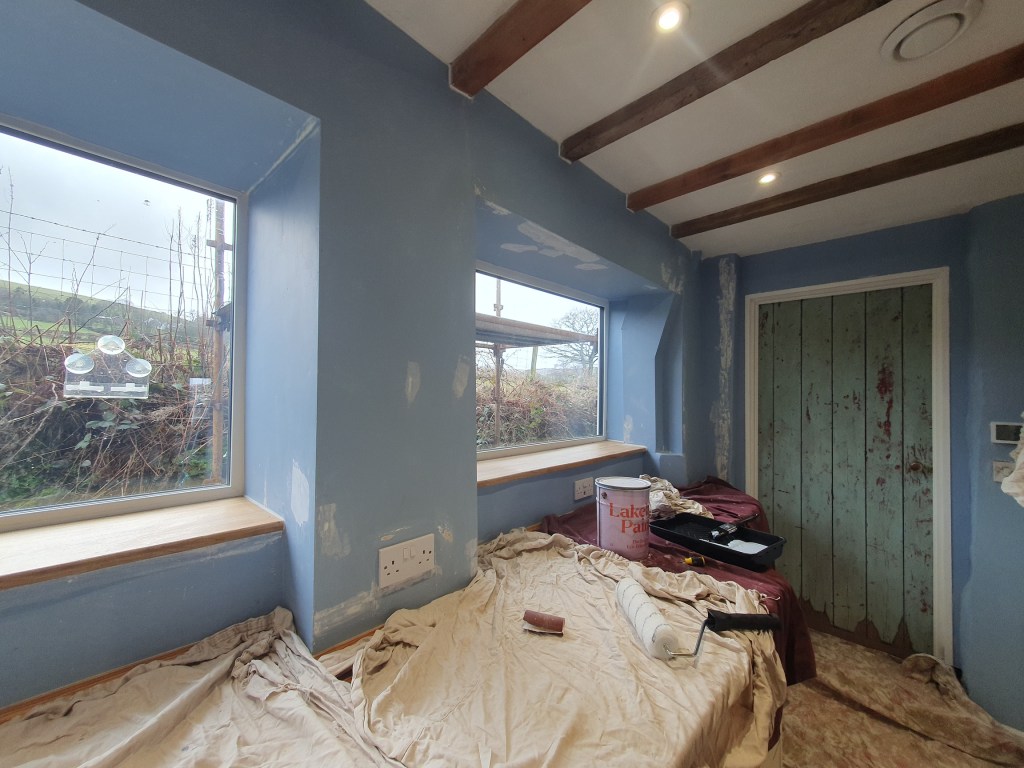
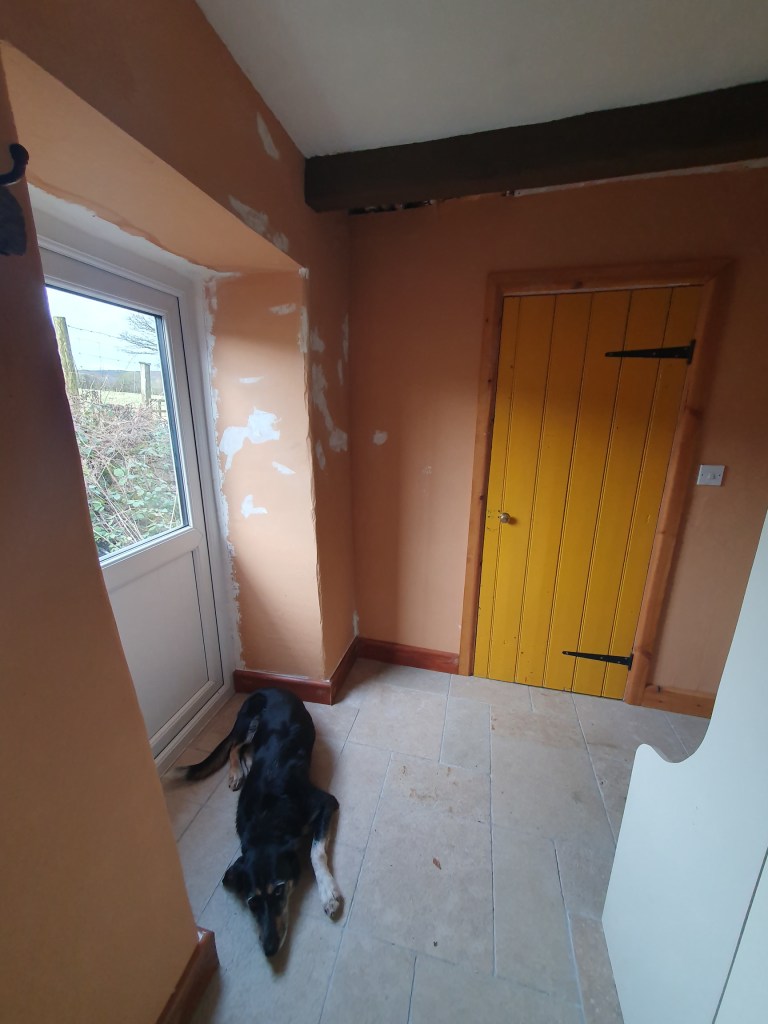
A smaller job, but still needed, I managed to get the nursery door painted and Chris attached it into place.
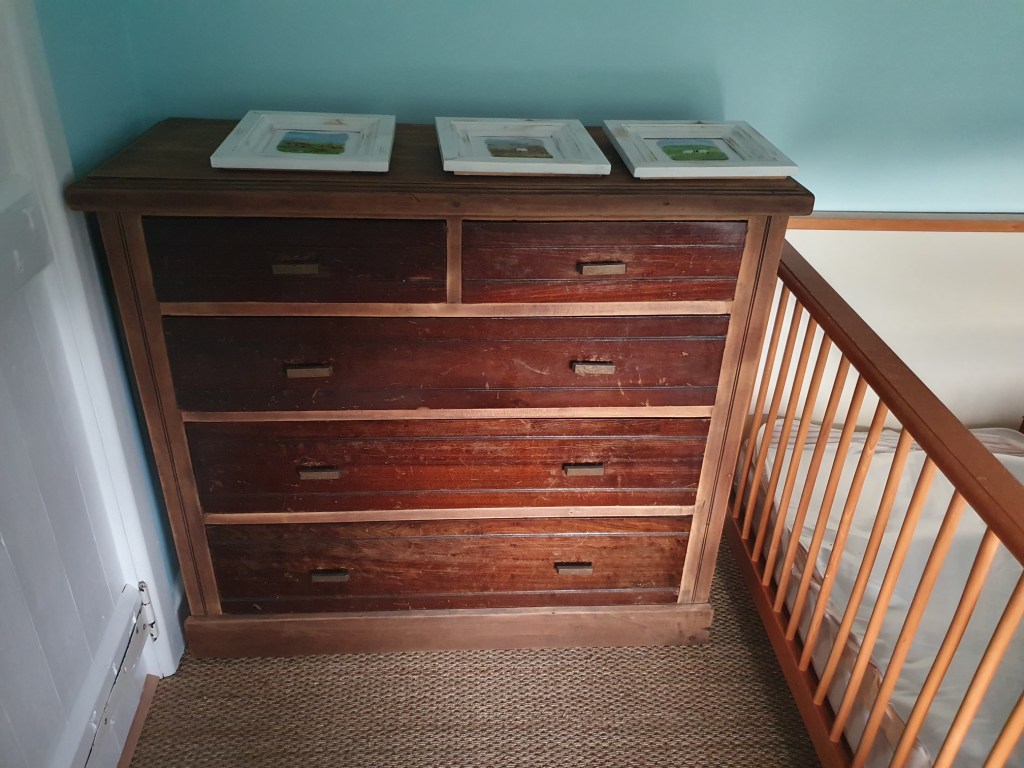
Another addition to the nursery was an old chest of drawers. We picked it up when we bought the house, and always knew it needed work. The drawers pushed too far in and were stiff, and it needed sanding down. However, it did the job and so we never got round to it. Now, we needed storage for the nursery, but the space was very narrow. Chris therefore cut off the back and reduced the width. The drawers now hit the back, stopping them from pushing too far in, and it fit the space. He then sanded down the body, though the drawers still need doing. Once fully sanded and treated it will look great – another job that only took 3 years to get to.
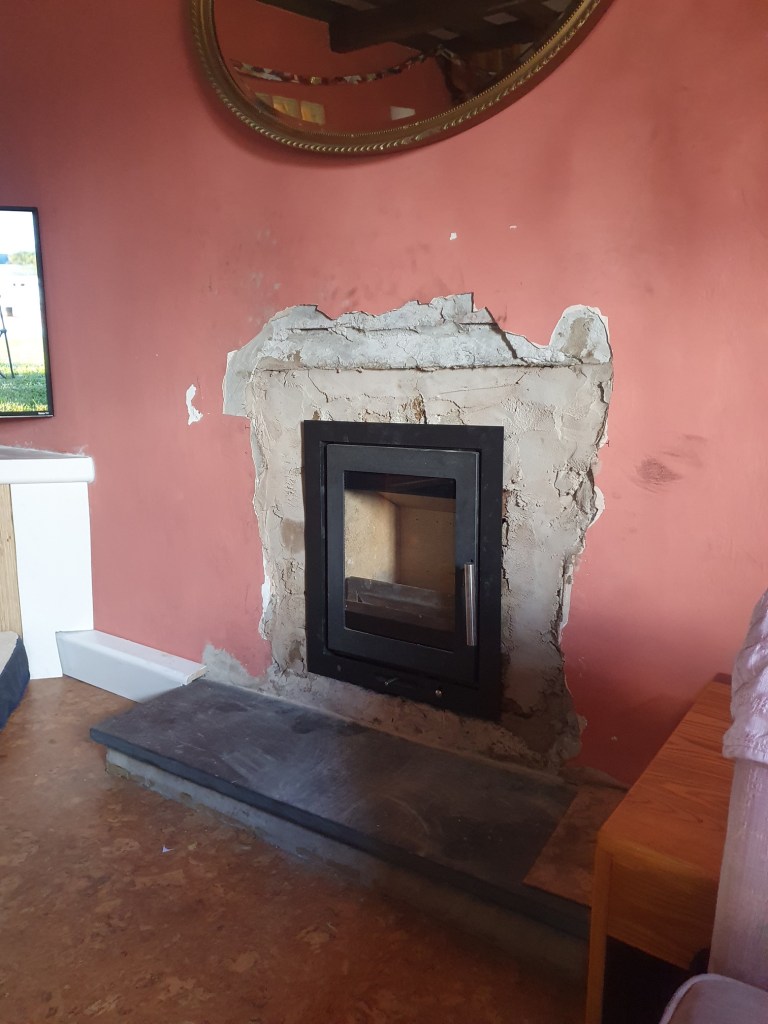
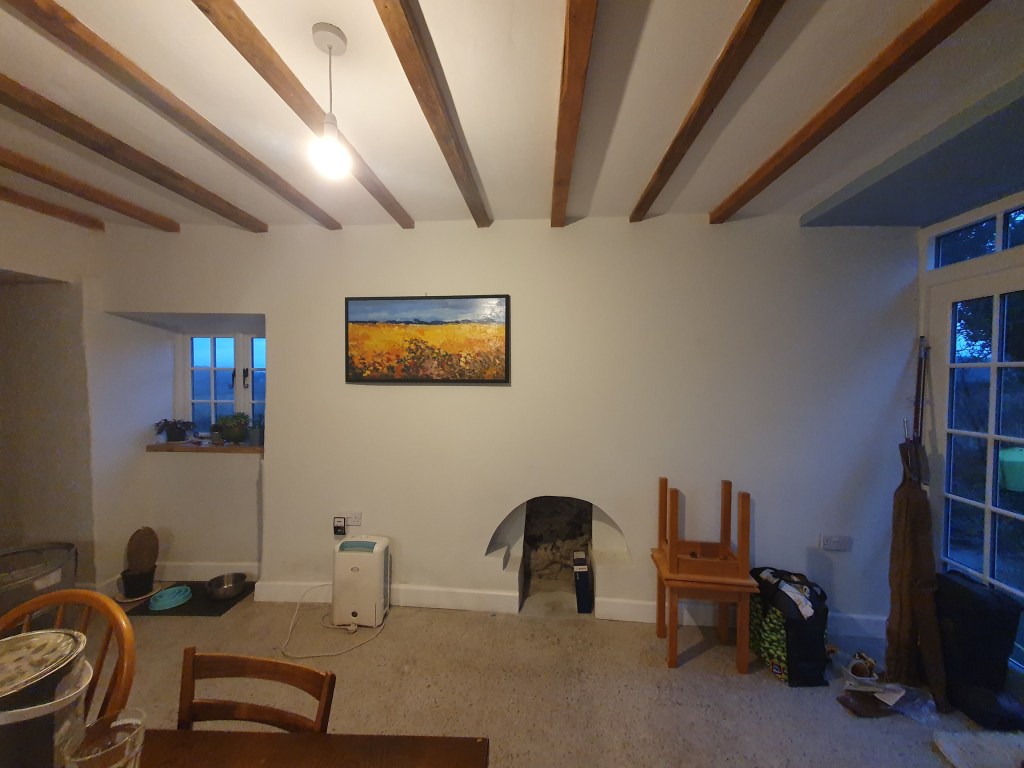
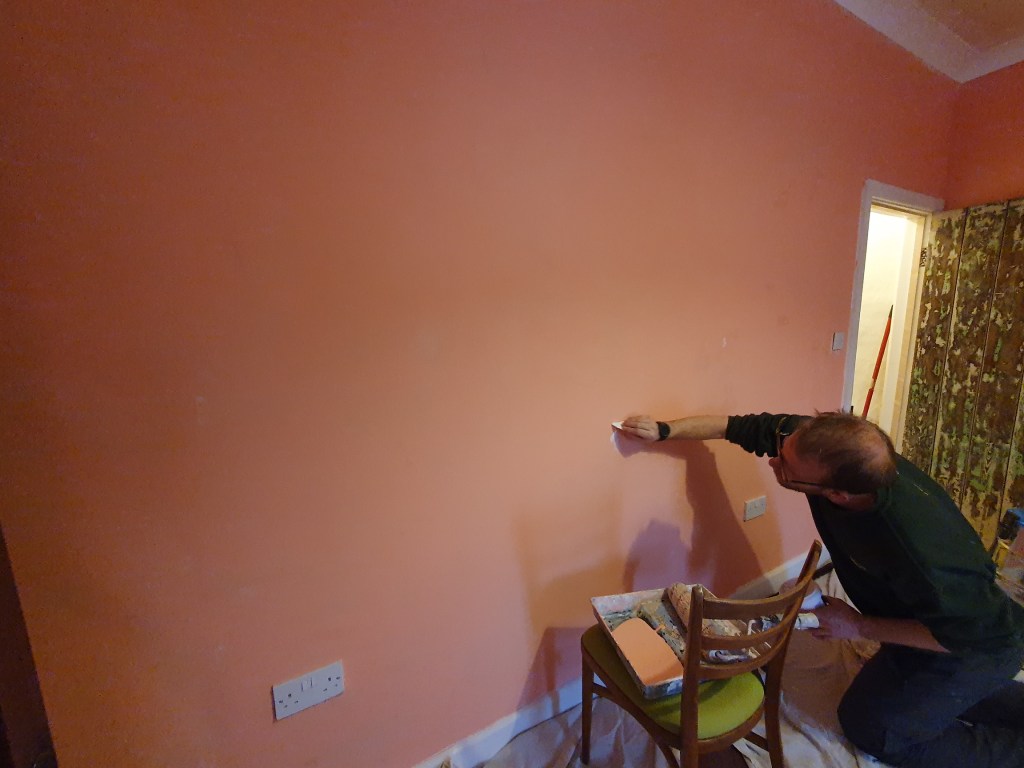
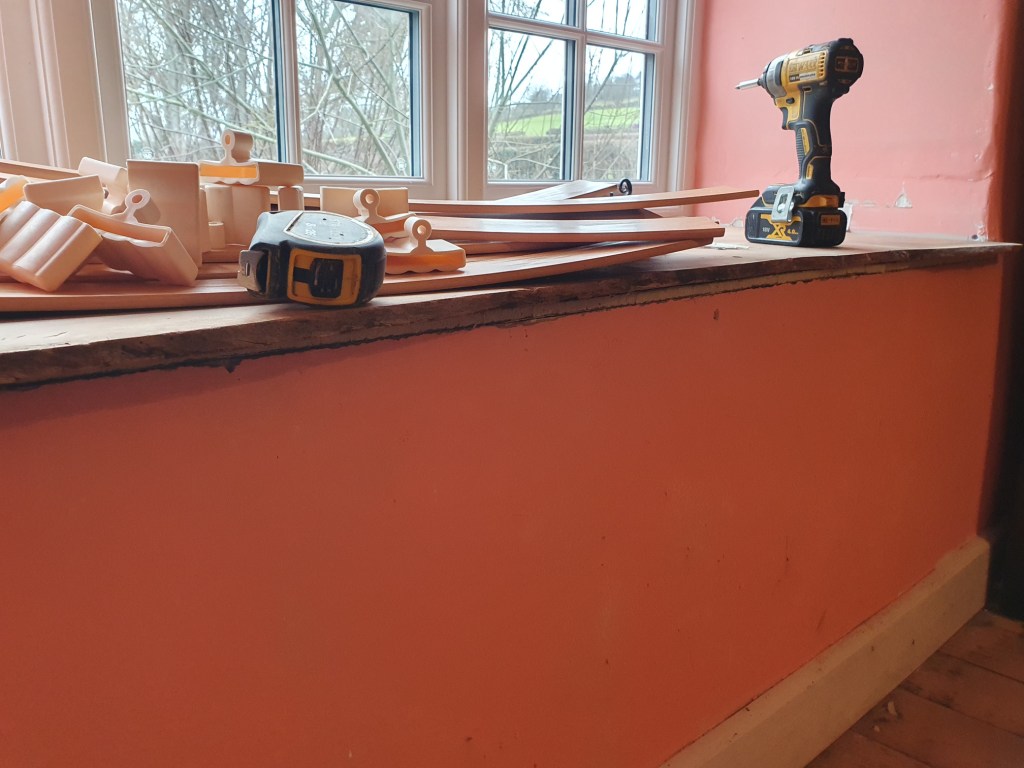
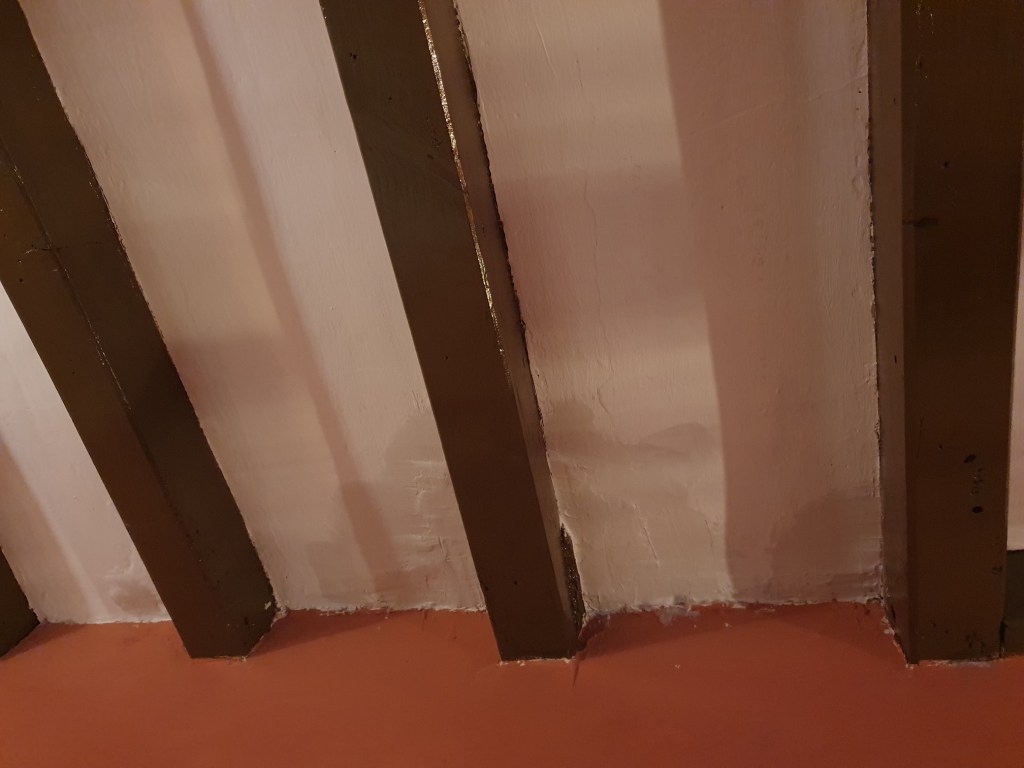
In the lounge I added a coat of plaster to the fireplace. It’ll need a final coat of lime plaster and then we can paint.
Before a final coat of paint to the lounge, Chris decided to try and hunt down the electrical fault that meant our outside light hadn’t been working for several years. He’d put it off as it meant breaking into the plasterboard and making a mess, but when it came to it he found the wiring issue after one little hole, and we finally have a front door light again.
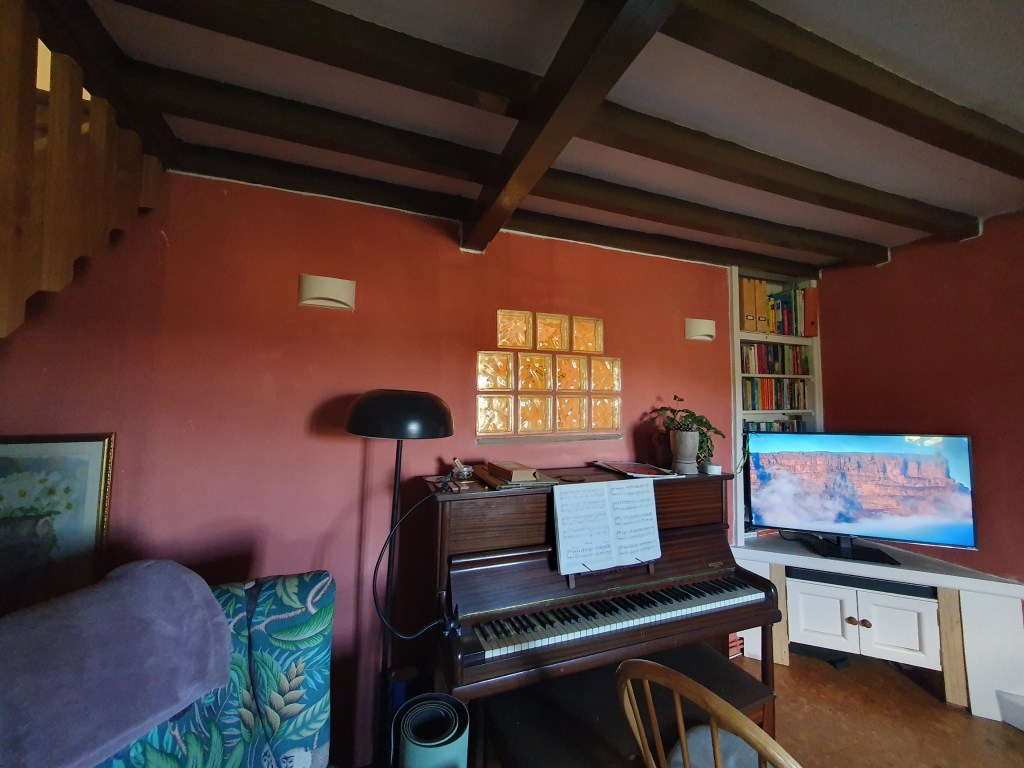
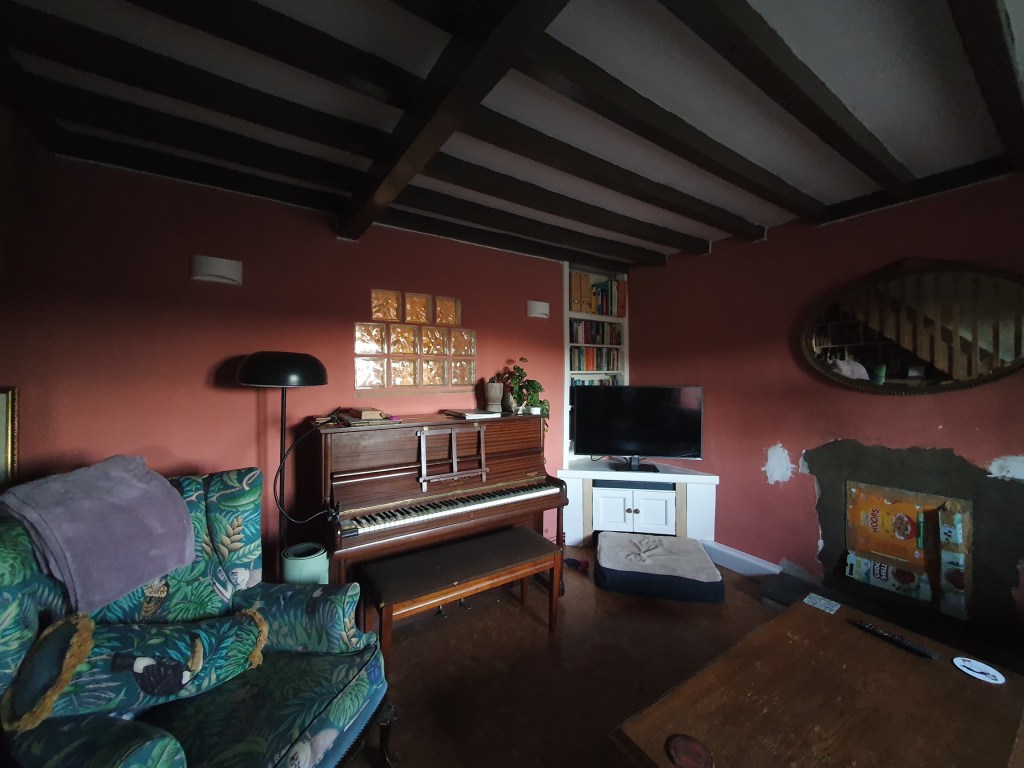
Although we couldn’t paint the fireplace, or the newly filled patch above the door, I got to work painting the rest of the lounge. Although the red had coated really well, we’d done lots of repairs and patching over the years, so a second coat just tidied the room up. Once the fireplace is done, the final patch can have a quick coat and the room will look as good as new.
We had planned a second day of DIY this weekend, but with the due date less than five days away, we decided to take a day of rest. There’s still plenty on the to do list, but they are little jobs now, easier to fit in here and there. The main thing is the babies room is ready, now just have to wait for the baby.
-
Baby ready?
We’re a little late on getting the nursery set up. This is partly because the baby will sleep in our room for the first few months anyway, but also because we struggled to find a local carpet-fitter who will fit grass carpets. While in theory we could fit the carpet ourselves, we’re both a little too worried about cutting it too short. There are lots of mistakes you can cover up, but a carpet 1 cm shorter than needed isn’t one of them.
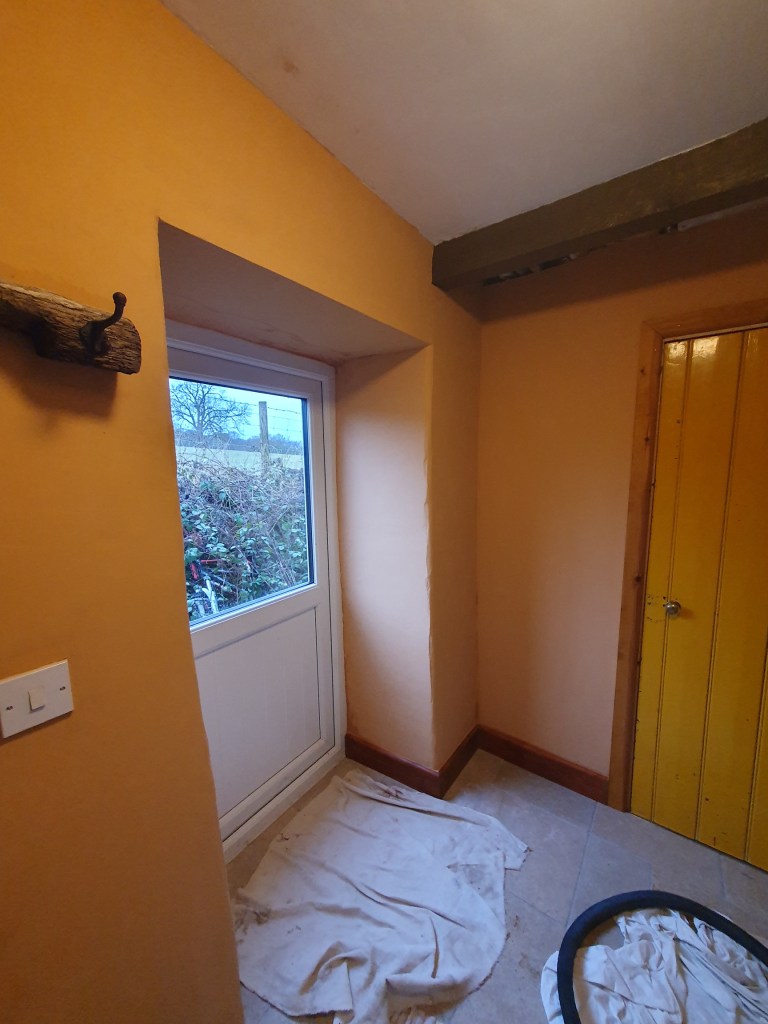
Finally having booked in the fitter, we realised the woodwork needed another coat of paint pre-carpet fitting. With my family visiting for the day I roped my sister and my mum into a couple of hours of very dull painting, recoating the skirting and arcitrave, as well as varnishing the newl post.
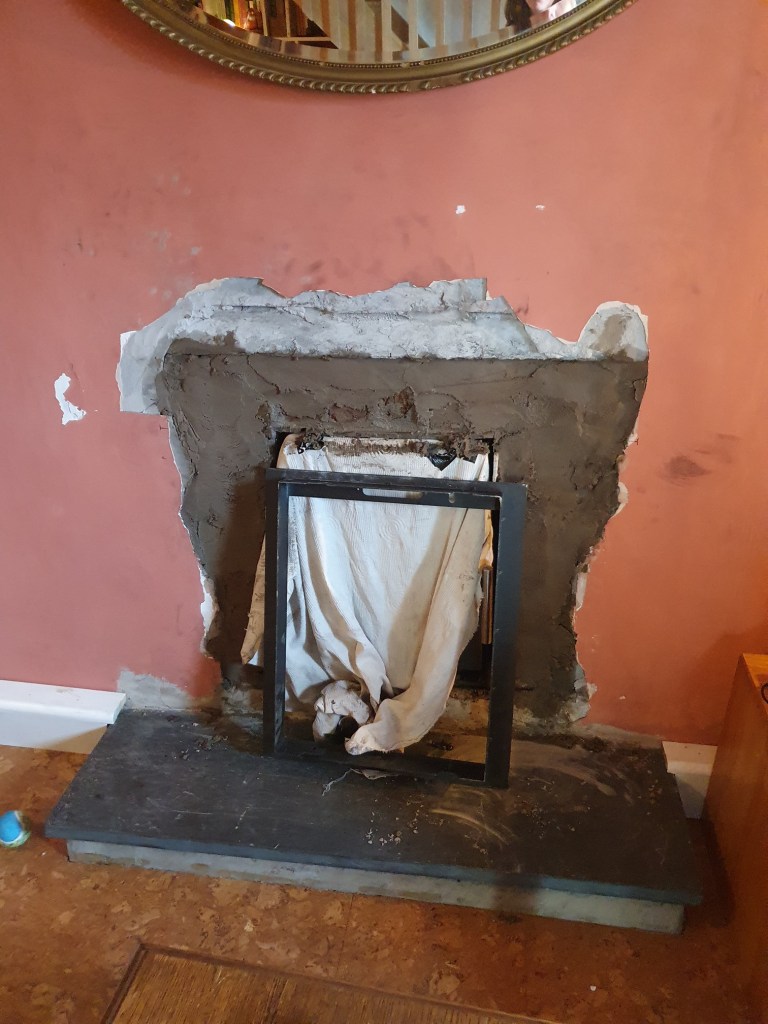
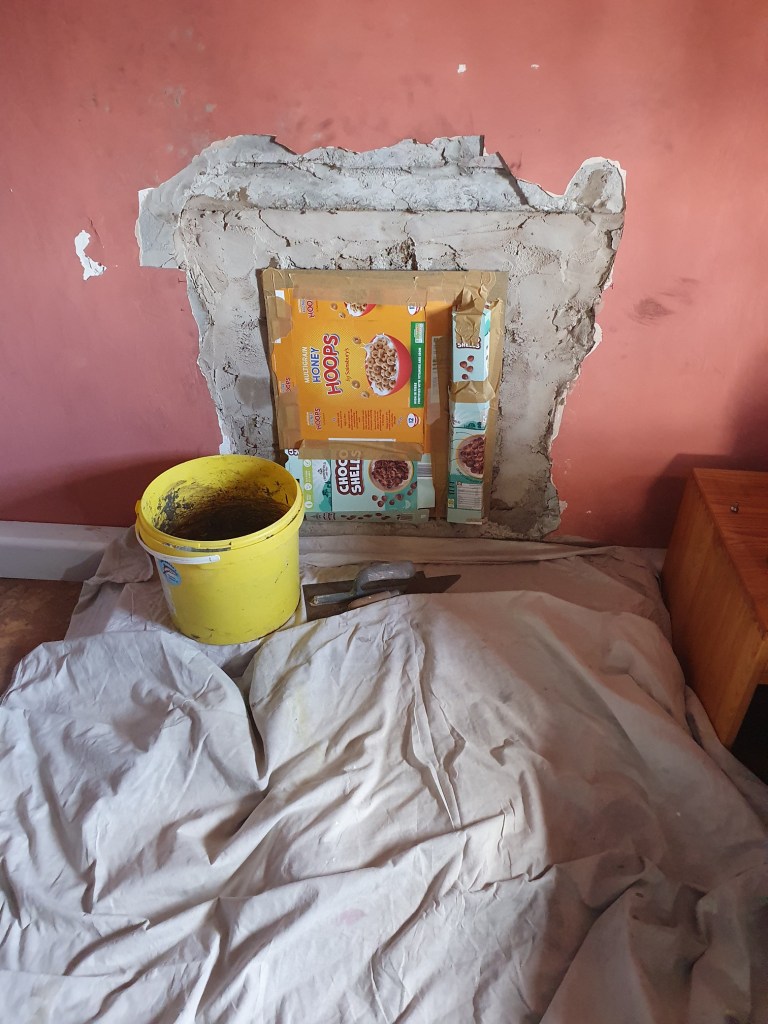
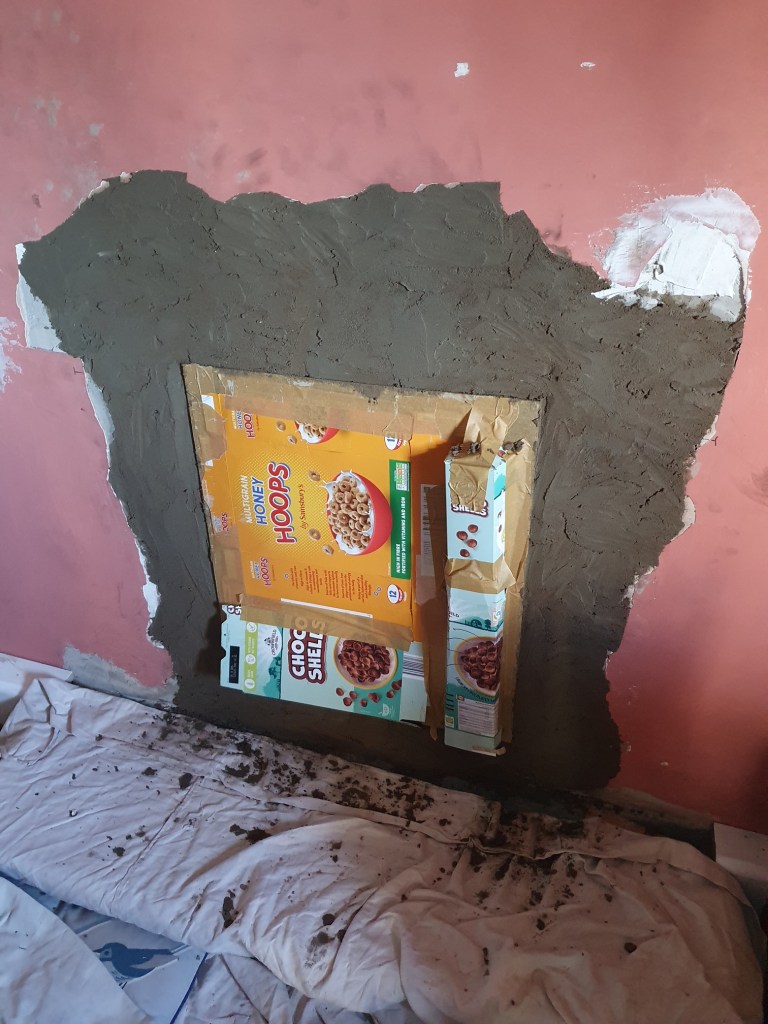
Downstairs, dad helped Chris fill in around the new fireplace with bricks, and added the first coat of plaster.
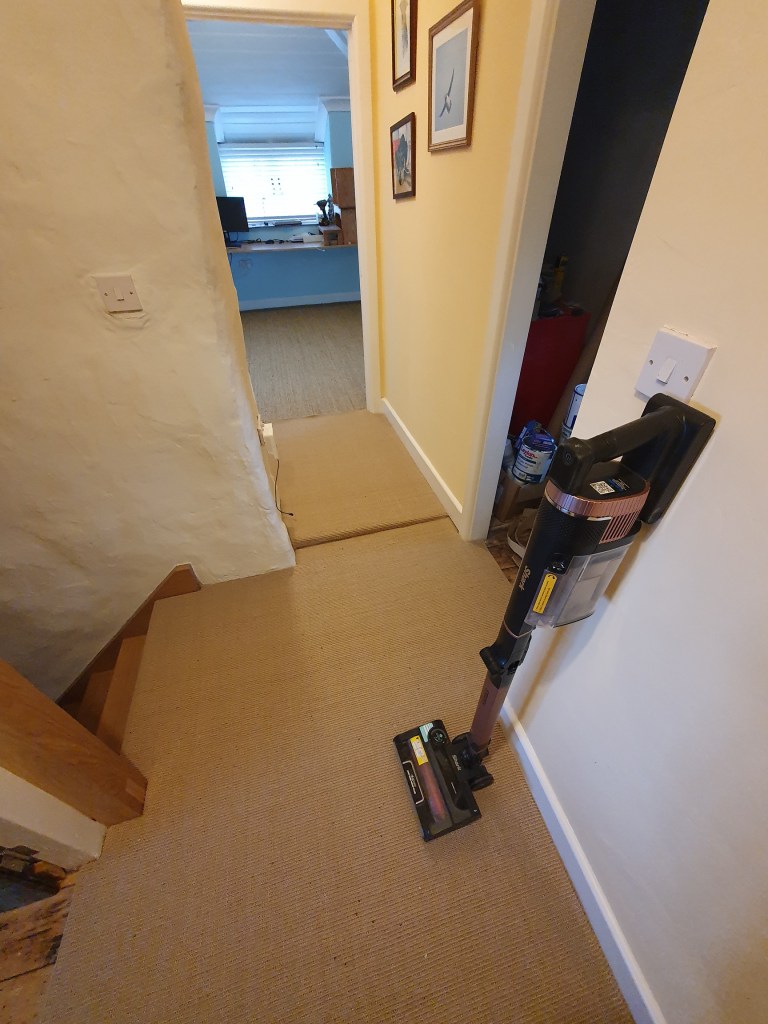
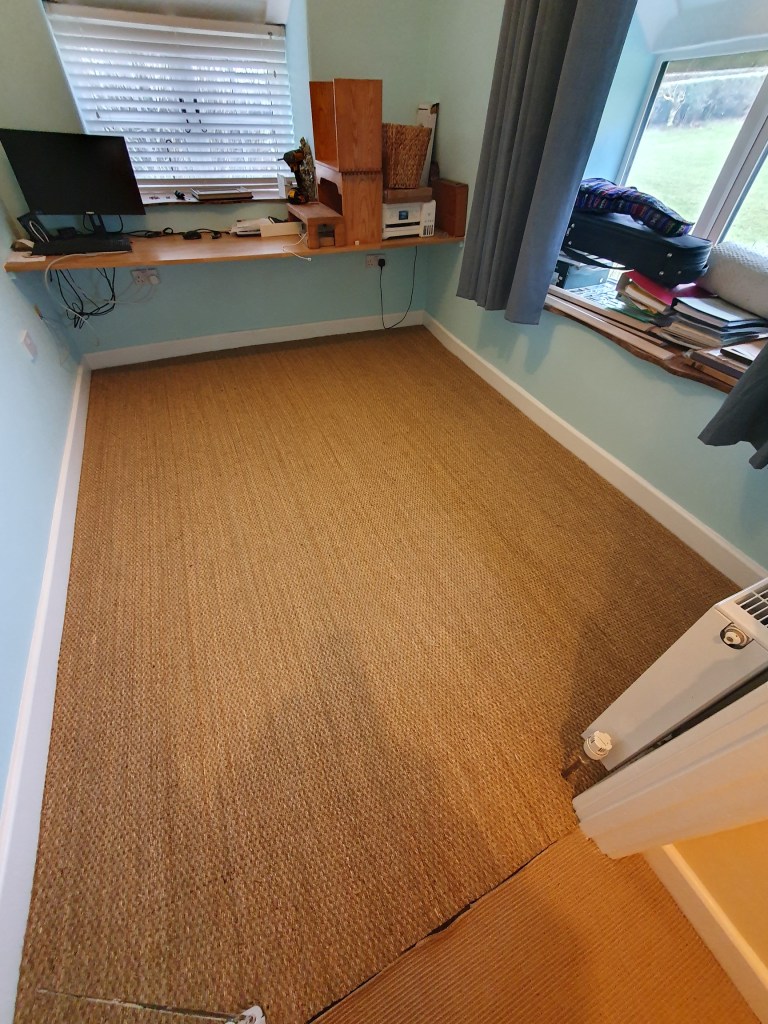
With the paint dry, and the room emptied out, the fitters came and did their job, installing a seagrass carpet in the nursery and a sisal carpet in the landing. Both were offcuts we ordered direct from suppliers, cutting down the cost.
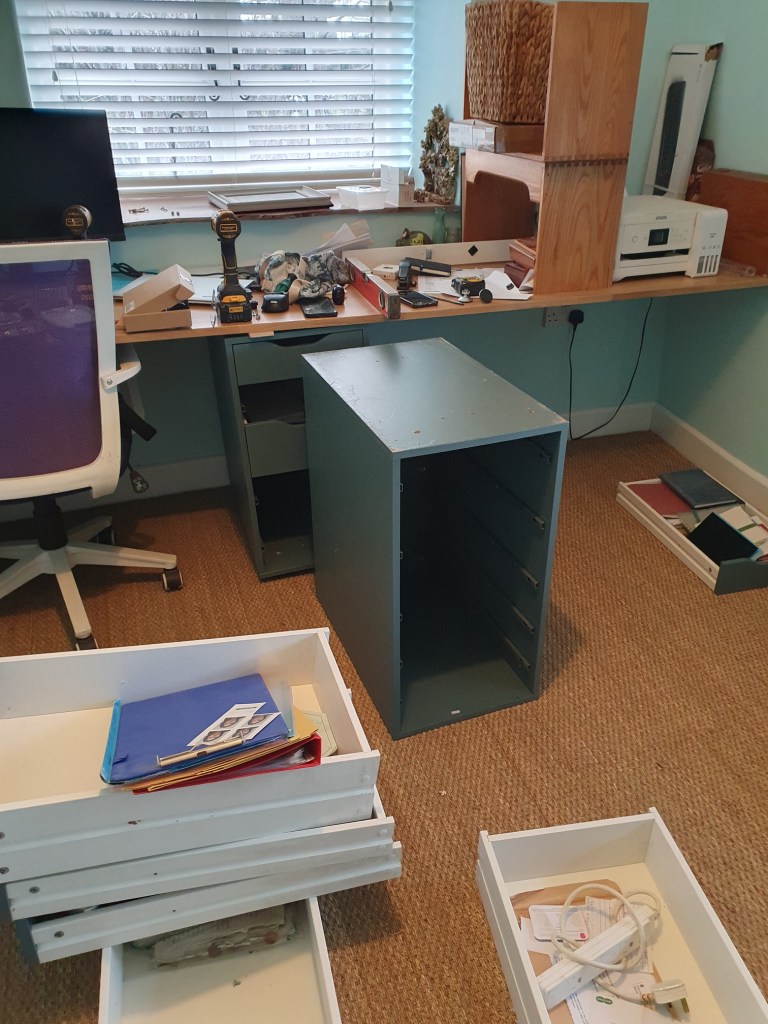

Carpet in, Chris reinstalled the desk drawers and set up the crib. Final piece of furniture will be a chest of drawers, somewhere for our piles of donated baby clothes to live.
With the carpet in, Chris set to work installing oak entrance strips for each of the five doorways leading onto the landing. This unfortunately also meant taking off the doors and trimming them down. For the shower room (currently a tool store) door, this also meant adding a door stop to the frame, something we hadn’t gotten round to. And for the spare bedroom it even means adding a whole new door frame, something that might have to wait a while.
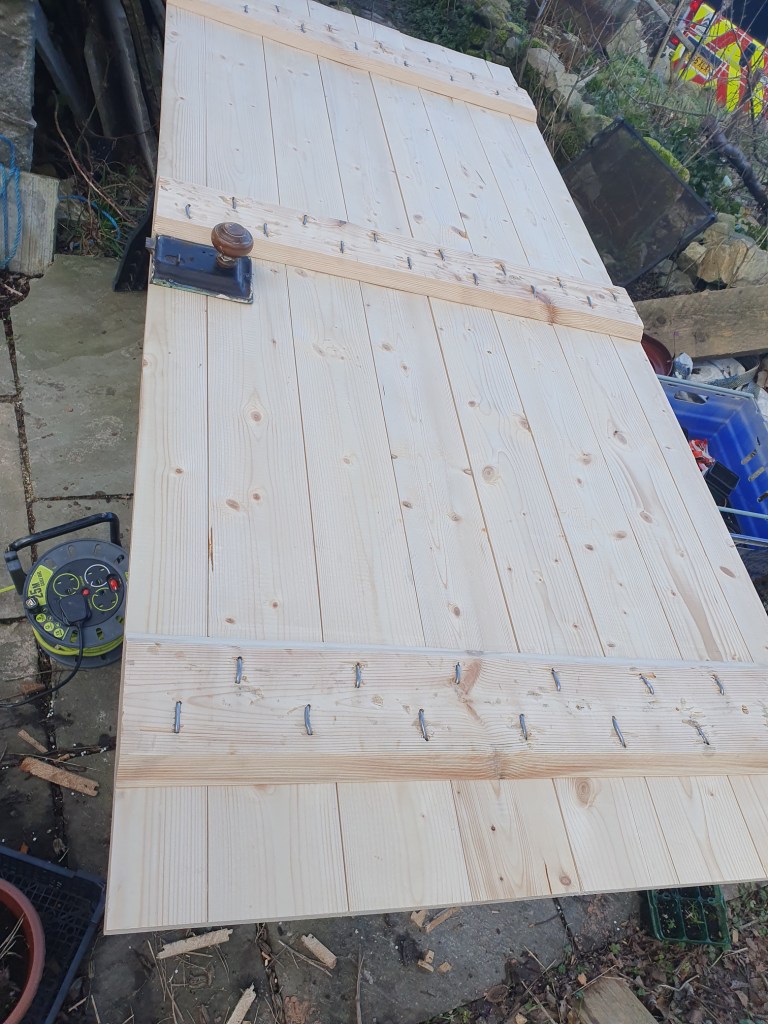
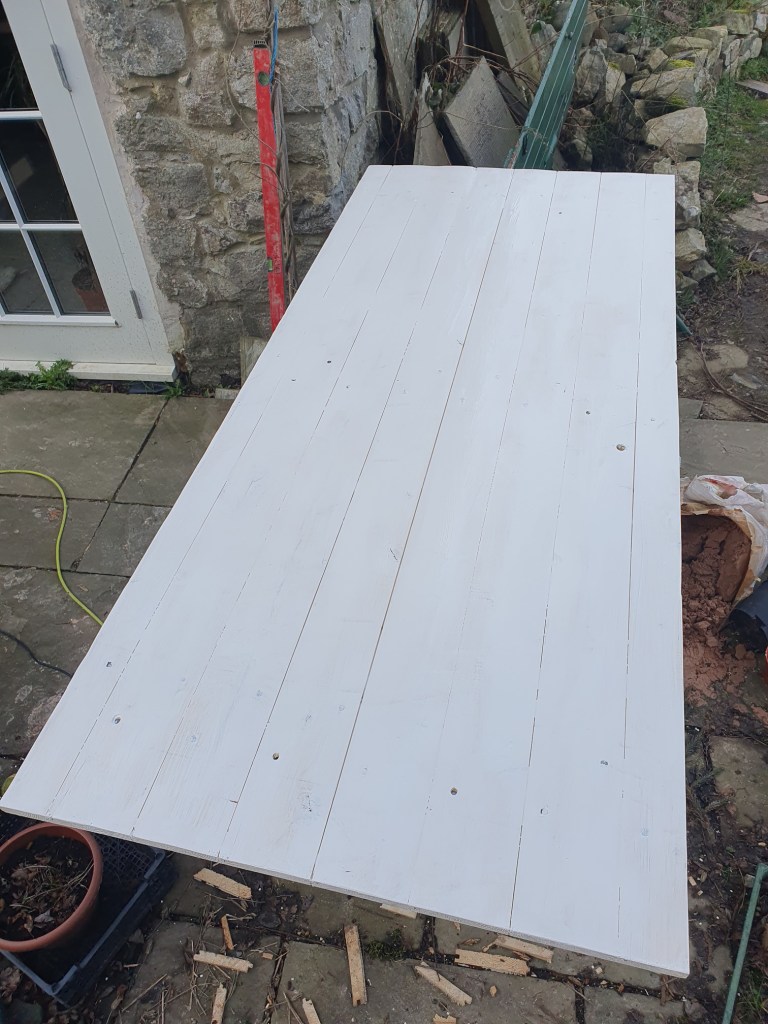
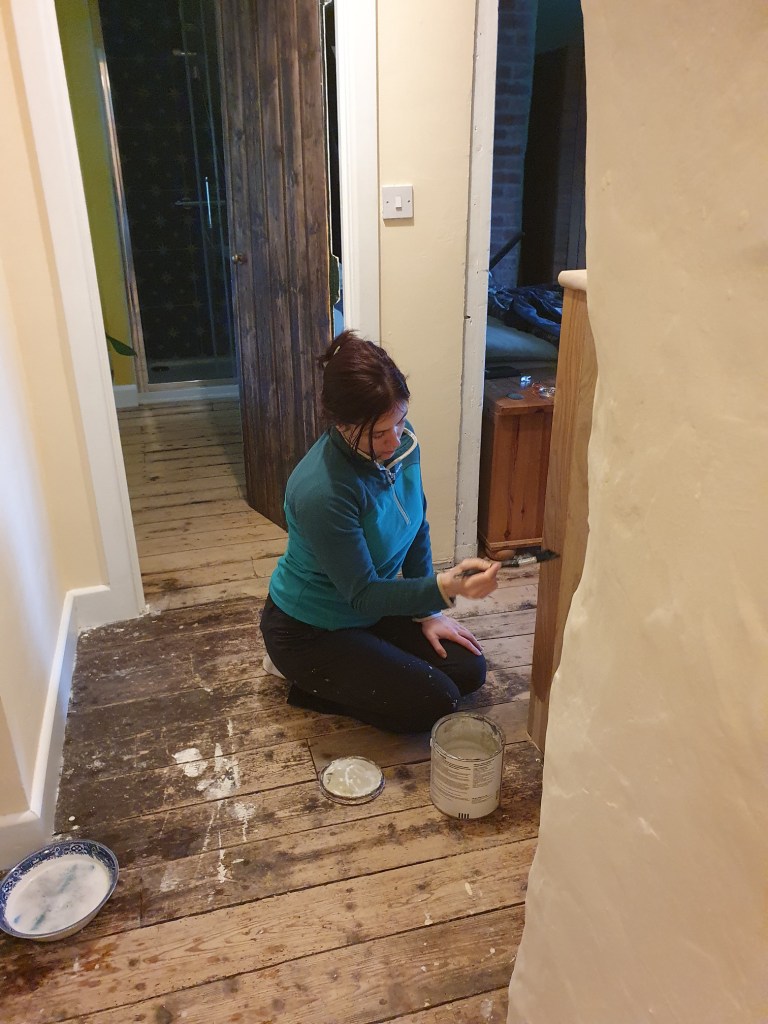
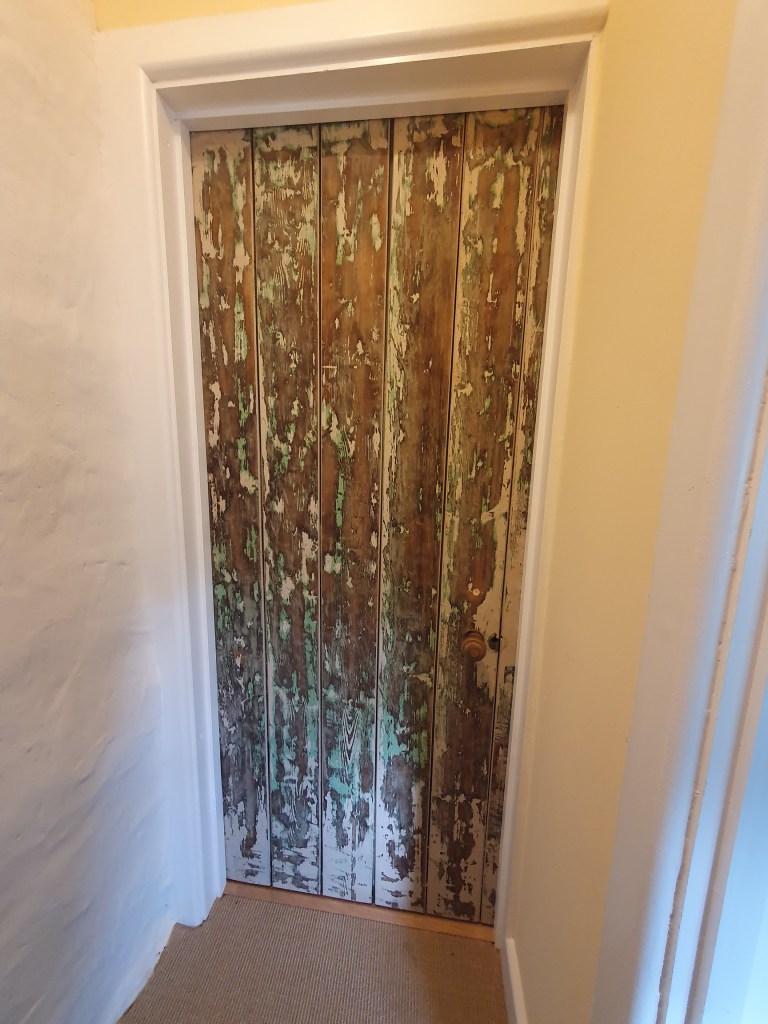
The nursery door was fairly straightforward by comparison, just needing trimming down. Having taken it out for a trim, Chris left it outside for me to sand and get primer on. I’d thought the sanding would be a quick job, but between removing glue patches and hand sanding around the awkwardly spaced nails, it took quite a while. Once the primer is dry it’ll just need a coat of white before it can be rehung.
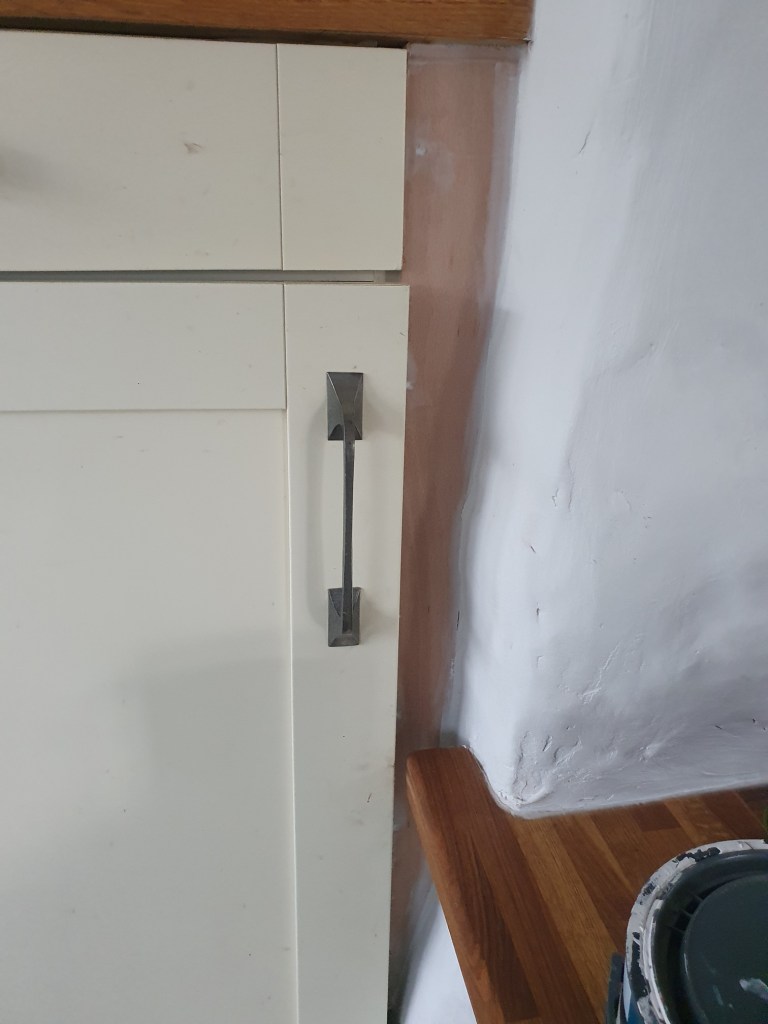
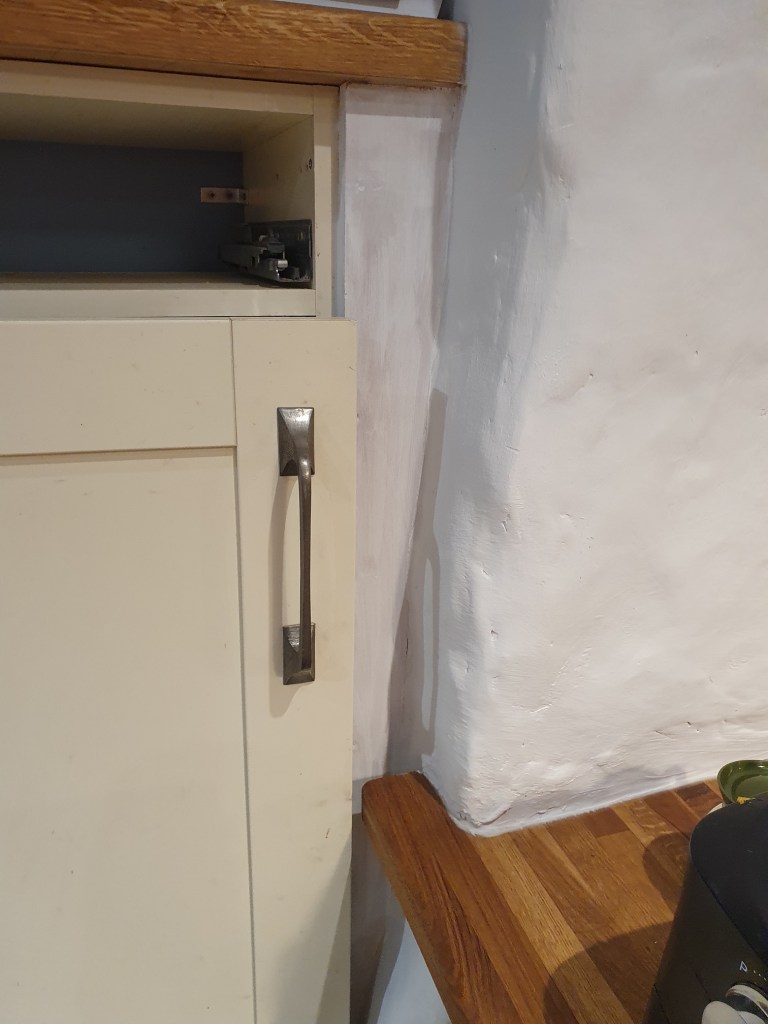
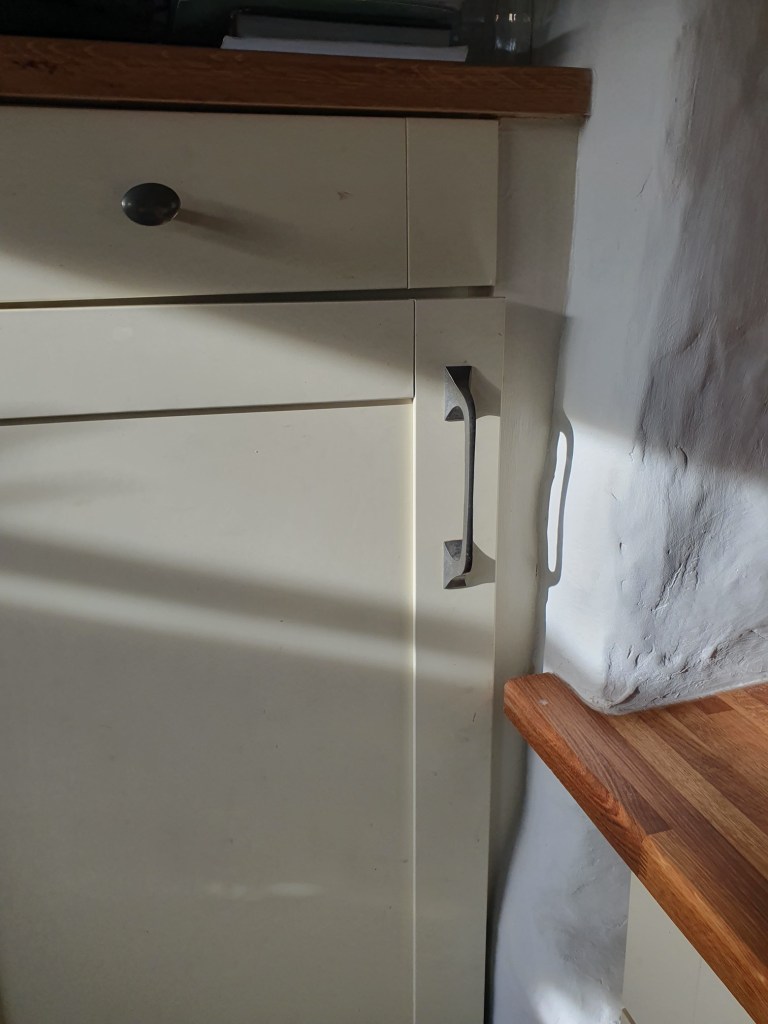
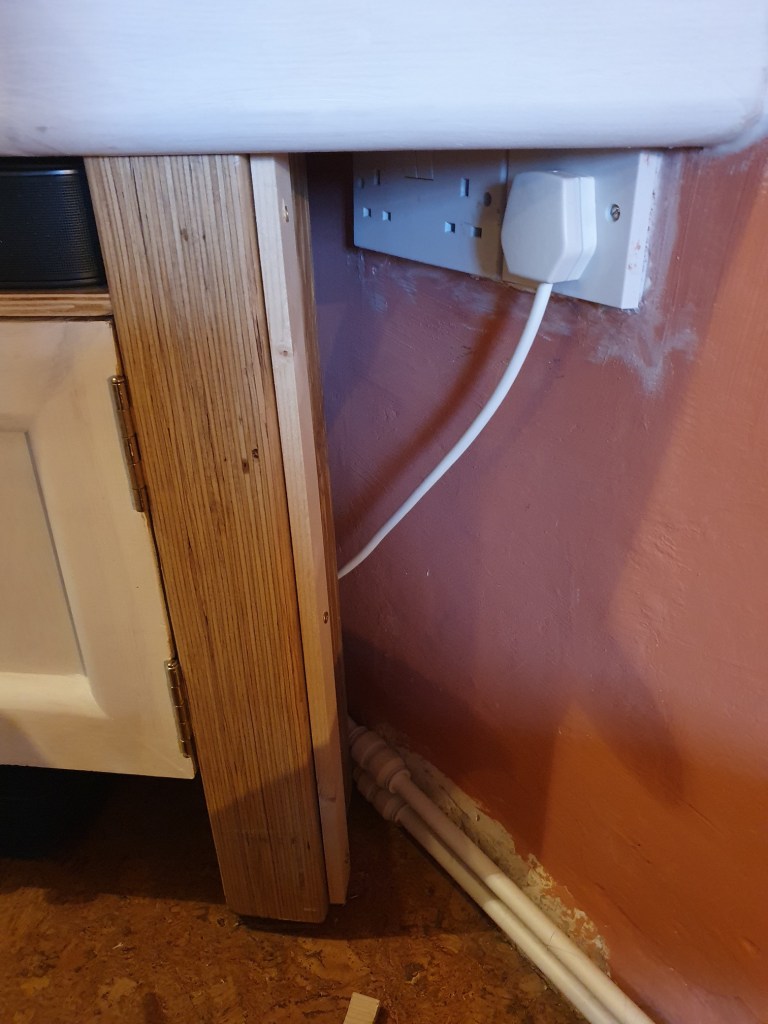
Post-door painting, I ticked off a few smaller jobs, including painting the piece of wood Chris has added to fill the gap beside the kitchen cabinet.
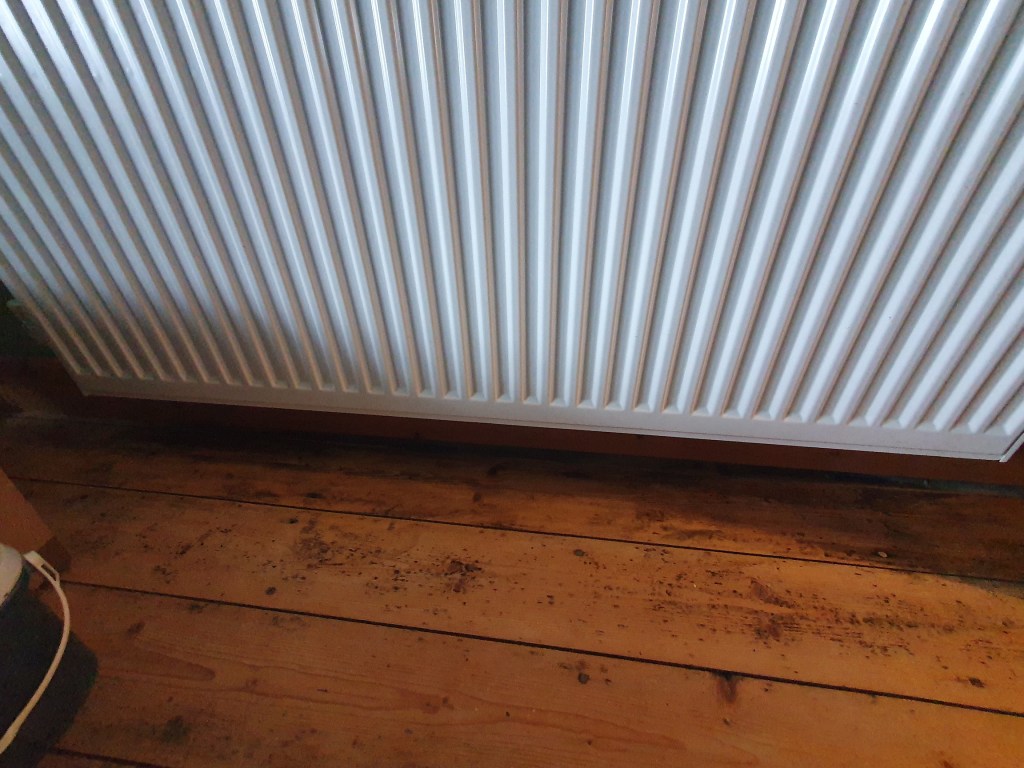
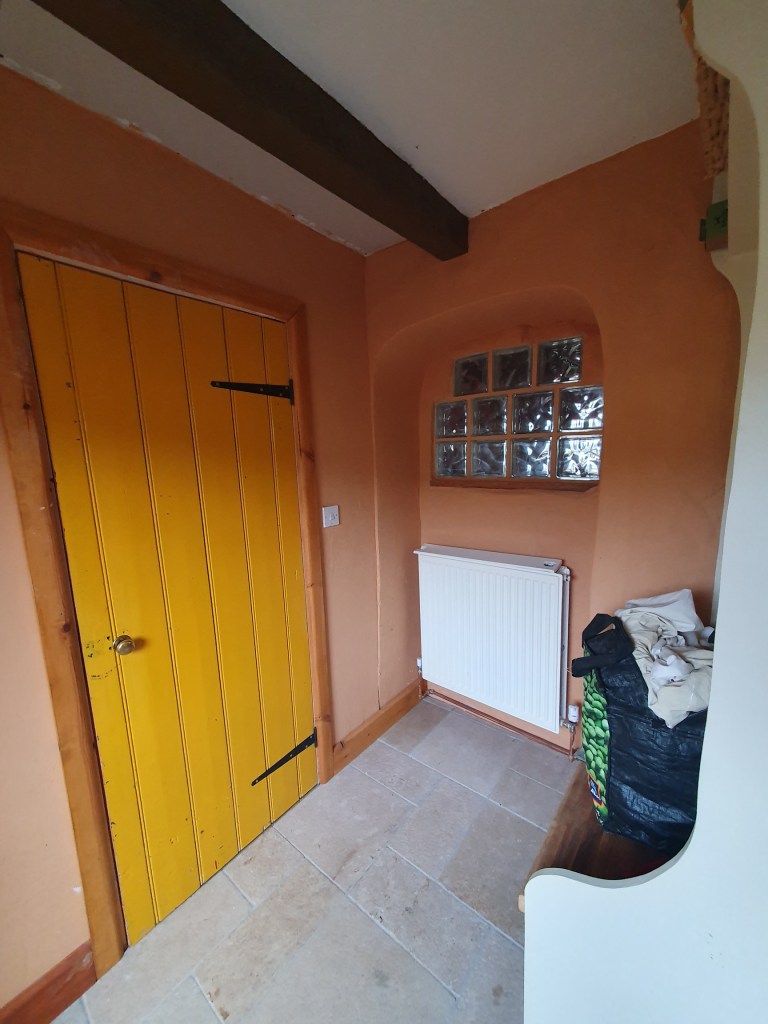
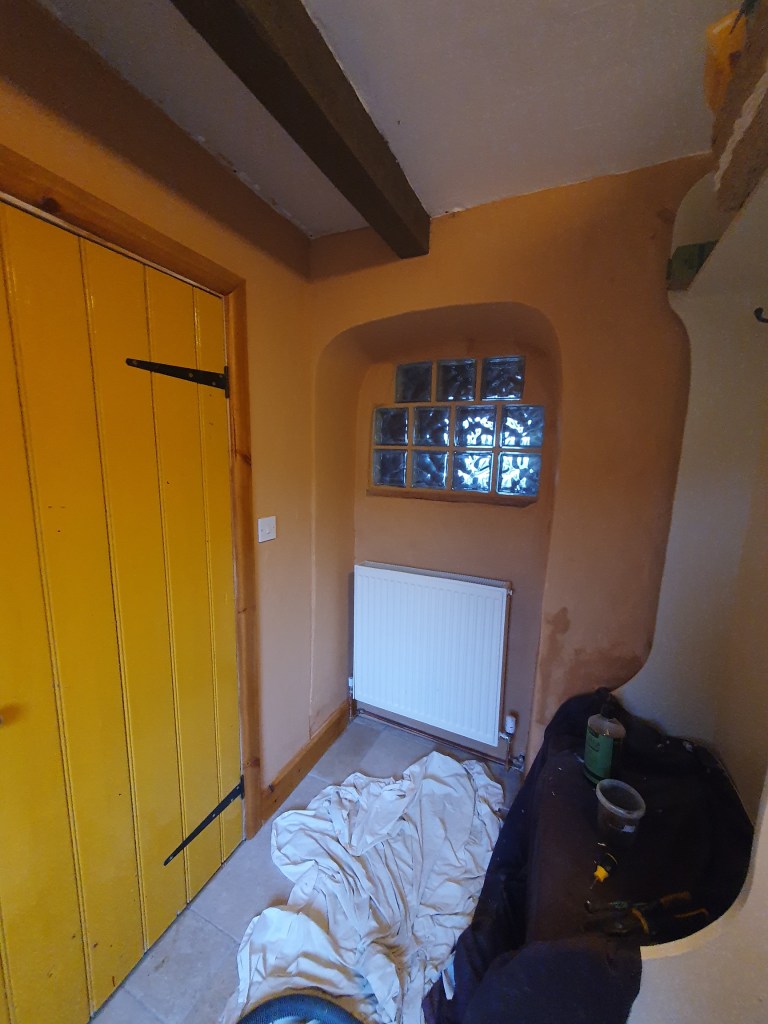
I also sanded under the radiator in the bedroom, getting rid of the final coats of varnish (it does look much better, though it’s hard to spot the difference in the photos).
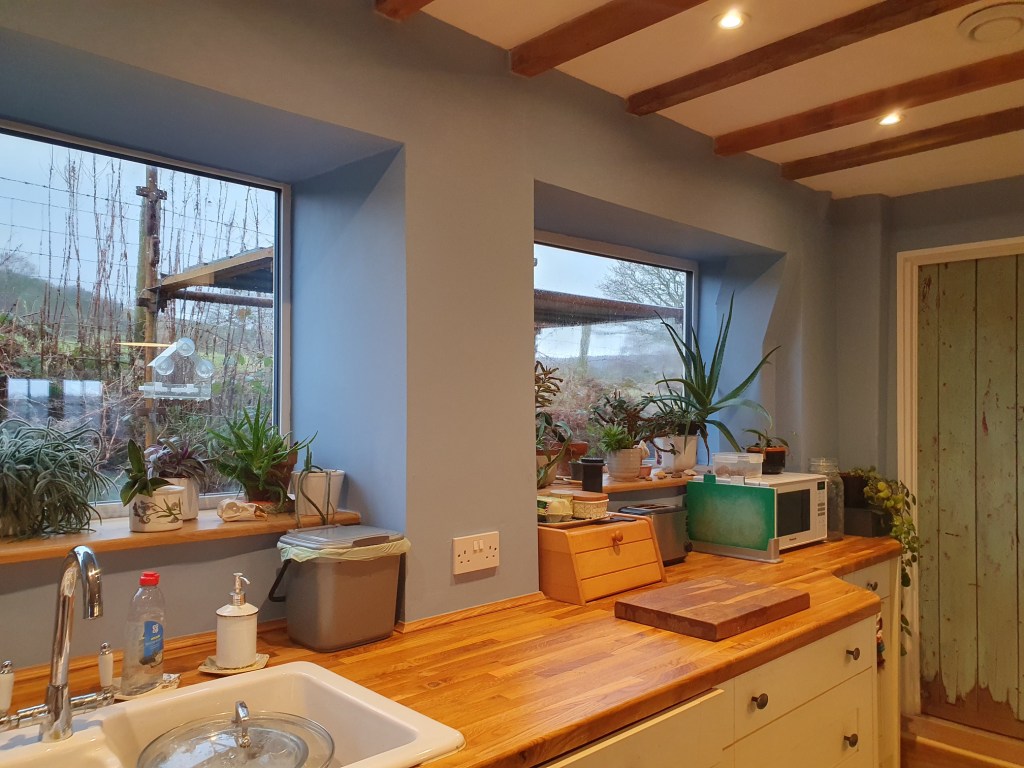
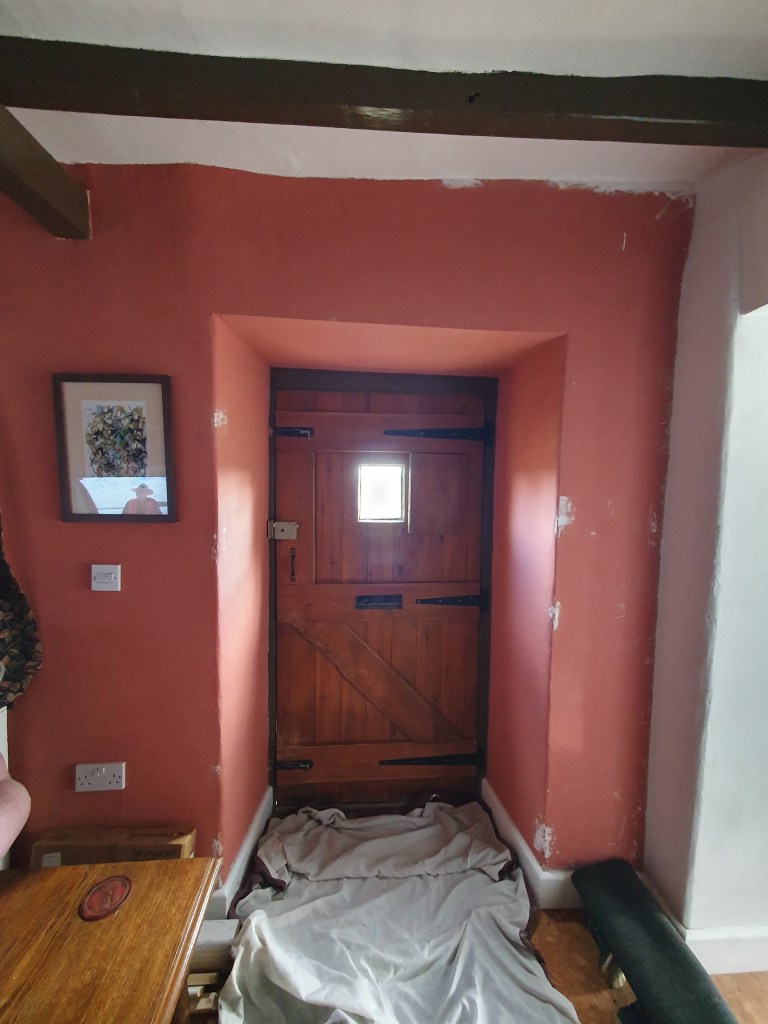
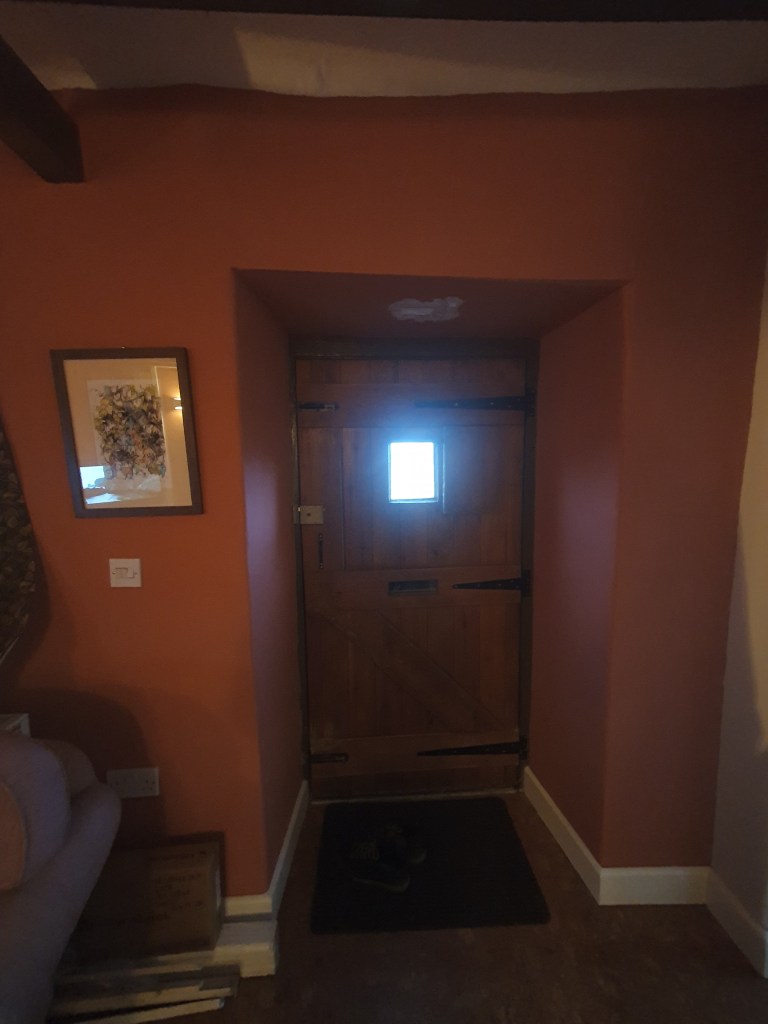
My big job was a second coat on the blue in the kitchen. I’d been holding off till Chris had decided what he wanted to do with the stable door (possibly thinking it needed the frame building out) but I’ve grown tired of waiting, and the blue paint blends in well so I can just repaint the doorway when the time comes.
Though a simple enough job, there was a little filling and sanding to do first, a lot of moving things out of the way, and rather more clambering than you might normally expect someone at 8.5 months pregnant to do. Still the room looks better for it, and just leaves the lounge as the last major room needing a second coat.
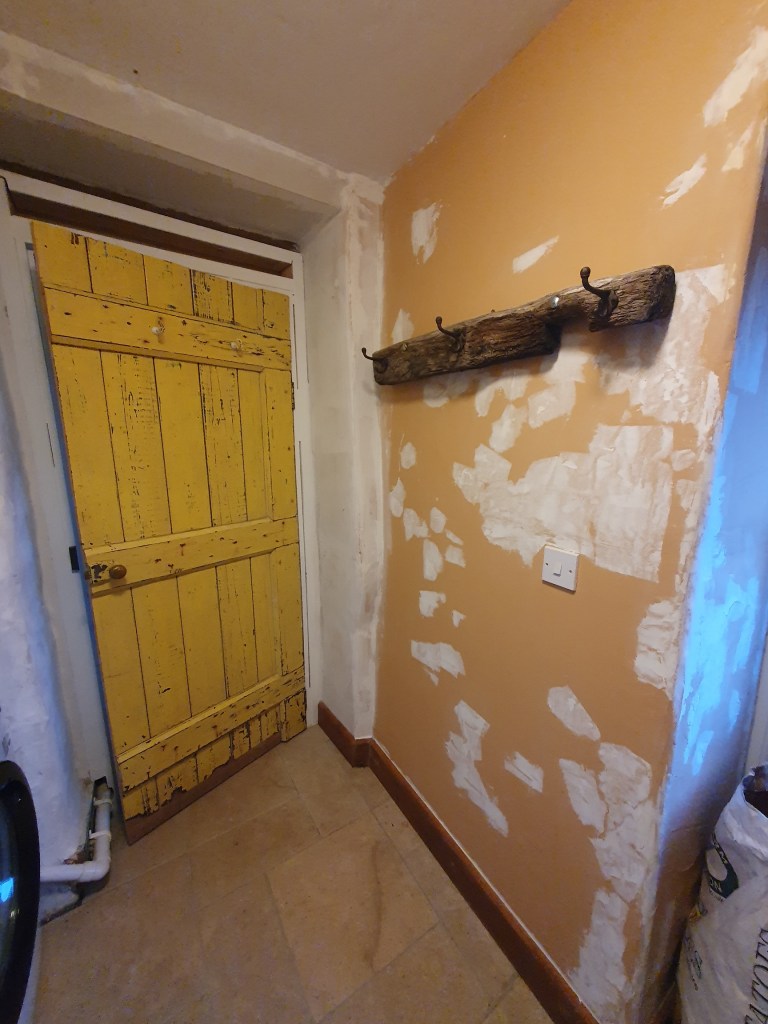
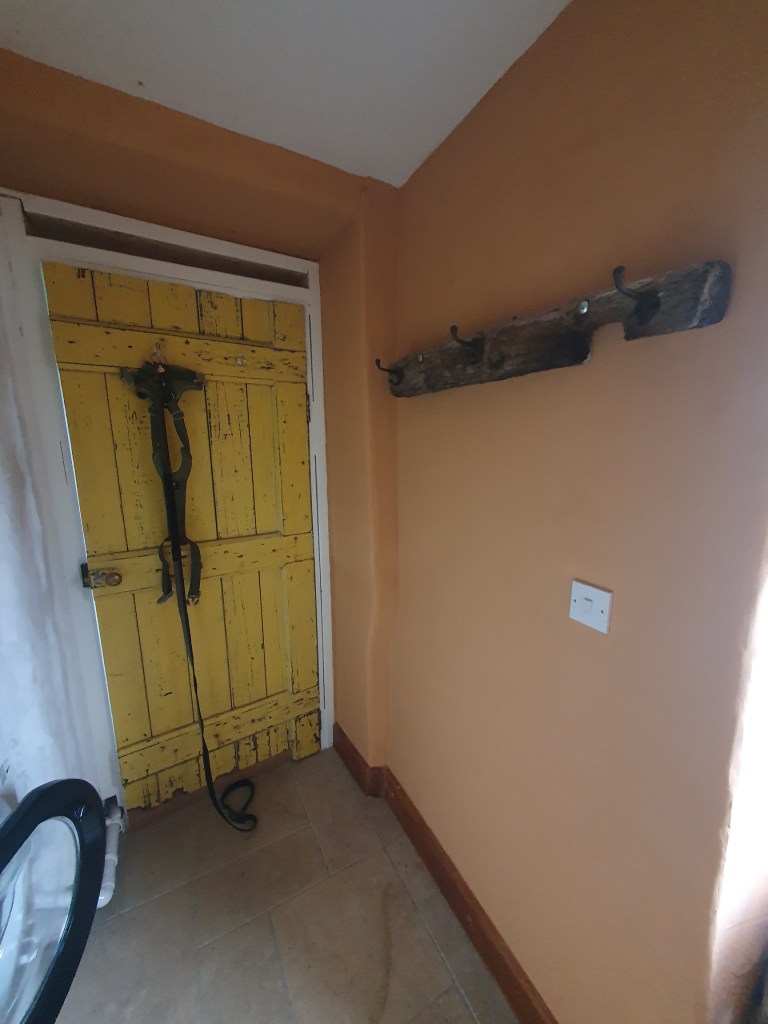
While busy sanding the door outside, a local walker stopped to say how much they liked our yellow front door and how much more loved the house looks. With much of the outside still looking like an overgrown scrapyard it’s nice to have a little encouragement.
-
With a little Help from our Friends
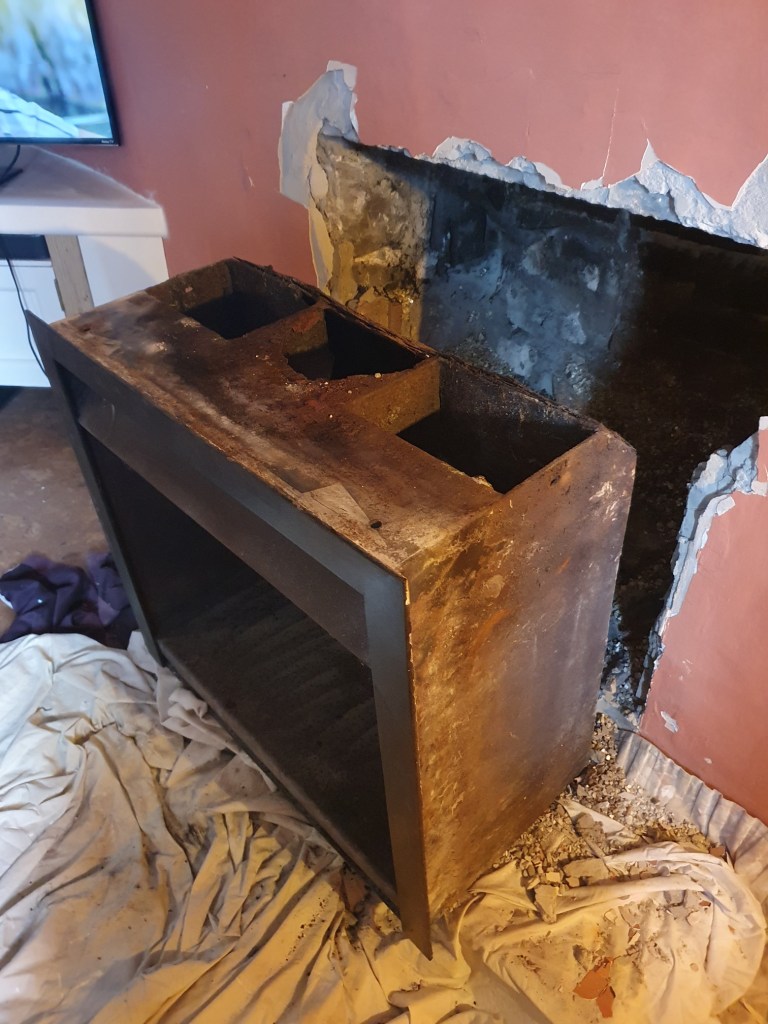
Having originally thought we could keep the existing open fireplace, Chris eventually realised it was too rusted to save, and found a replacement.
We started by chipping out the old fire, which went surprisingly easily.

Next we needed to sweep the chimney, but this was easier said than done. The chimney was unfortunately not entirely straight, with a kink part way up. Try as we might the chimney brush didn’t want to get past this bend. Eventually we decided to thread the poles up without the brush. Chris then climbed up to the roof and attached the brush. We were then able to pull it down. We repeated this a couple of times.
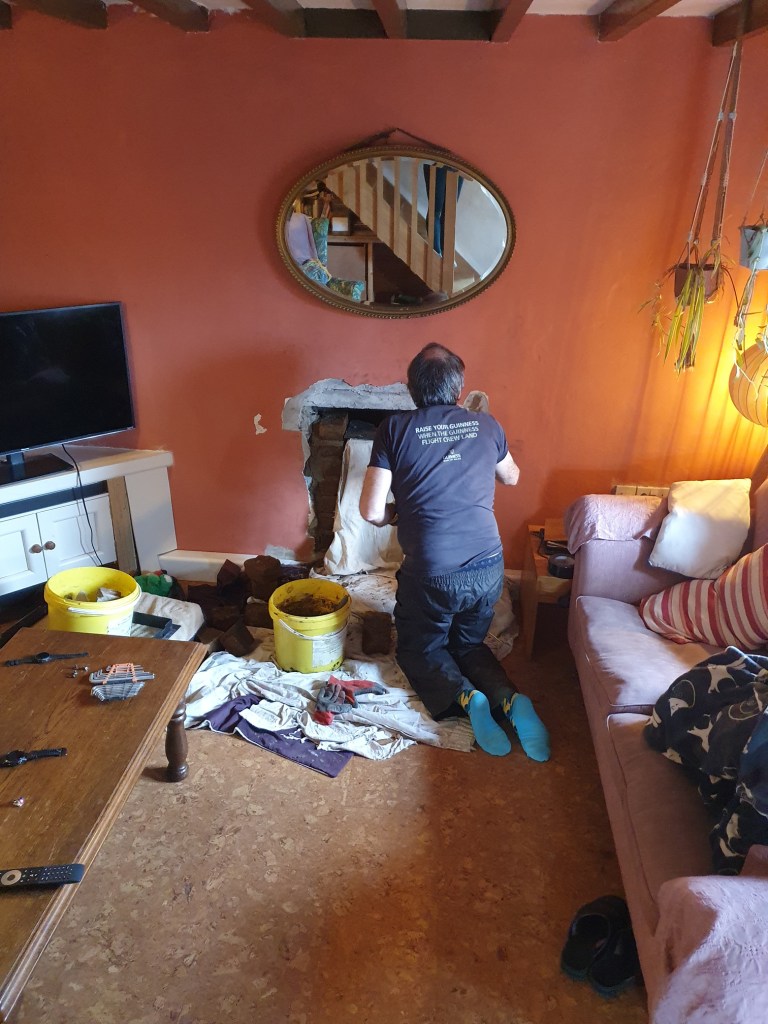
Coming back down from the roof Chris bumped into our neighbours, Joe and Suzie, themselves in the midst of a renovation. Talking through what we needed to do next – installing the new flexible metal flue – Joe was quick to volunteer a hand, having been through the pain of flue installation in his own house.
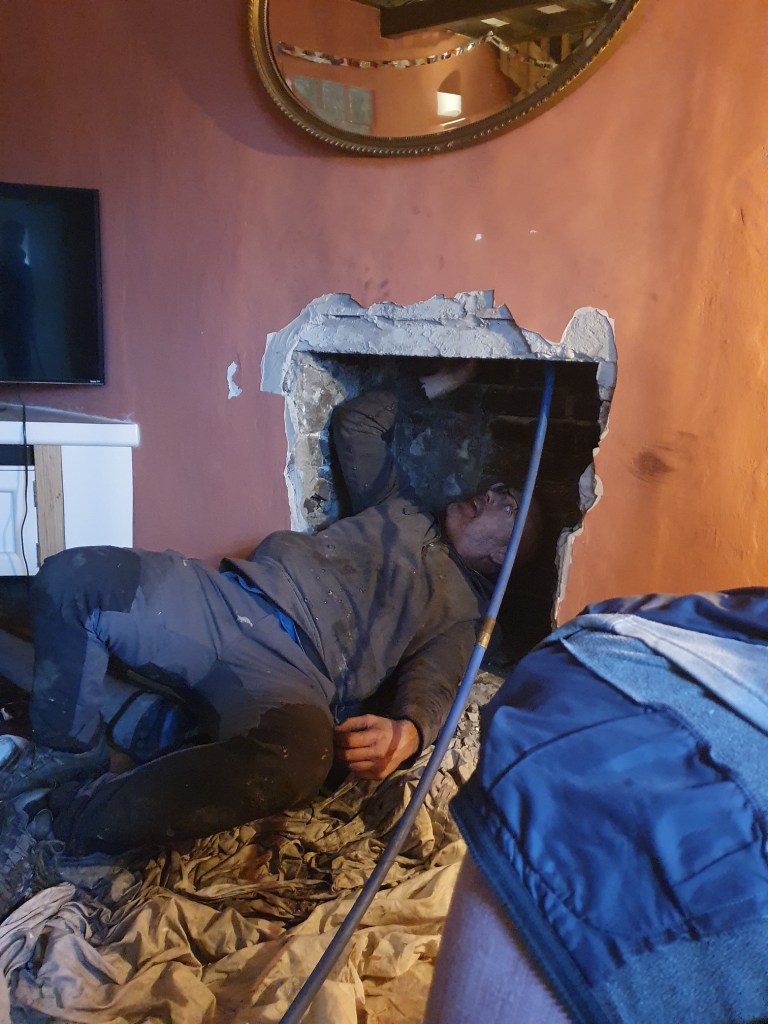
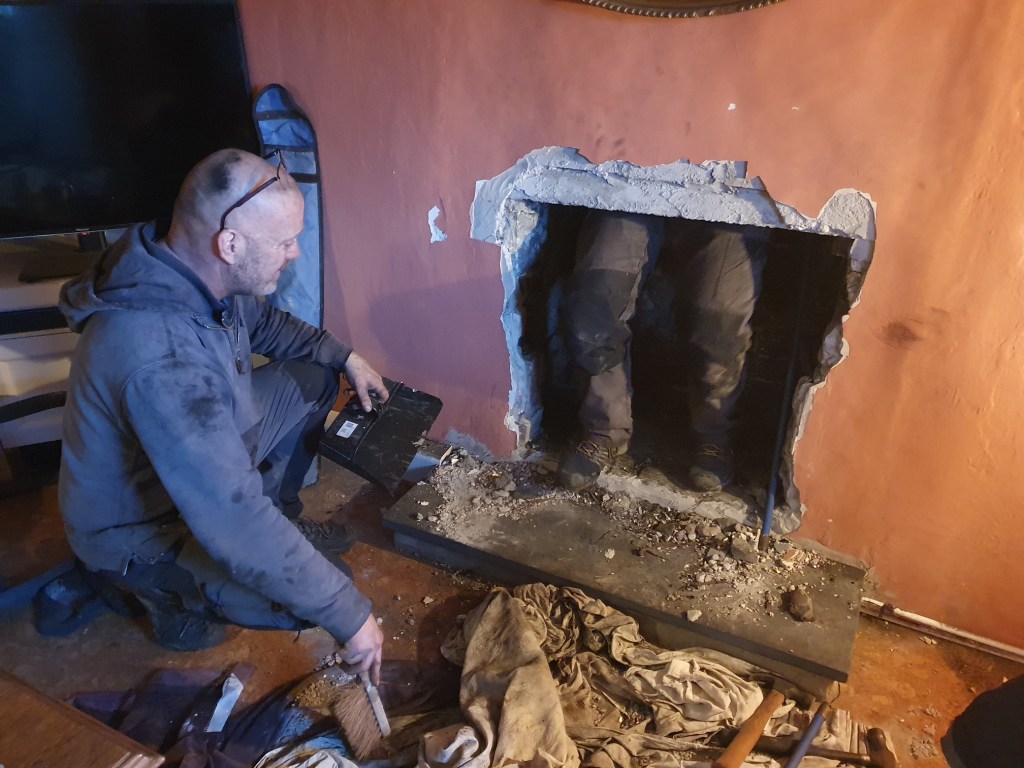
With that Chris and Joe set to work, with Suzie acting as a runner for tools and supplies. It turned out the reason we couldn’t get the brush up the chimney was due to a huge bundle of sticks, left behind by jackdaw nests. After a struggle to get this out, which included Chris getting into the chimney like a Victorian child, the chimney was finally ready for the flue.
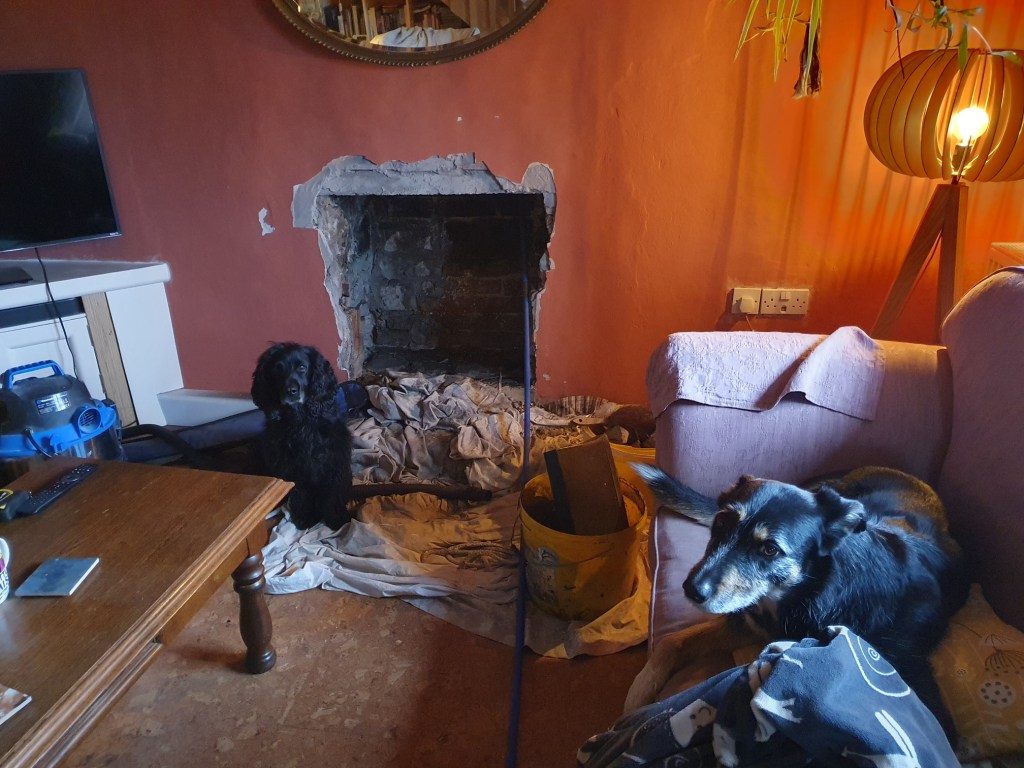
The dogs (Idris and Chris’s aunt’s dog Kiwi – a lodger for the weekend) were surprisingly unbothered by the dust and noise, and merrily spread sooty footprints around the house.

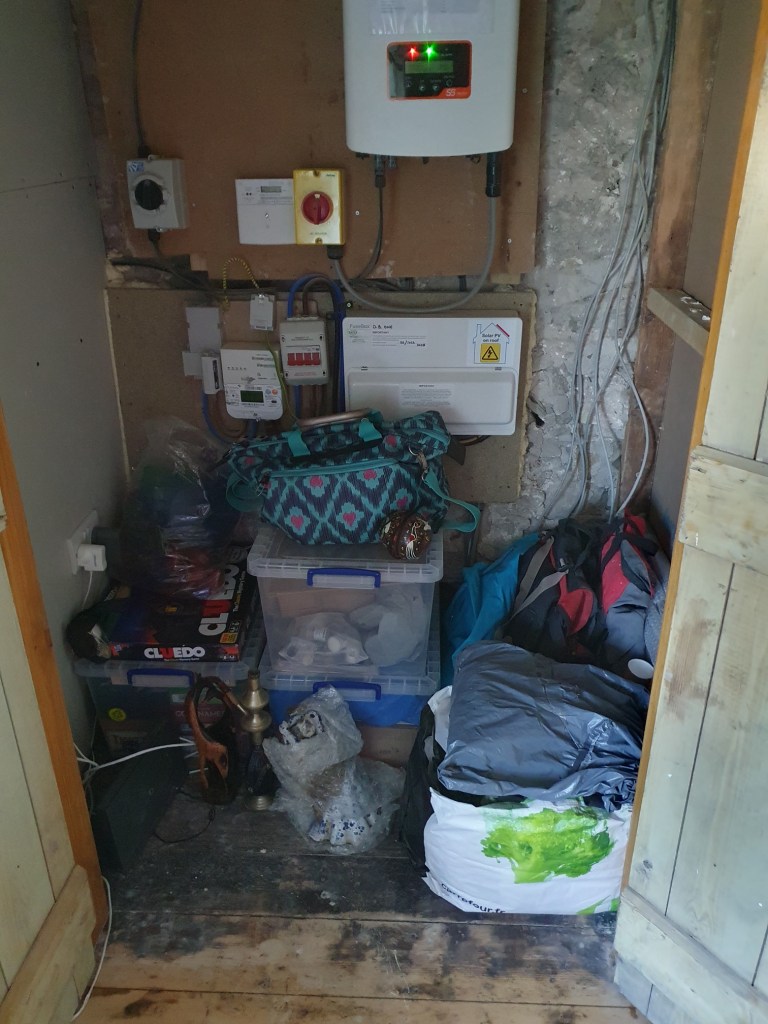
With so many helping hands I felt at a bit of a loose end. I have to admit, at eight months pregnant, I had been finding crouching in front of the fireplace fairly exhausting. Additionally, the ensuing battle with the flue that Chris and Joe had would definitely have been beyond my physical strength, so we were very glad of the help. With nothing to do, I did some tidying of our cleaning cupboard, a new set of sorting boxes having recently arrived, made cups of tea, and popped to screwfix for a few additional pieces.
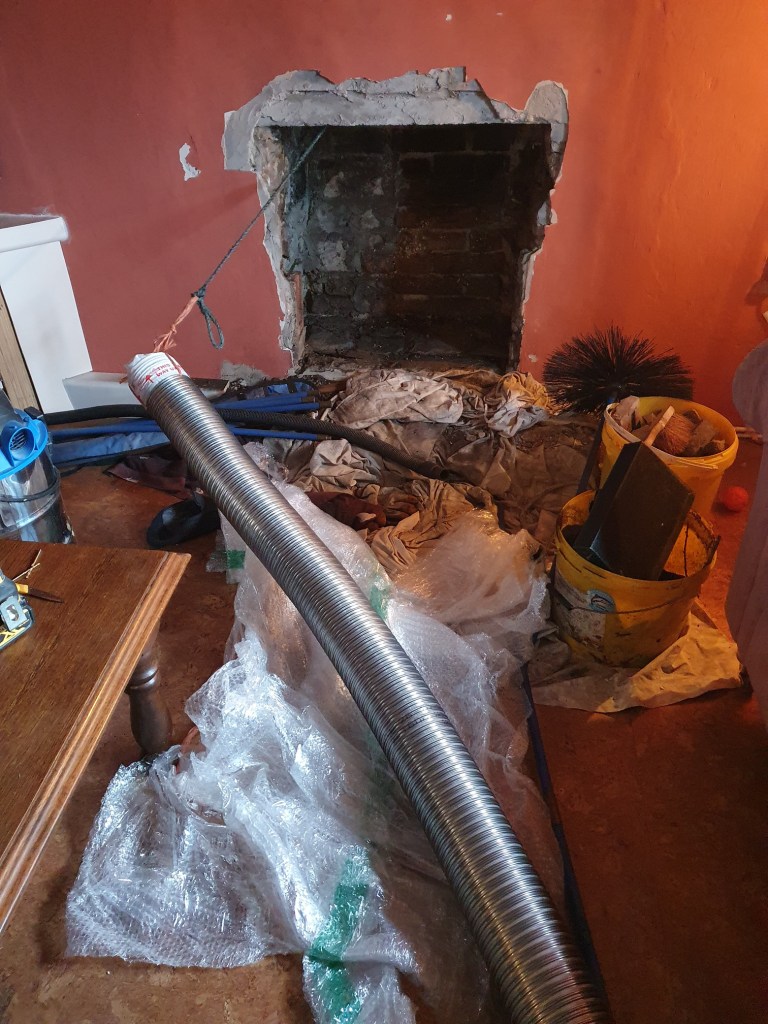
While I ‘kept busy’, Joe and Chris spent their time going up and down the roof, huffing and puffing, while they tried to thread the flue past the awkward kink in the chimney. Between them, finally the flue was in place, after some three hours of hardwork.
The next day, our helpers gone, it was back to me and Chris to move the fireplace forward. Though the flue was in place, we needed to move it up to get the solid metal flue attached and in place, to connect to the stove.
Chris climbed back onto the roof to try and pull the flue back up, while I tried to maneuver and push from the bottom. A couple of hours later the flue had moved about a foot, nowhere near enough. Both of us pretty tired, I suggested we needed to try something different.
My first suggestion was to break into the chimney where the bend was, to help force the flue past the bend (as suggested by the Internet if the flue gets stuck). Chris really didn’t fancy this idea, both for the extra mess and the work.
Second idea was to cut the flue shorter from the bottom, to give space to attach the solid metal flue. Chris pointed out he wouldn’t be able to reach high enough in the chimney to attach the flue. ‘If only I’d bought the shorter flue’ he said – I asked why we couldn’t just cut down the one we had. Finally, something made sense. Chris cut down the solid metal flue, and cut back the flexible flue inside the chimney, having just enough reach within the chimney to attach it all together, and bring the stove in to the space below. After hours of struggle, suddenly everything came together very quickly. Sometimes cheating is just the best way. Finally, Chris returned to the roof to cut back the flue at the top and attach the chimney cowl.
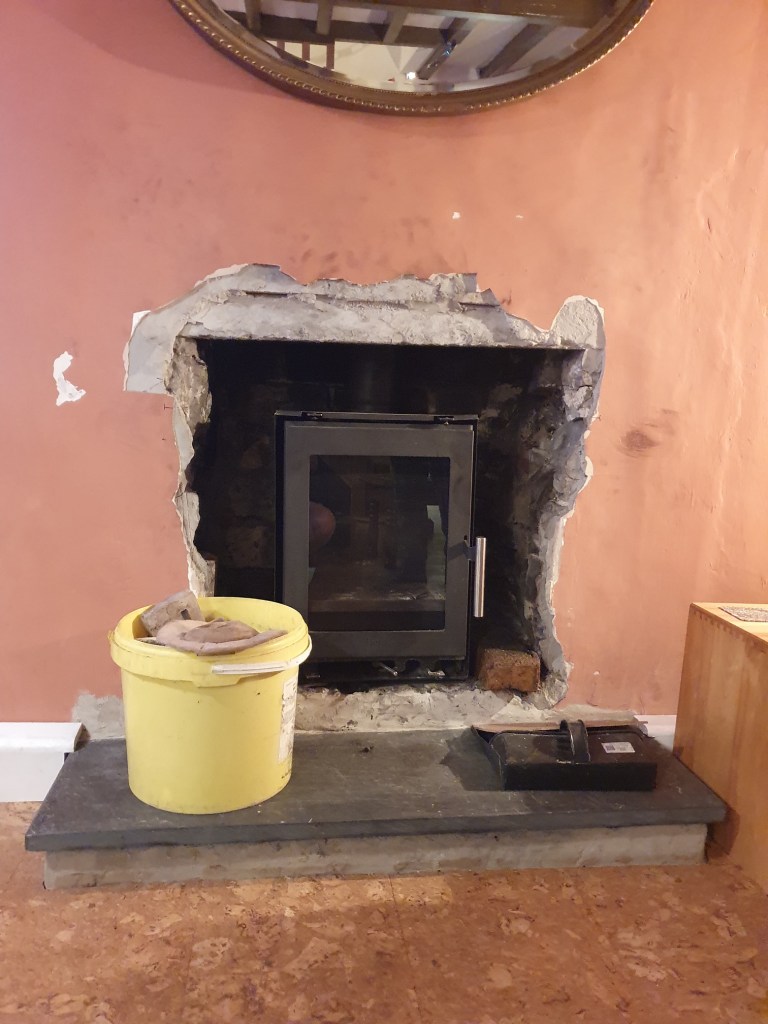
The hardwork was done, all that remains is to fill in around the stove and replaster.

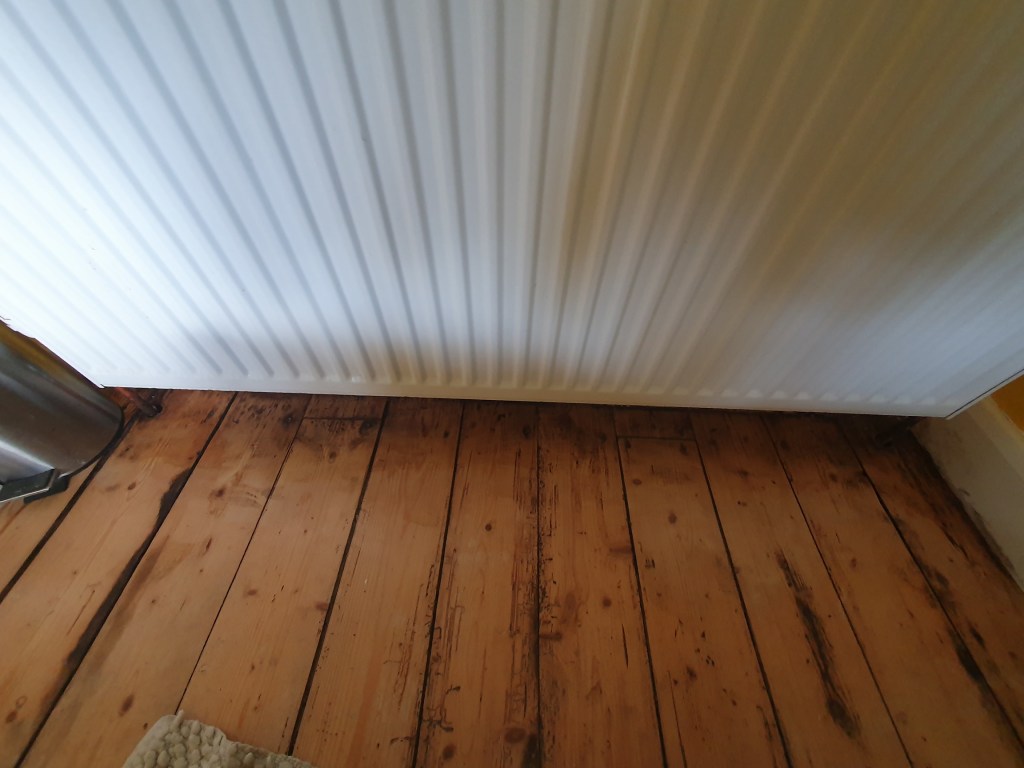
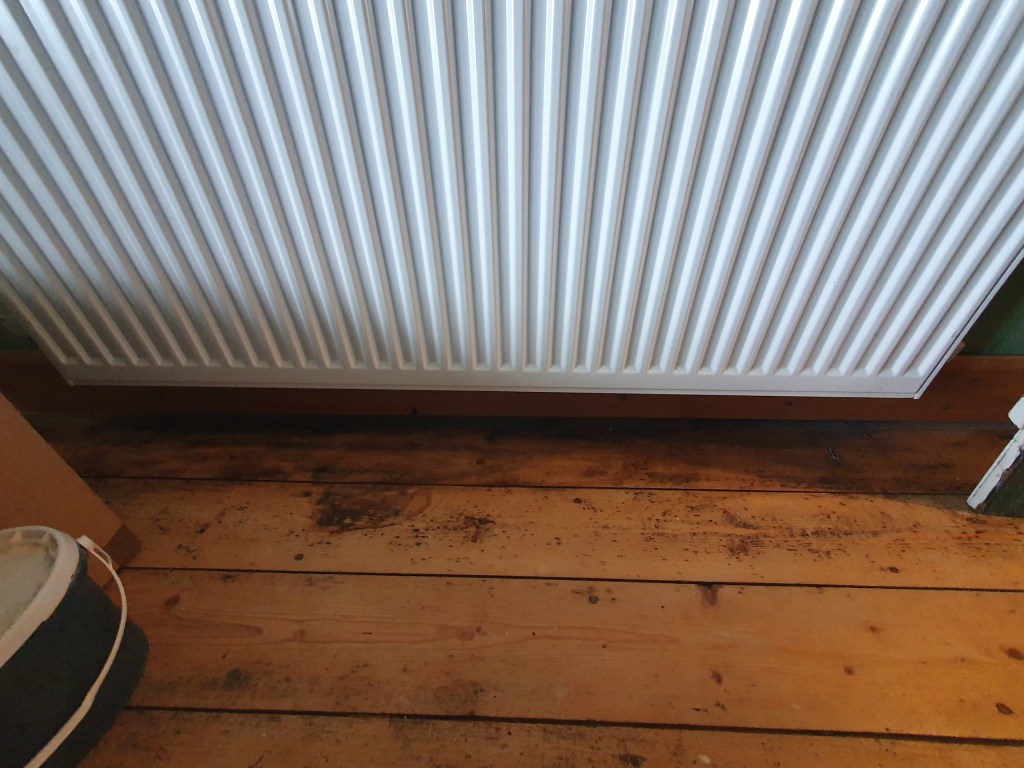
Once the new plan had taken hold, Chris really didn’t need me (apart from listening out for him falling off the roof), so I set to work sanding beneath the bathroom radiator. We couldn’t reach under the radiator with the electric sander, so we’d planned to remove the radiator at some point in order to finish the job. However, Chris had realised with the bedroom floor that hand sanding was a viable option.
I’d been hoping to leave this job to Chris as crouching isn’t the most comfortable at the moment, but all the other jobs on my to do list involved painting, which didn’t seem a great idea with a house covered in soot. The finished job might not be quite as good as removing the radiator to sand, but it was a lot less hassle.
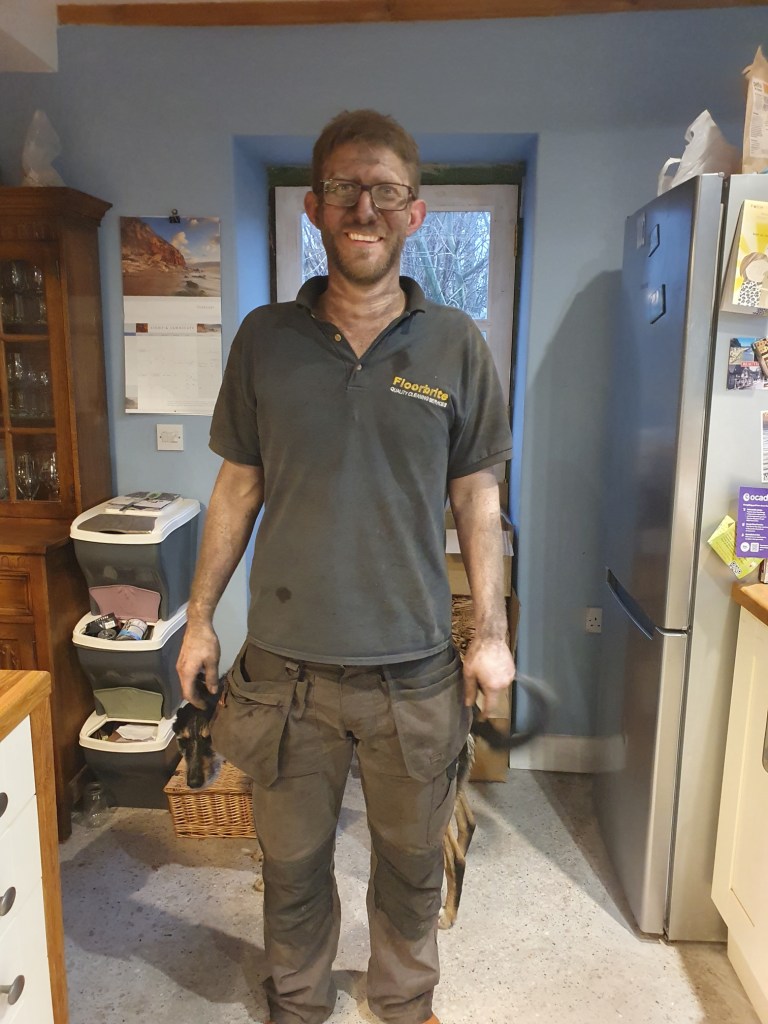
With Chris all done, all that remained was a deep clean of the house, though I’m sure we’ll be wiping away soot for months to come.
-
Trip hazard
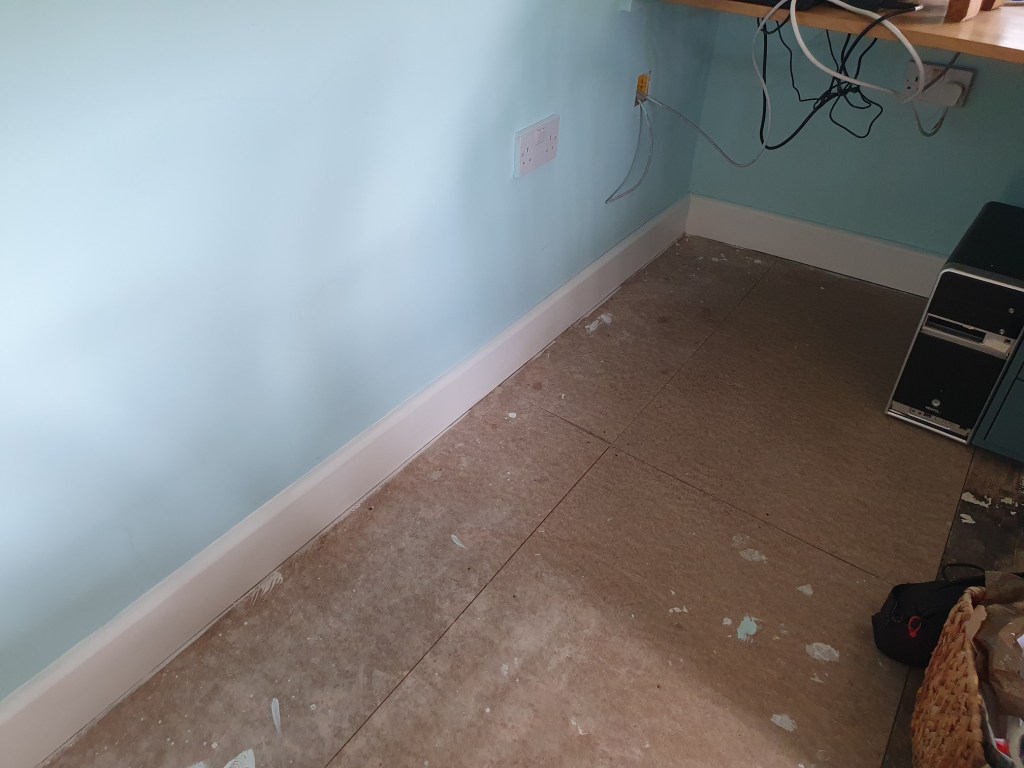
I’ve been meaning to paint the utility for ages. Being one of the rooms I plastered, Chris wasn’t happy with the smoothness of the finish, so post first-coat I filled in the worst of the bumps, with the plan to cover it up in the second coat. There was also the plasterboard around the new doorway that needed its first coat.
However, having opened the old pot of paint I realised there wasn’t enough to finish off the whole room. I just managed half the room before I had to give up and order a new tin.
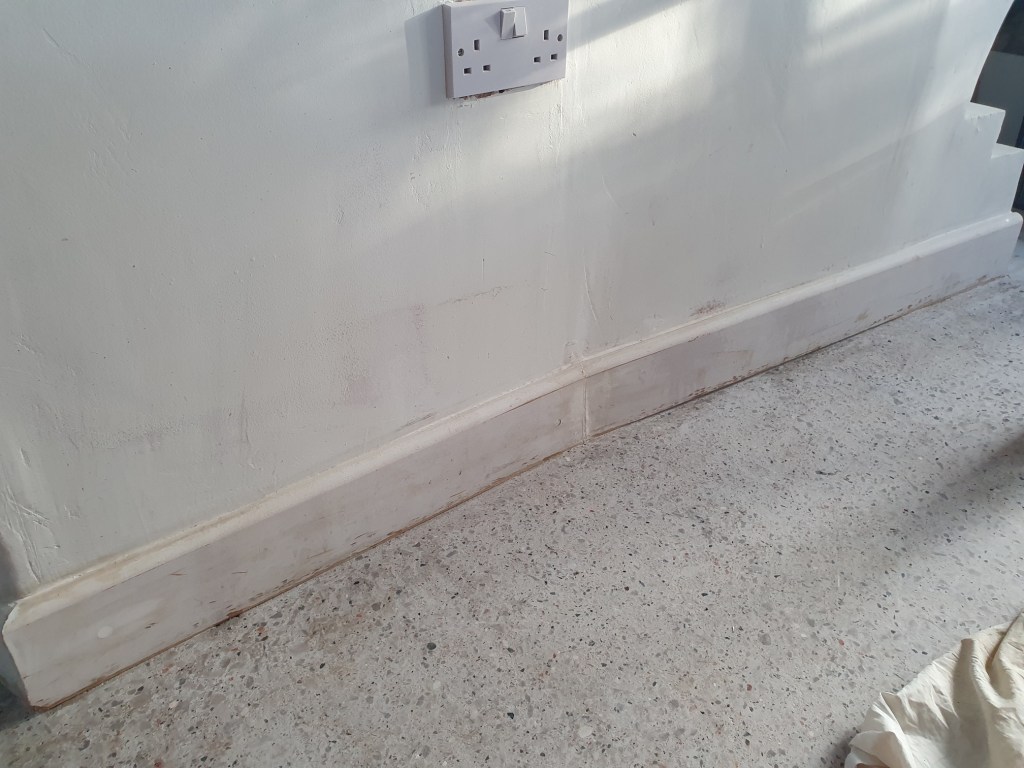
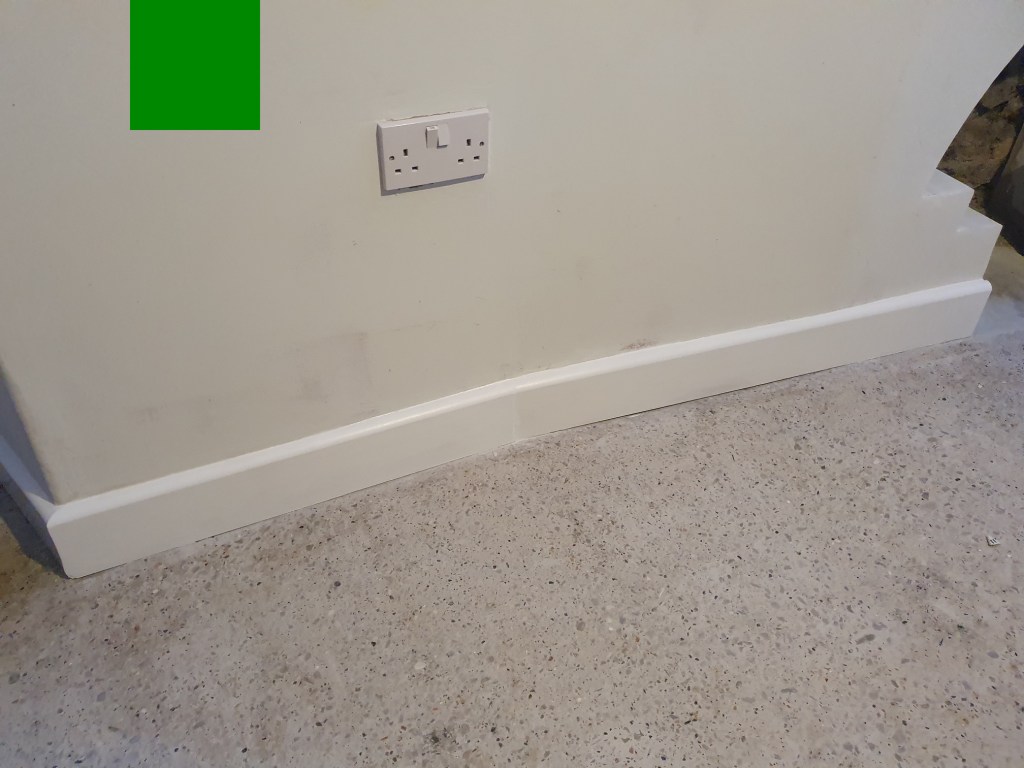
The following weekend, with my new tin, I set to work on a second coat to the plasterboard and final coat for the rest. Before I started however, I had to attach and caulke a bit of skirting that has been previously missed. There were also a few rough spots of the wall in need of filler.
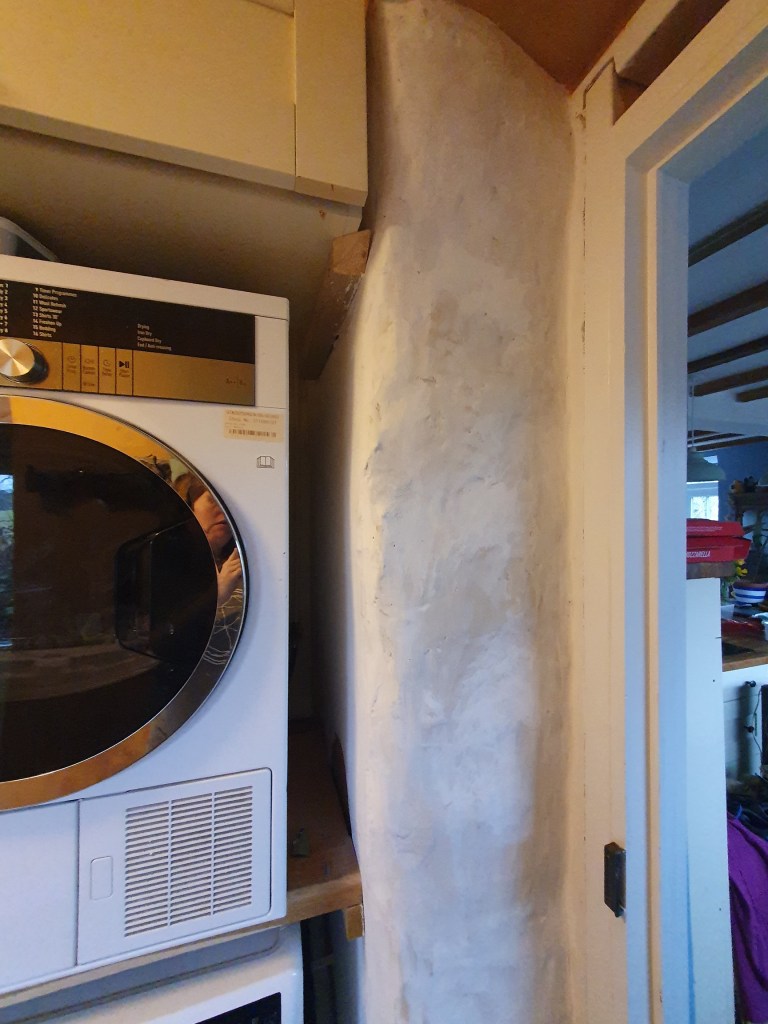
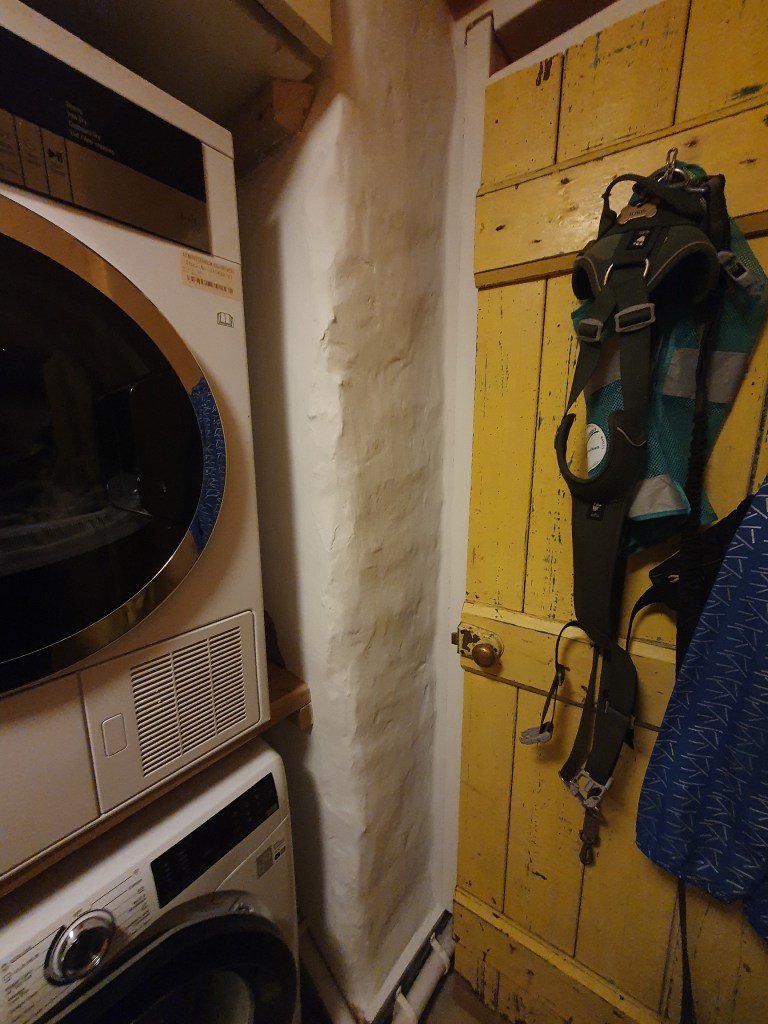
The wall next to the machines we decided to leave white, to stop the room feeling too narrow.
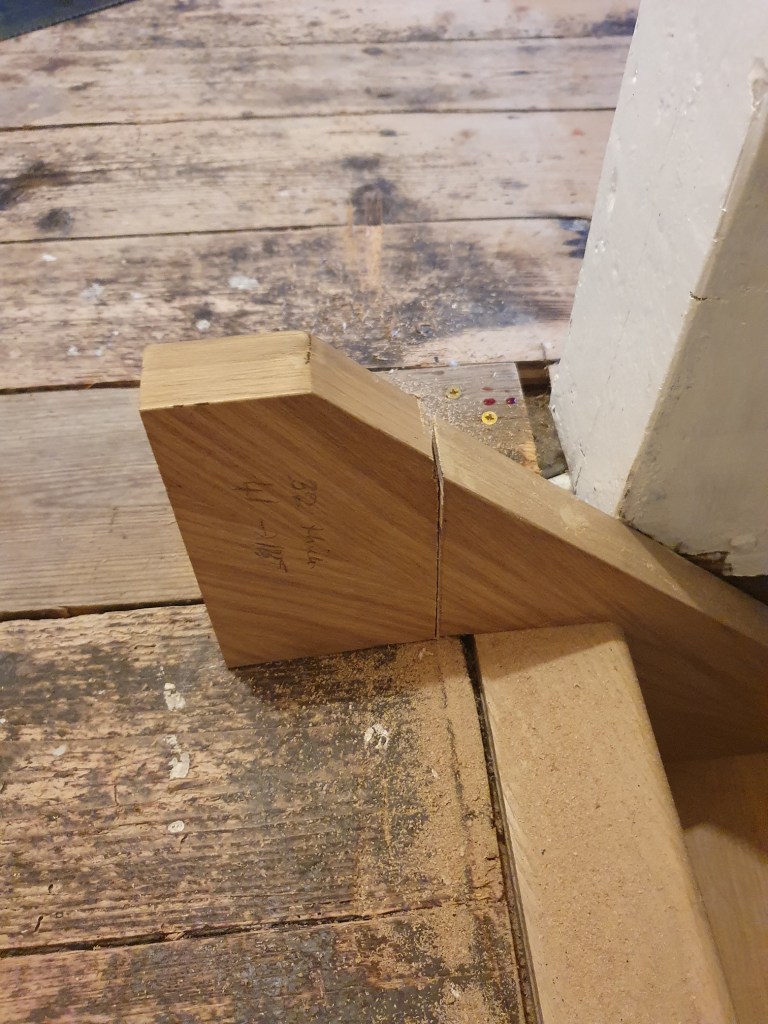
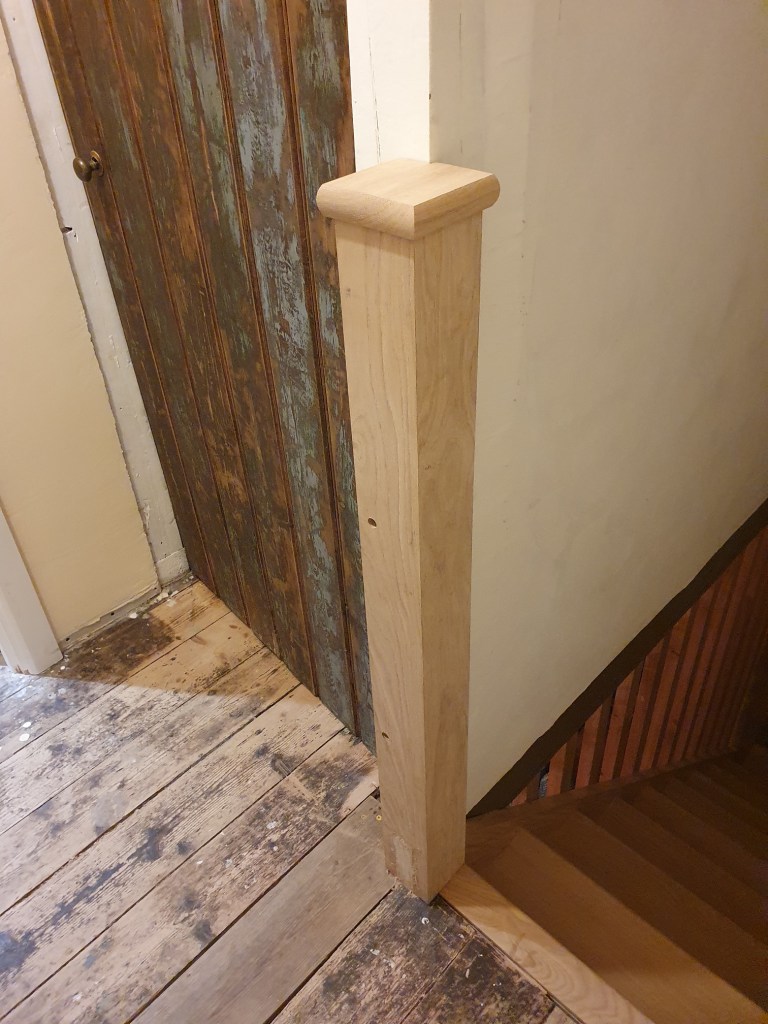
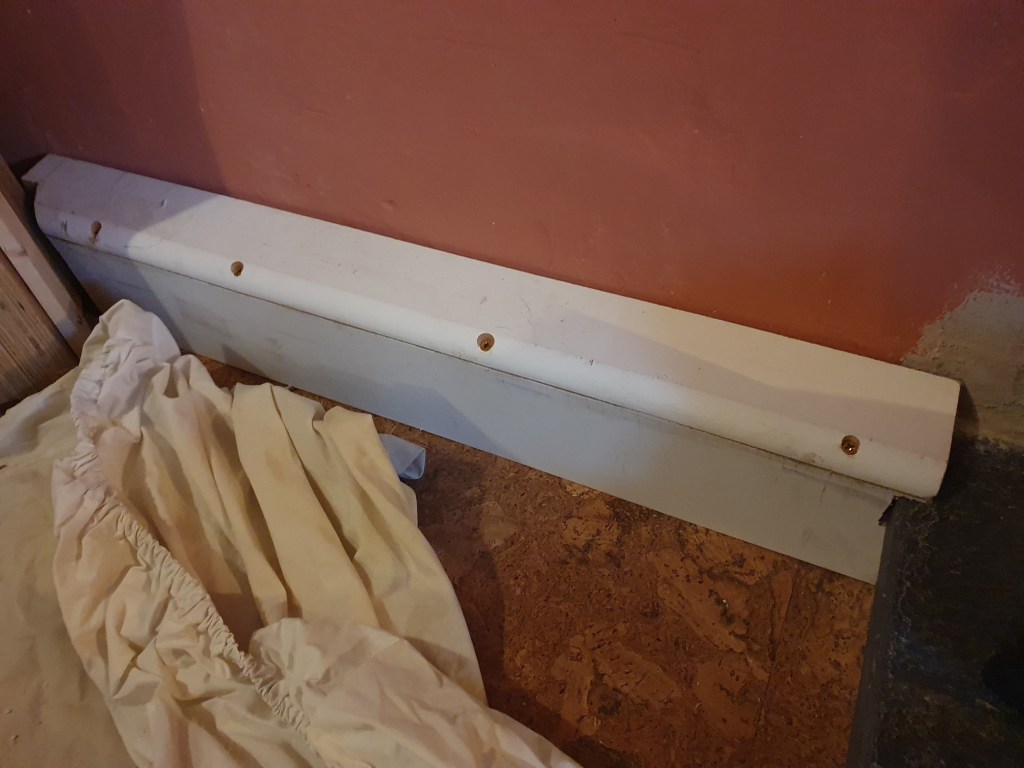
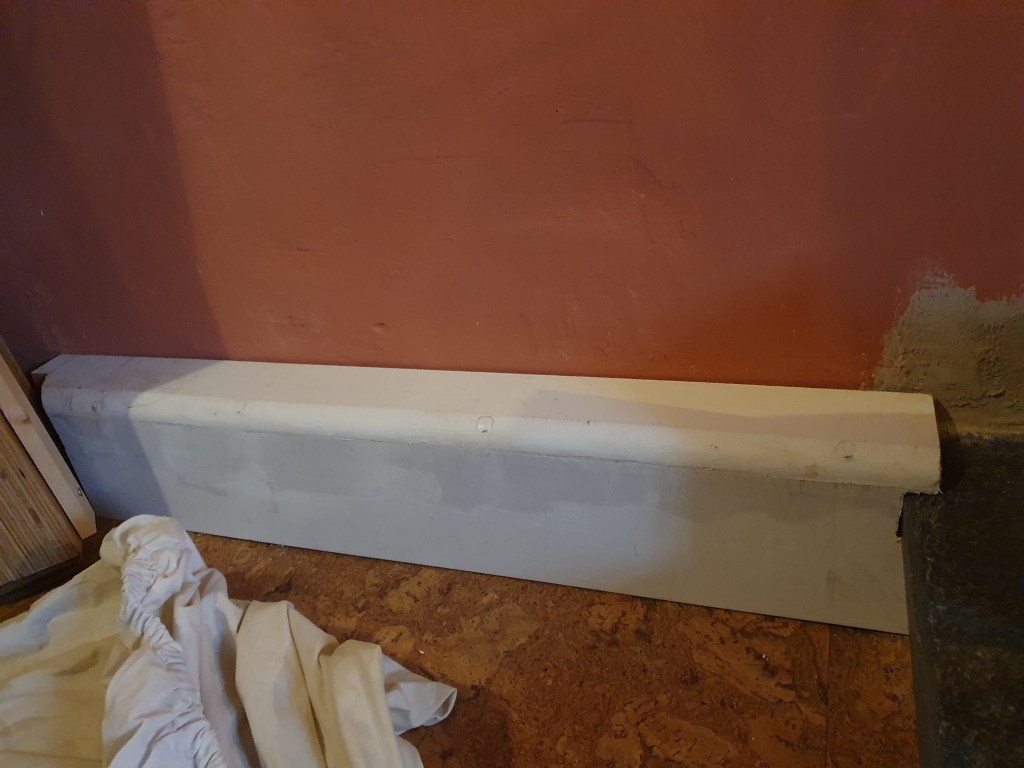
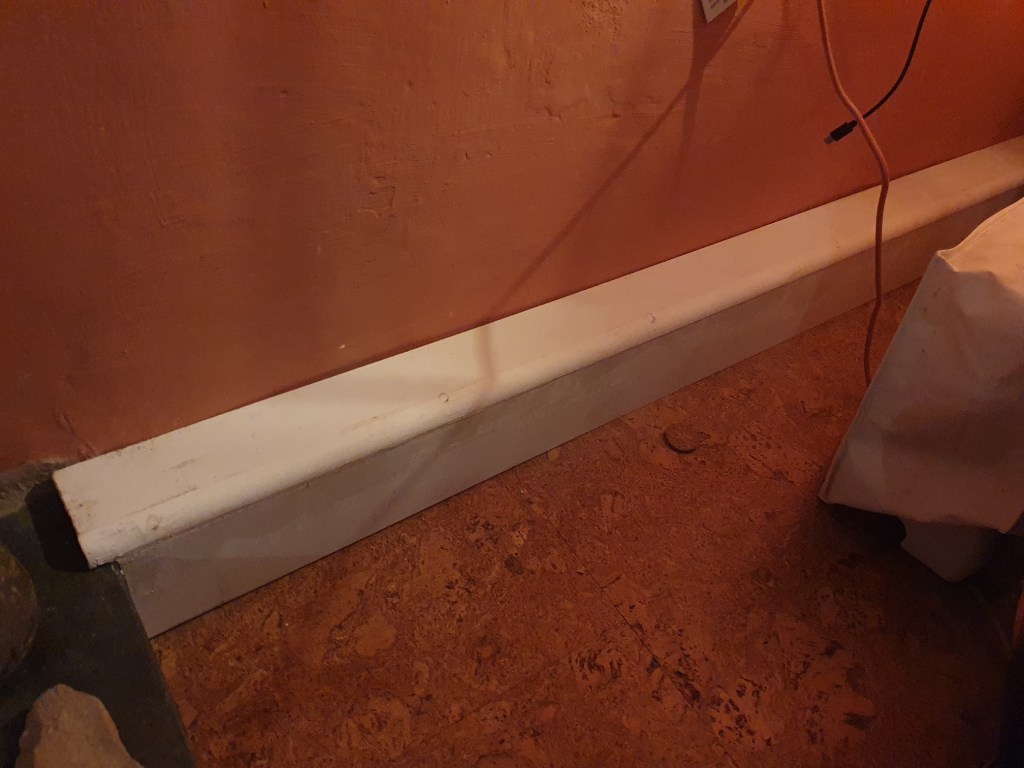
Chris’s big job was getting in the newel post at the top of the stairs. It’s not really needed, however we couldn’t cut off all the top of the stairs without making them unstable, and what needed to stay was a bit of a trip hazard, so the newel post would engulf the top of the stairs, and give a hand support for people heading down.
It was a tricky job as the base of the post had to be cut to engulf the stairs, and then a new piece of wood pasted in to make the outside of the post look neat. The whole thing was then attached to the wall.
The post was partly important to get in as we’re soon getting carpet installed on the landing, and it needed to be in place before that happened.
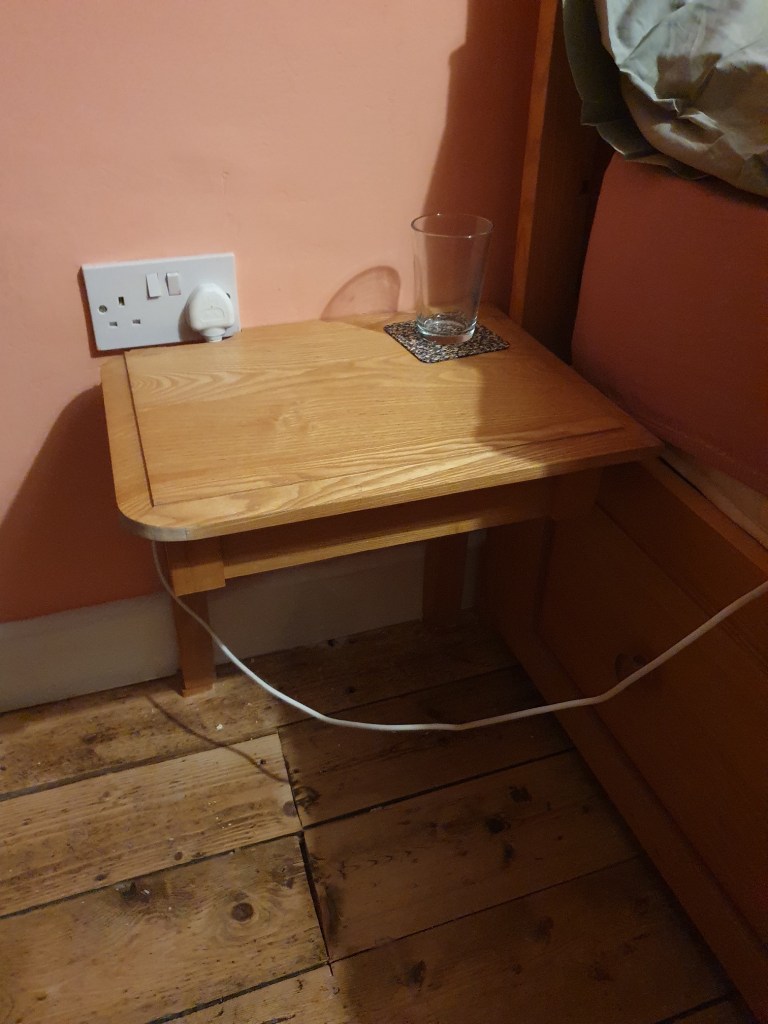
Chris’s other job was to install some bedside tables. As our bed had pulled out drawers, all the bedside tables we have stopped them from opening. Chris therefore cut off two legs and attached the table to the wall, allowing the draws to open.

Another nice job was putting up some pictures throughout the house. We have two of our dog Idris, one by my mum and the other by Chris’s cousin, in pride of place on the landing.
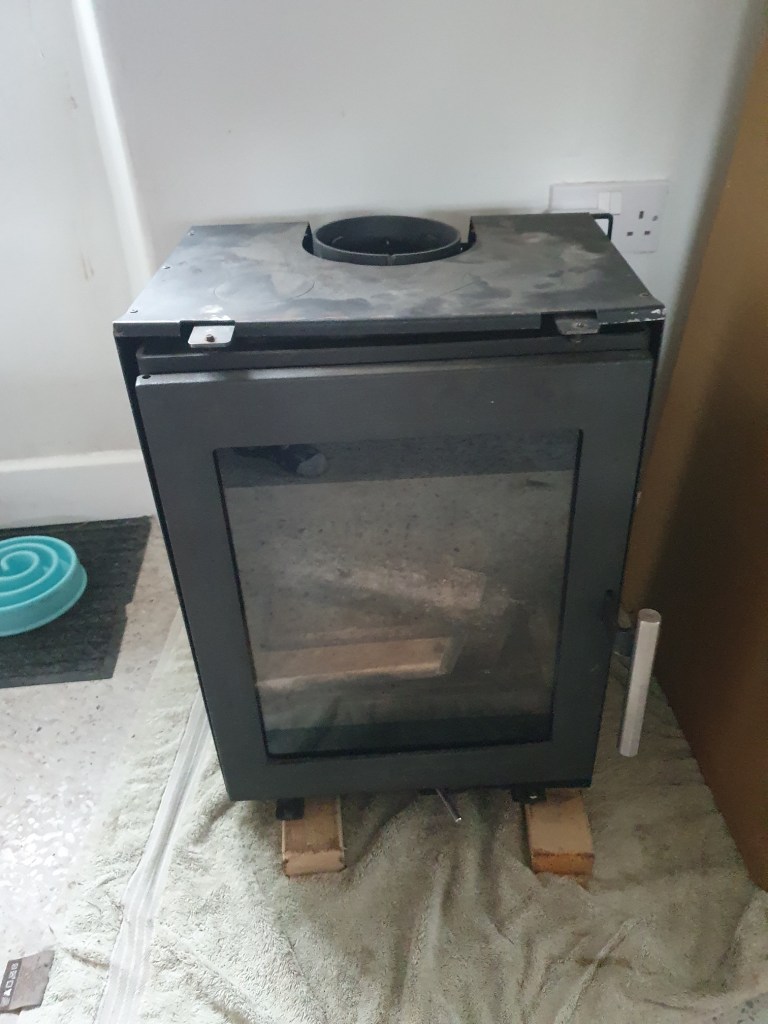
Chris had spent a long time finding a suitable second-hand woodburning stove for the lounge, needing to fit the hole that would be left by the old one. Luckily he found a fairly new one that had recently been taken out by the company that installed it, as the owners had had an extension and needed a bigger one installed. It’ll be a big dusty job, so definitely worth doing before the baby arrives.
-
Second coat
Sometimes things take an age but at the end you don’t seem to have much to show for it – that’s very much true of the second coat of paint.
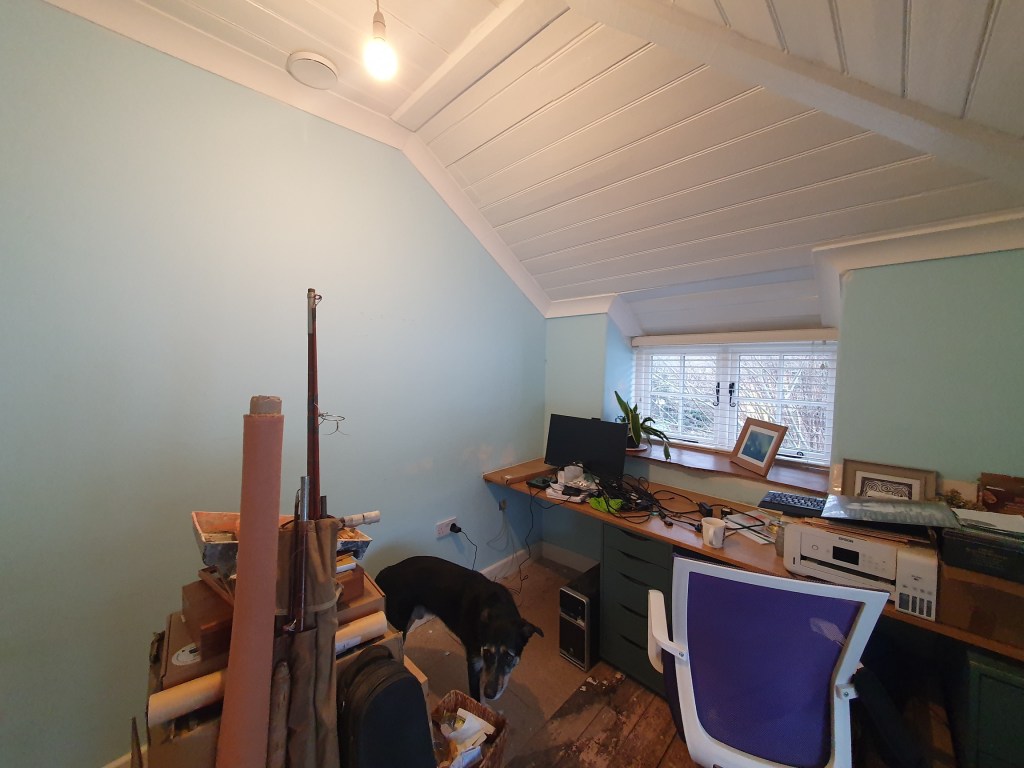
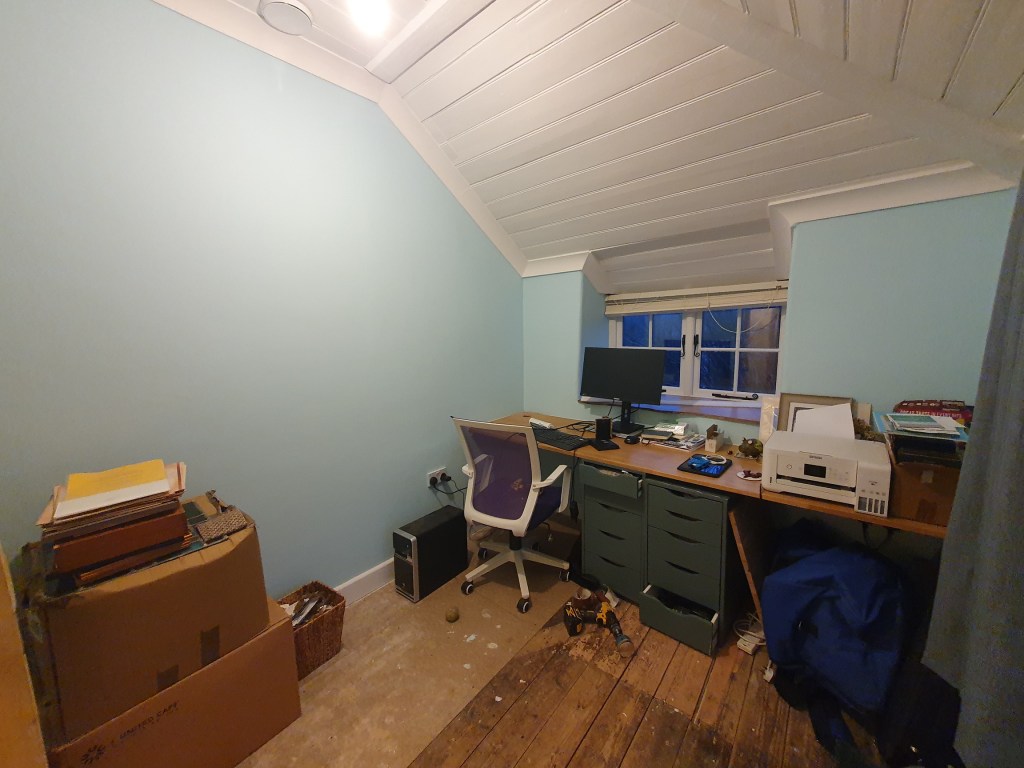
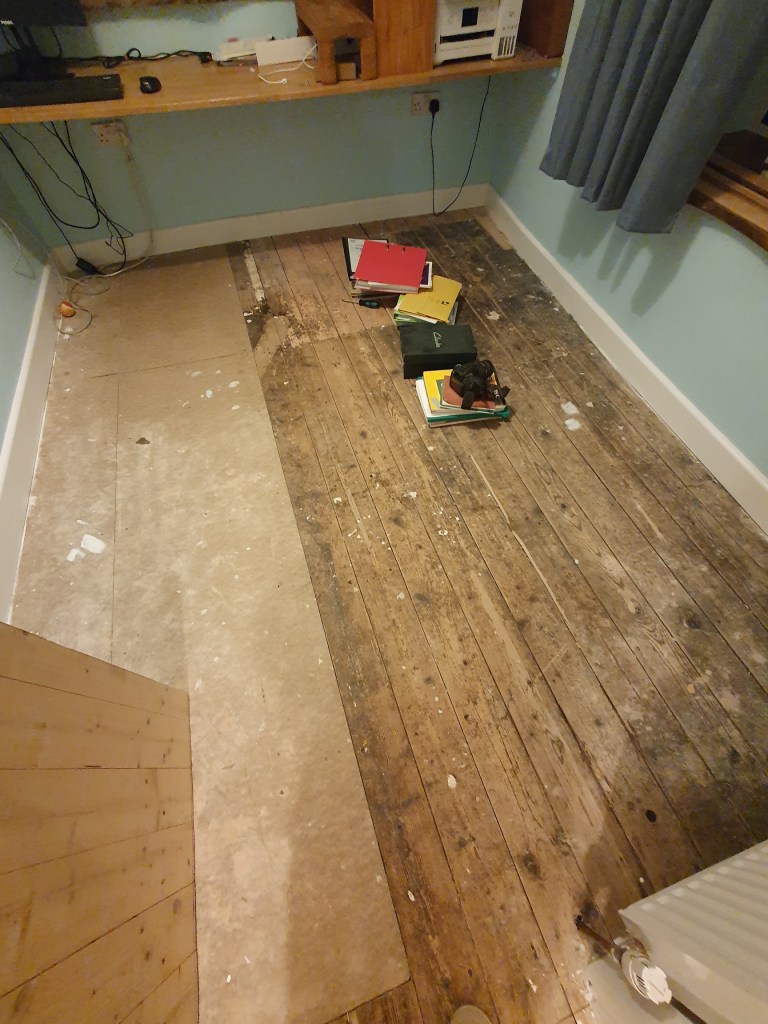
The second coat on the study/baby room wasn’t too bad except shifting around the various bits of bobs currently housed in there. Having filled and sanded under the windows, there were a few patches needing covering up, but mostly it looked the same post paint. Still very much worth doing before the carpet gets fitted.
Because the green paint covered and blended so well we decided not to repaint the whole room but just paint where we filled around the windows, which was much quicker.
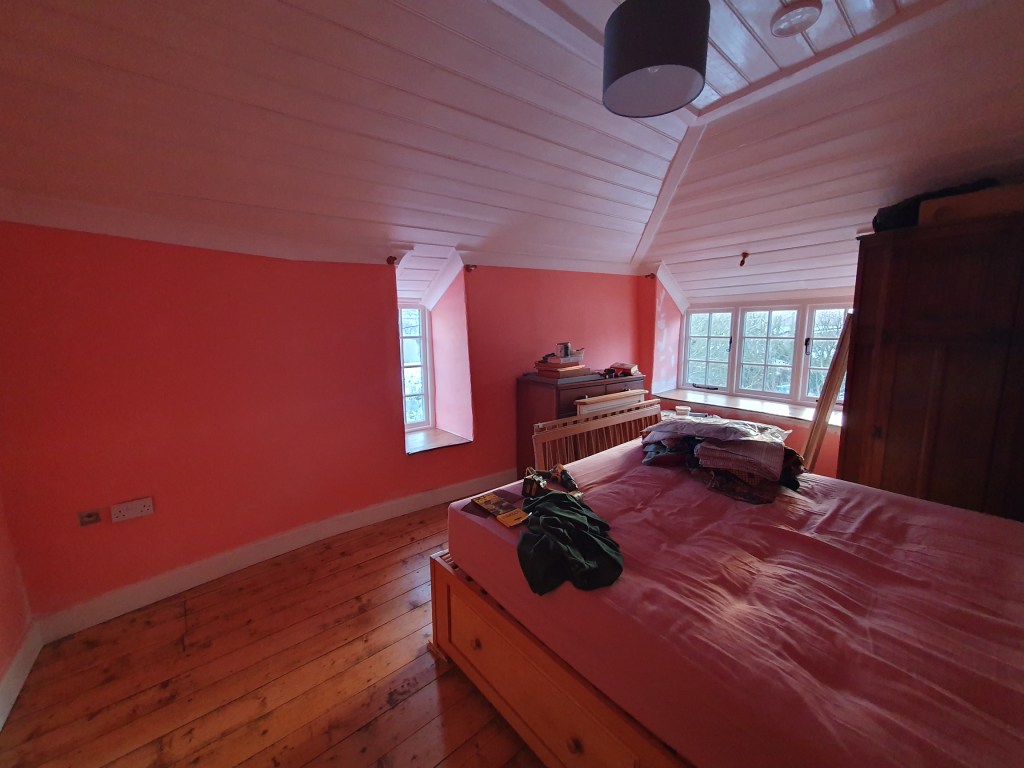
A bigger job was lugging around furniture so the room made a little more sense. Having moved into the pink room, any furniture we didn’t want has been dumped in the spare. In time we may get rid of a few items, as they aren’t really needed.

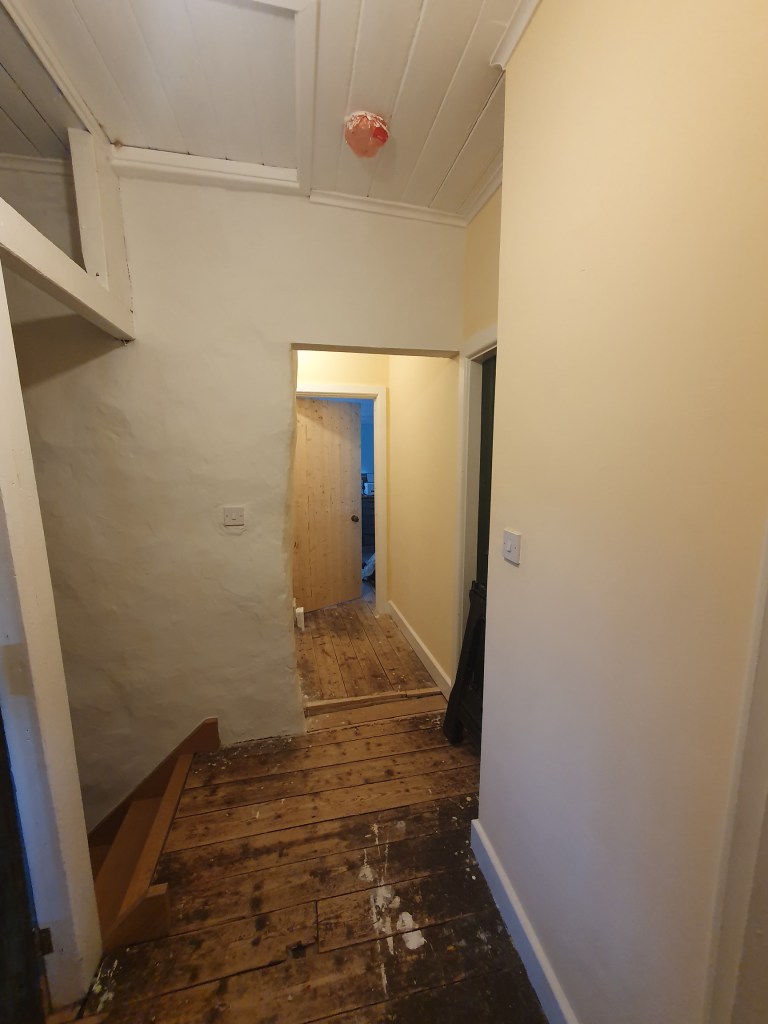
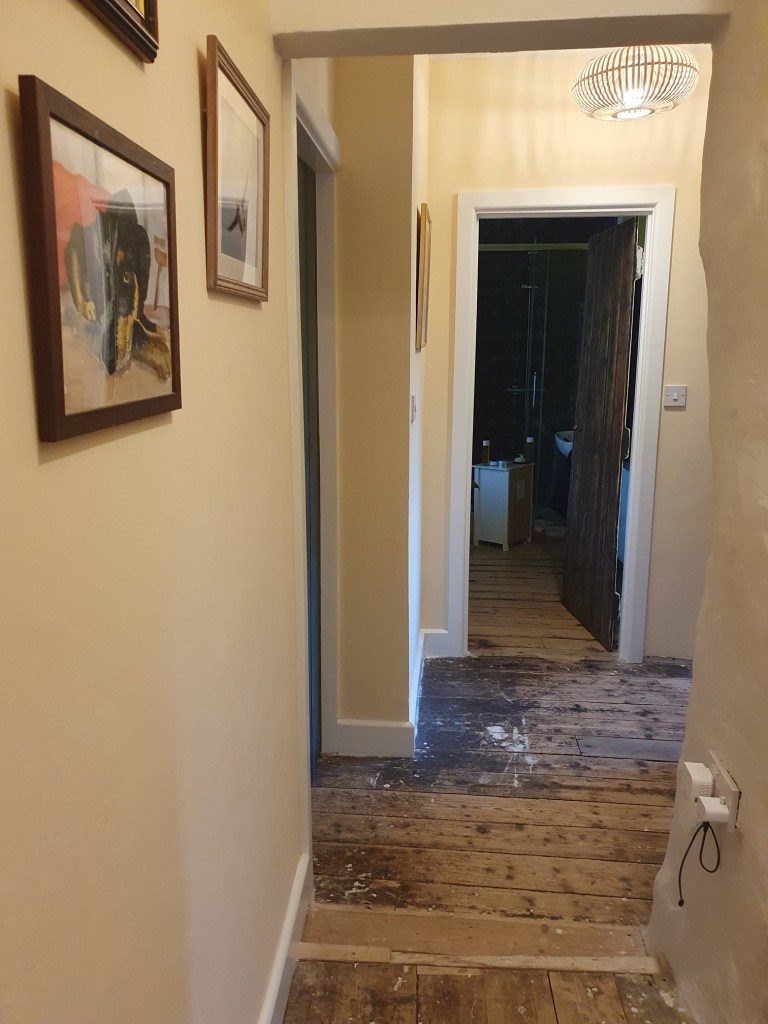
Though the pictures don’t really show the change the landing was a noticeable refresh. As we’re carpeting this area soon it made sense to repaint now, including a coat of yellow and repainting the stair wall post filling. There’s still the other side of the stairs to paint, but the wall is so high I’m not sure how we’ll reach the top.

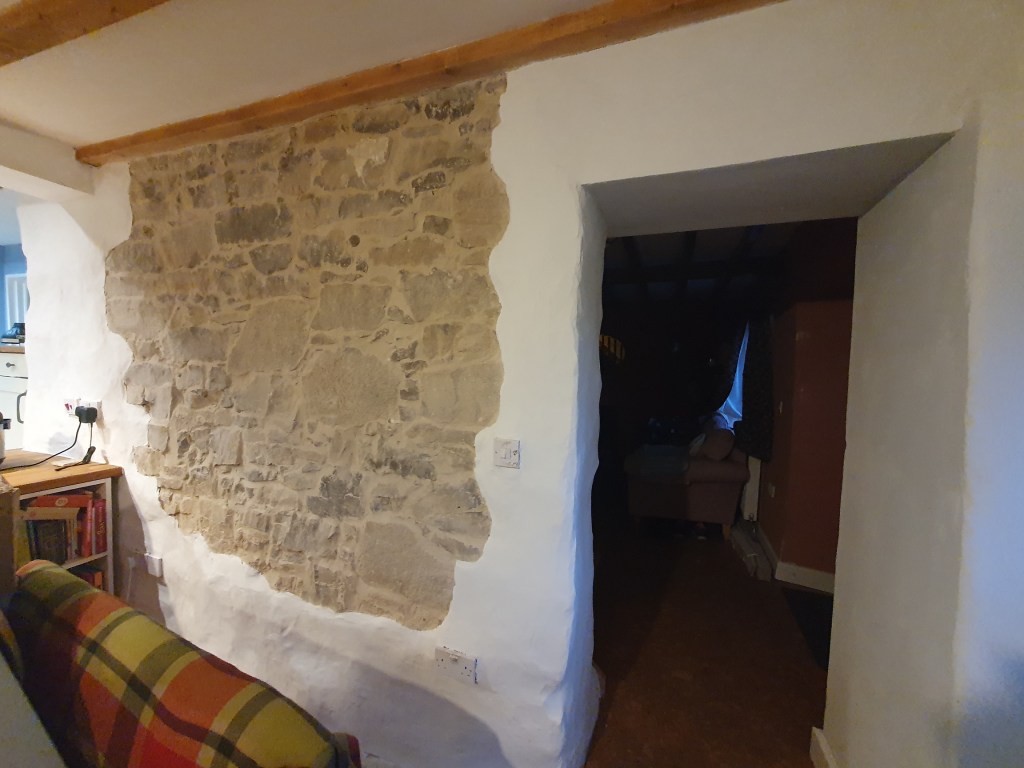
The plaster surrounding the stone wall had never been painted, so that was nice to do. However, being a small area I convinced myself it wouldn’t take long. Because of its rough uneven surface the whole thing had to be done with a brush, making take an age.
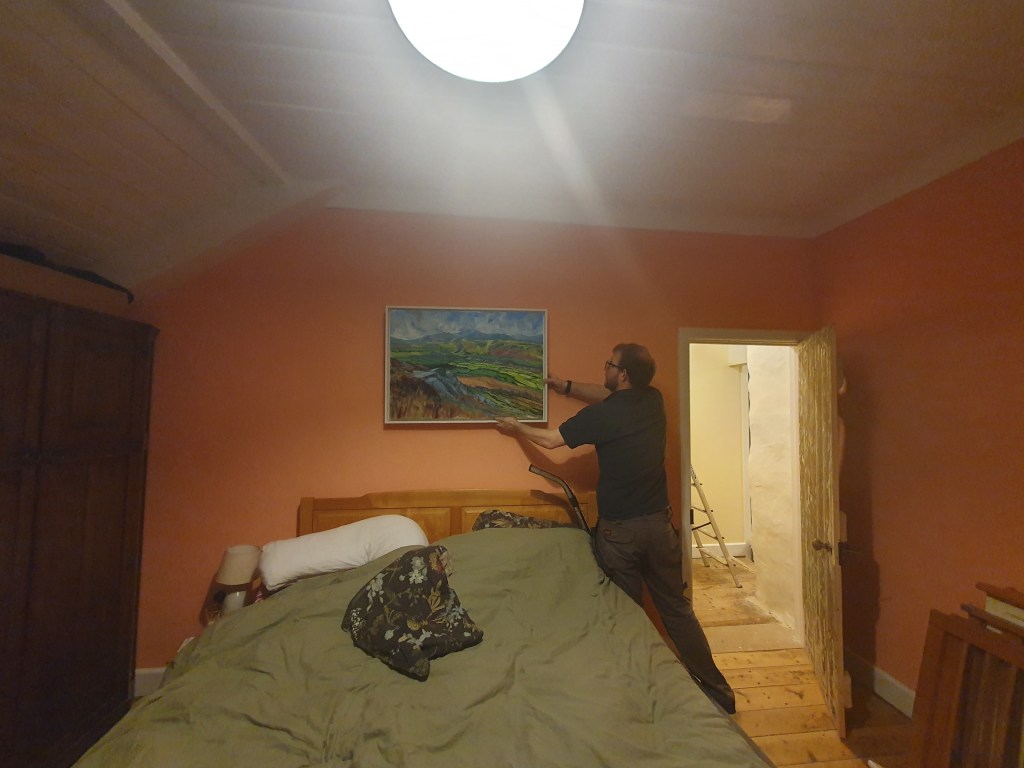
With a few walls painted we actually went as far as to start hanging a few pictures. I didn’t necessarily agree with where Chris wanted them, but as I end up making most of the decorating decisions in the house, I figured it was probably his turn to make a choice.
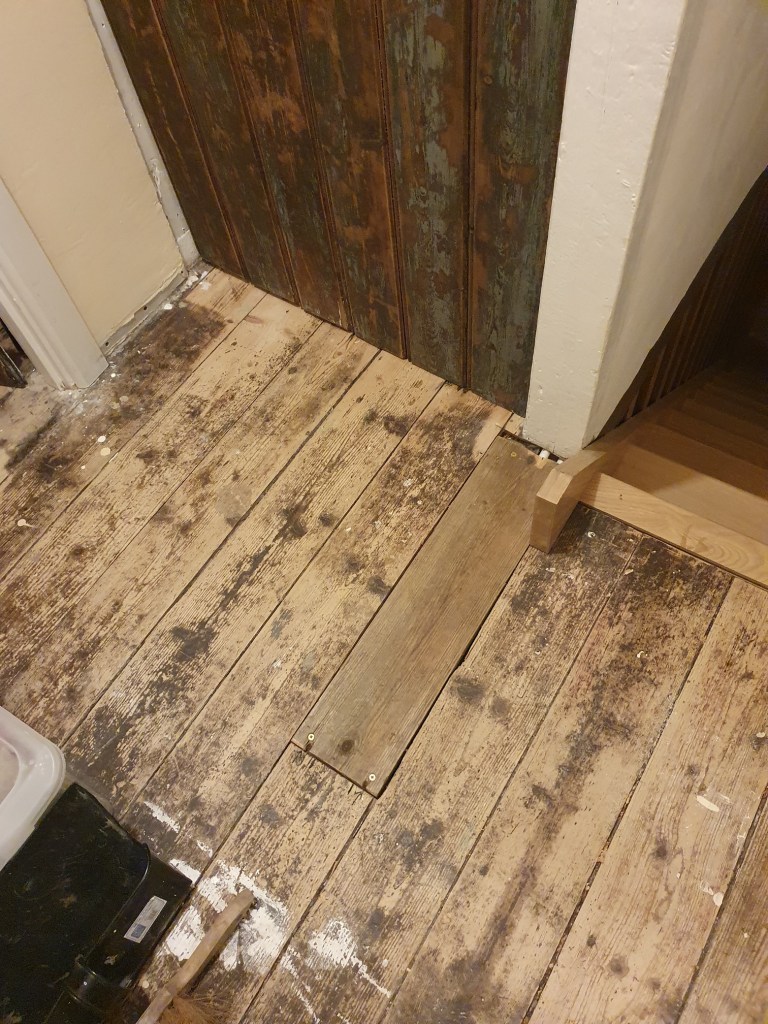
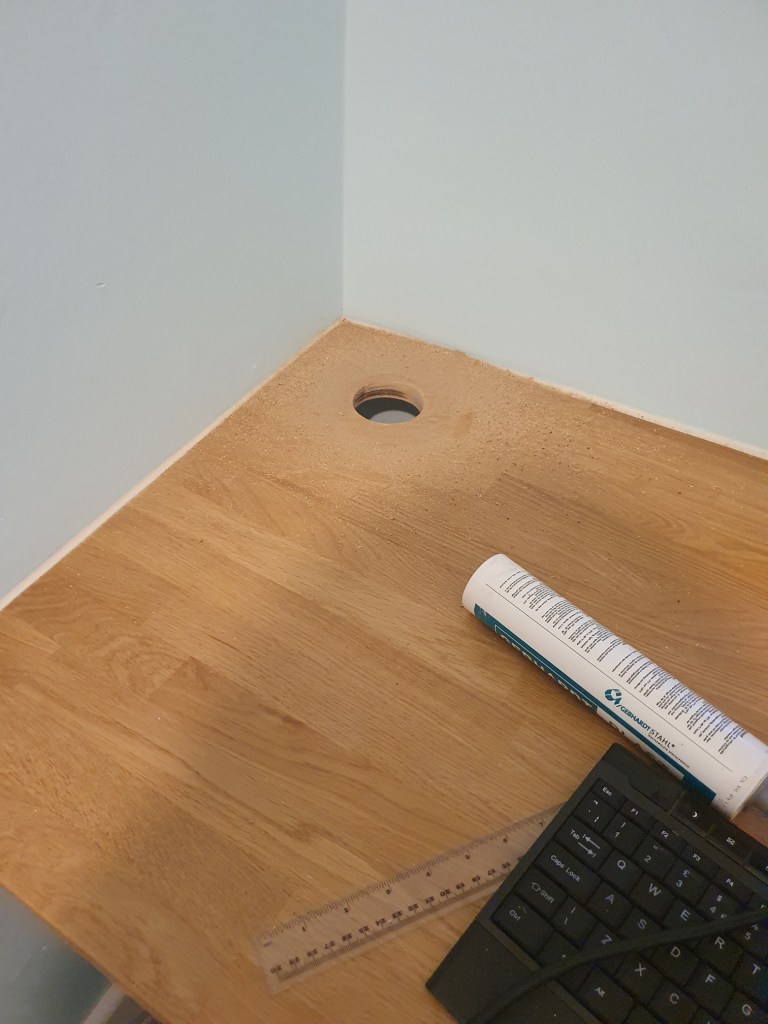
While I was busy painting, Chris got on with a few jobs that had been bothering him, including cutting holes through the desk for wires, and finally fitting an awkward bit of floorboard on the landing.
Well it doesn’t feel like much, but it’s taken enough time. Chris also picked up a second-hand built-in stove for the lounge. This will be a big messy job to get the old one out and new one in, so good to do before the baby arrives. Apparently at 8 months pregnant and I’m not allowed to help, so we might have to call in a favour for the lifting into place.
-
One down…
With a hectic Christmas over, I think both of us just wanted to collapse on a sofa and not get up until it was time to get back to work. But with very few weekends left till the baby arrives, it seemed wise to push through and get on with some DIY.


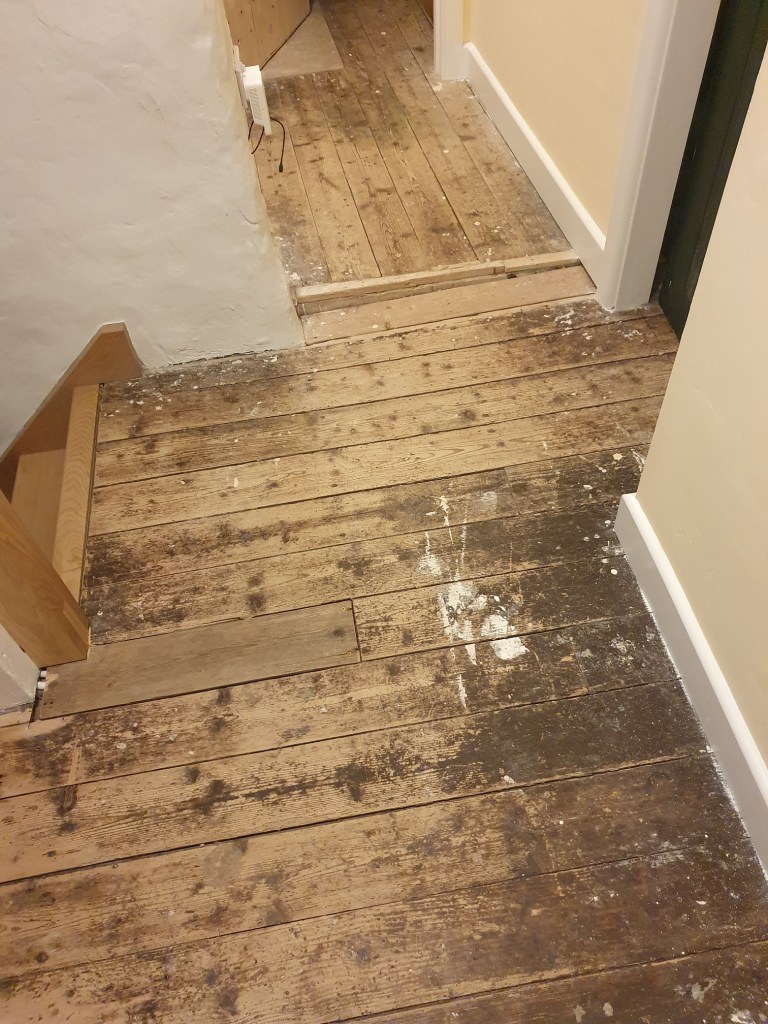
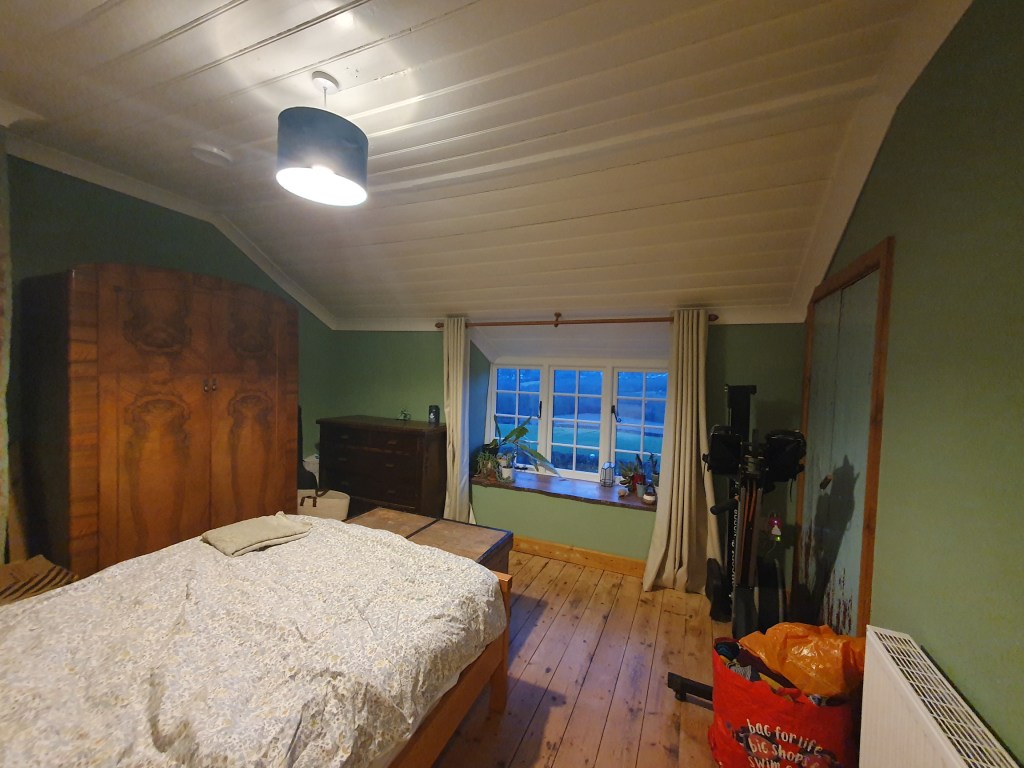
The floor in the spare bedroom, which will be ours once the baby arrives, had been sanded but never treated. In order to get on with the job, we had to clear the room, including taking apart the bed.
Room clear, Chris gave the floor a sand to refresh it before cleaning and treating. In the other rooms we’ve used a basic clear varnish, but we had some of the treatment left from the cork floor so decided to use that instead. Annoyingly it looks much nicer than the basic varnish, so we wish we’d used this on the other rooms now. It took two coats with four hours drying between to get the floor ship-shape.


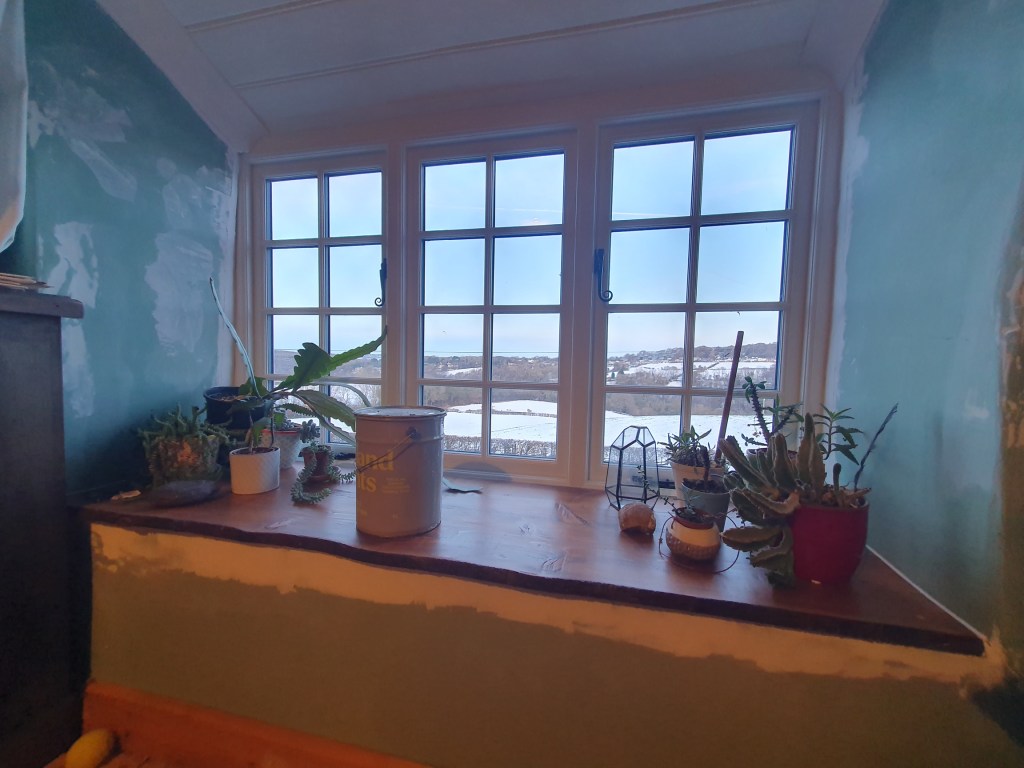
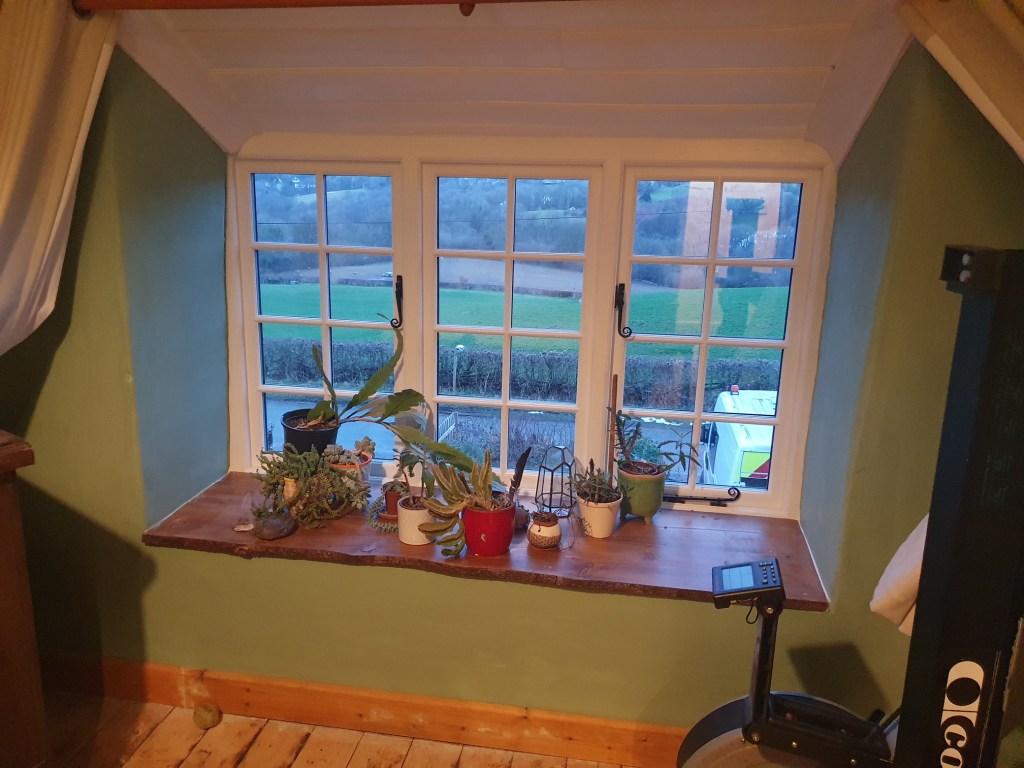
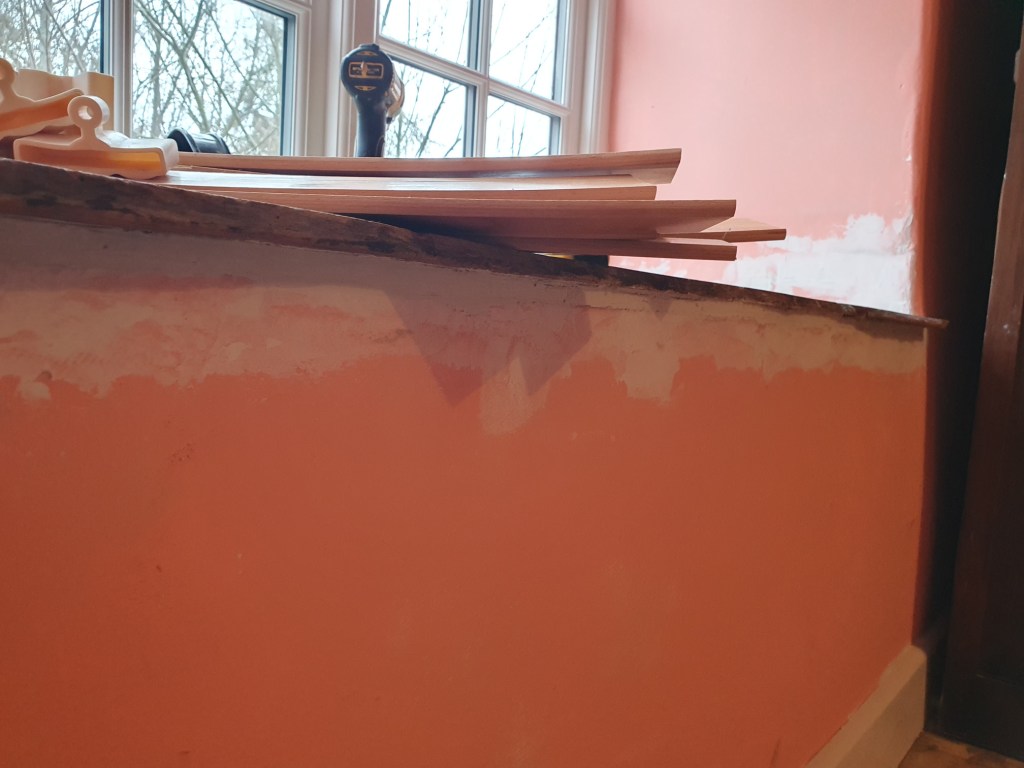
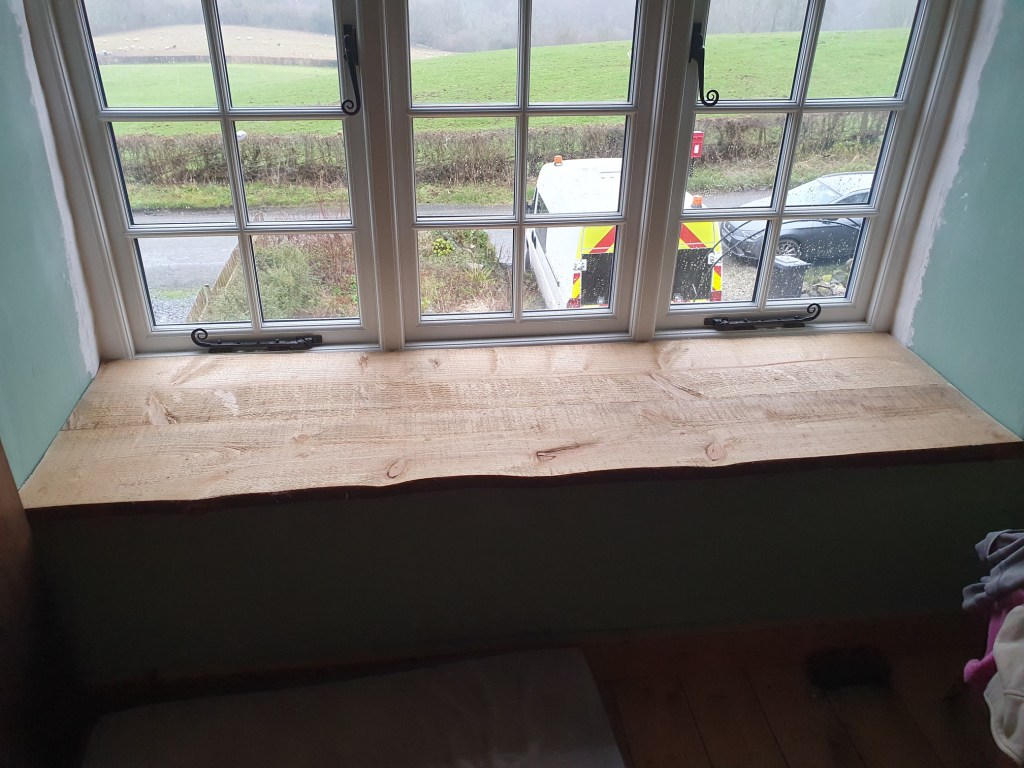
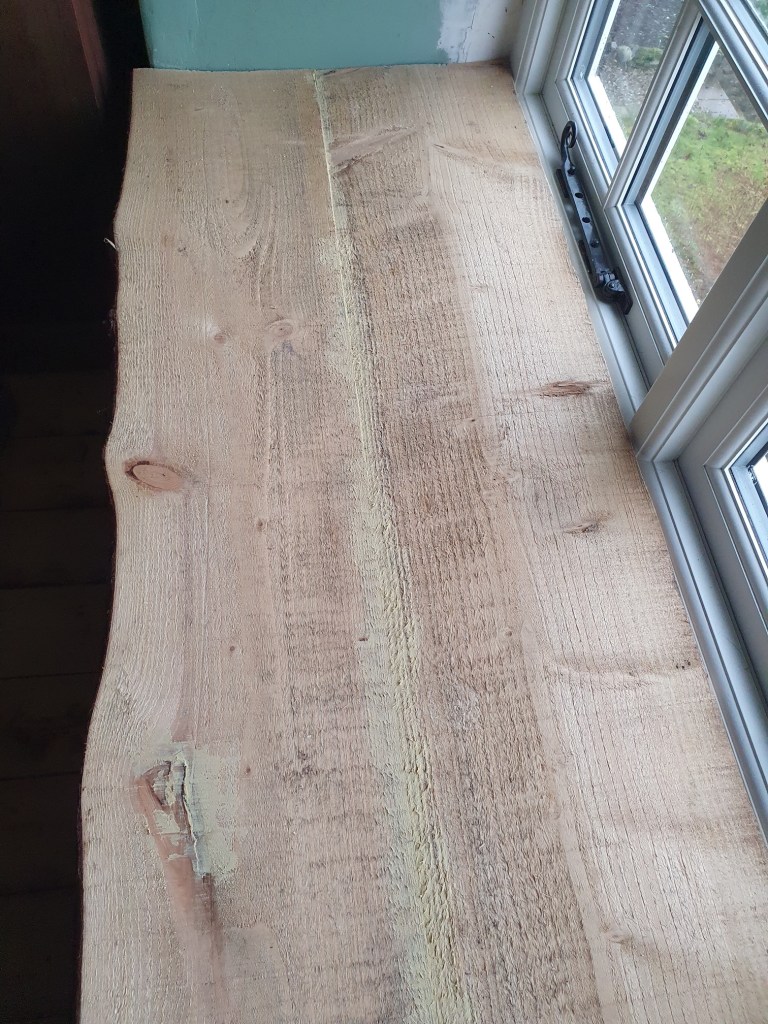
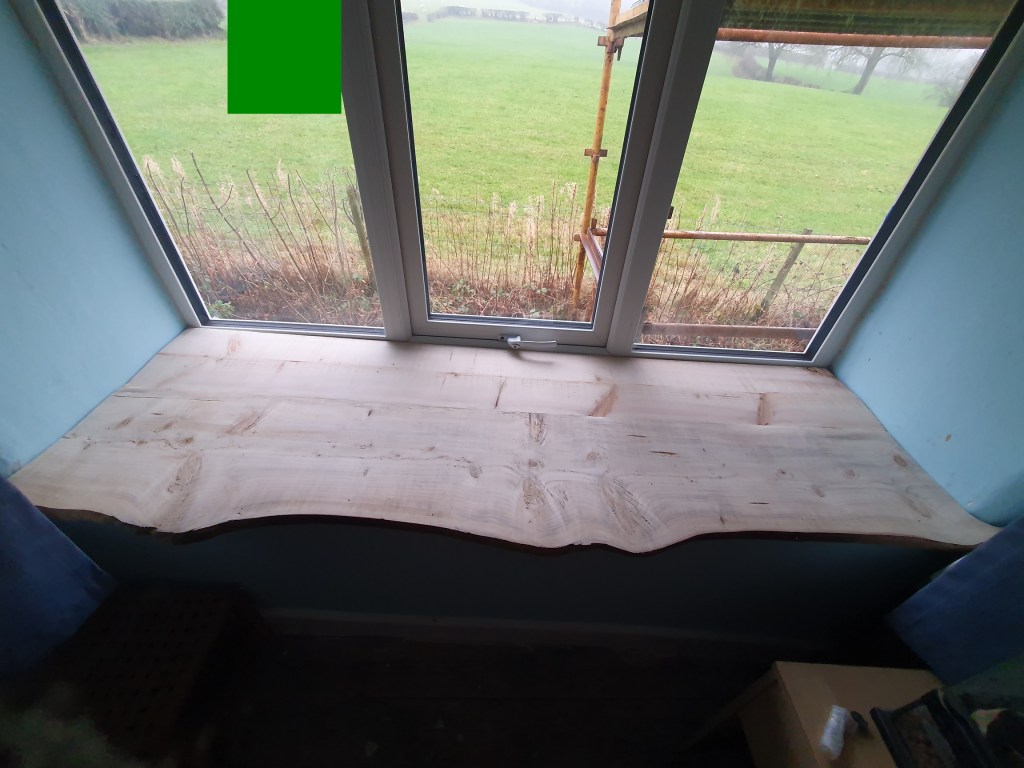
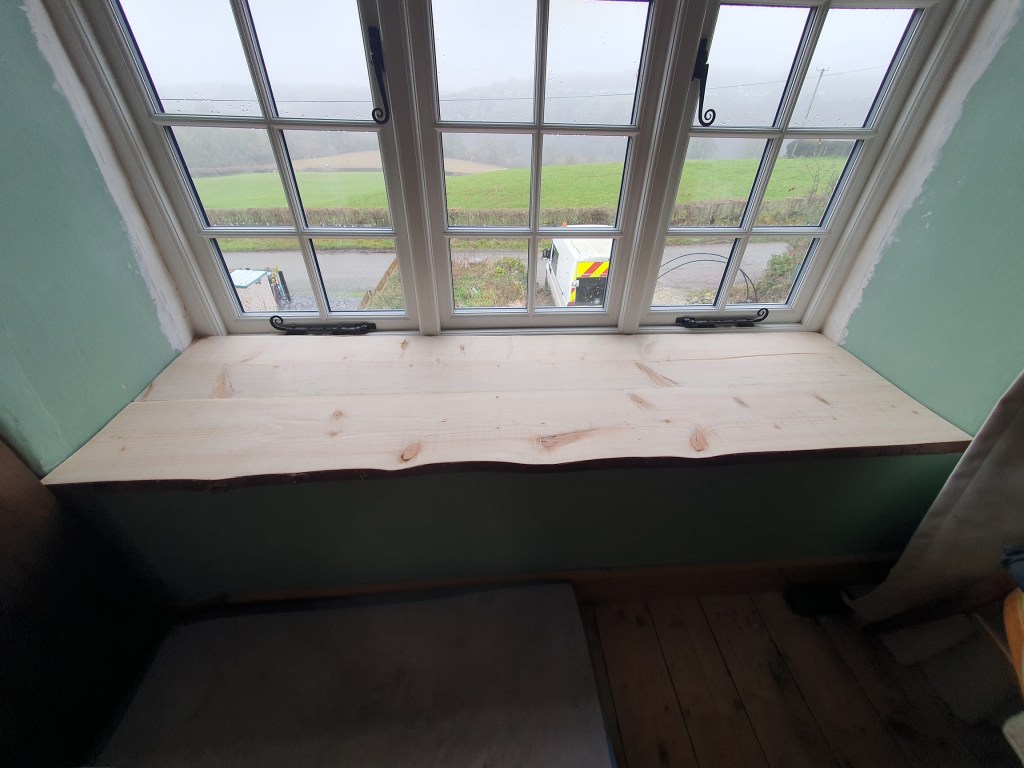
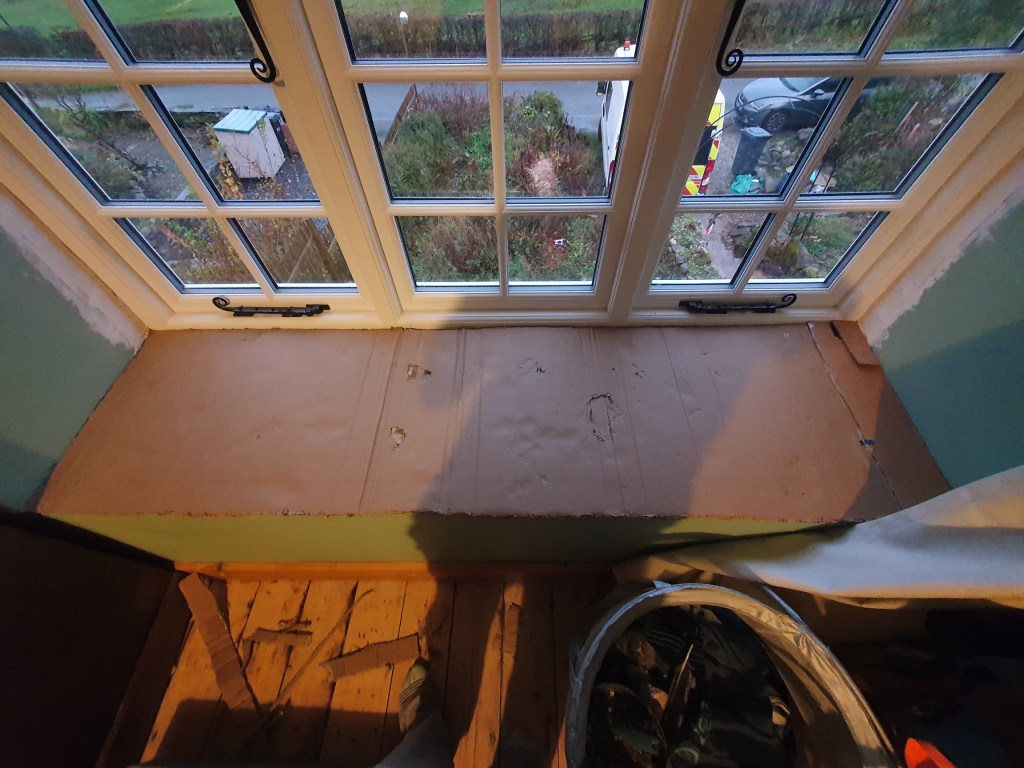
While Chris focused on the floor I continued with windowsills. First they needed attaching, now I had a new countersink (naturally we found the old countersink not long after). I screwed the windowsills down into the wood below, helping to hold them in place and flatten out wavy corners.
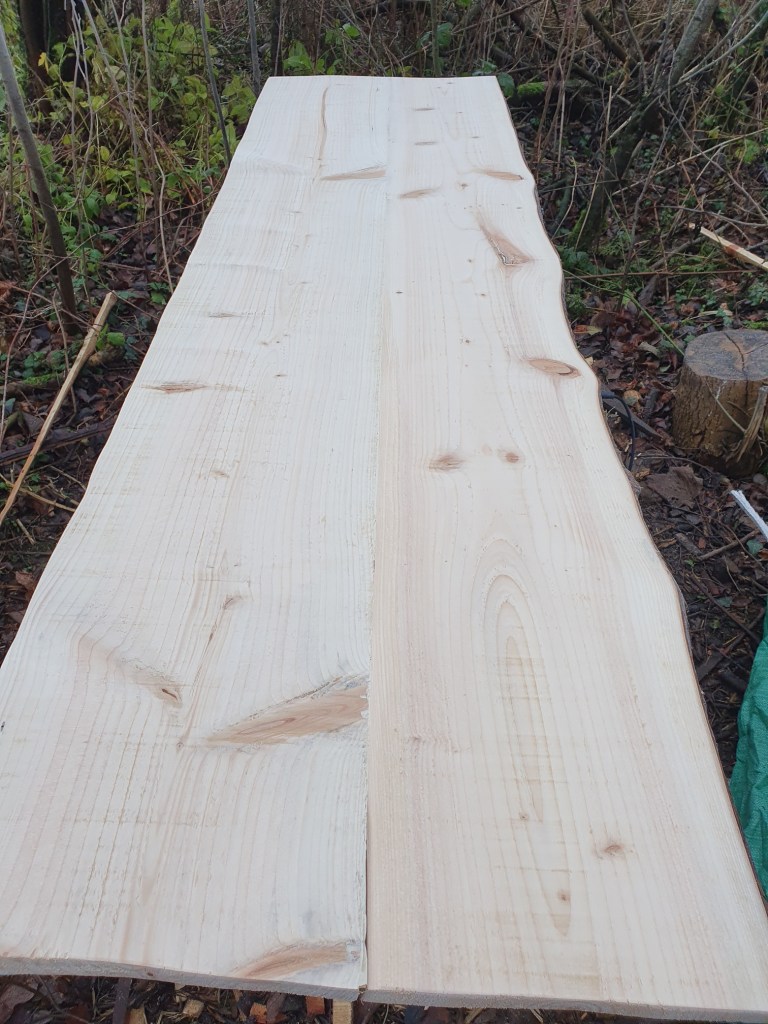
Screwholes and any gaps then needed to be filled and sanded. We decided the two spruce windowsills could do with darkening to match the rest. We had some of the oak stain left from the wooden beams so I gave them two coats of that, which did the job.
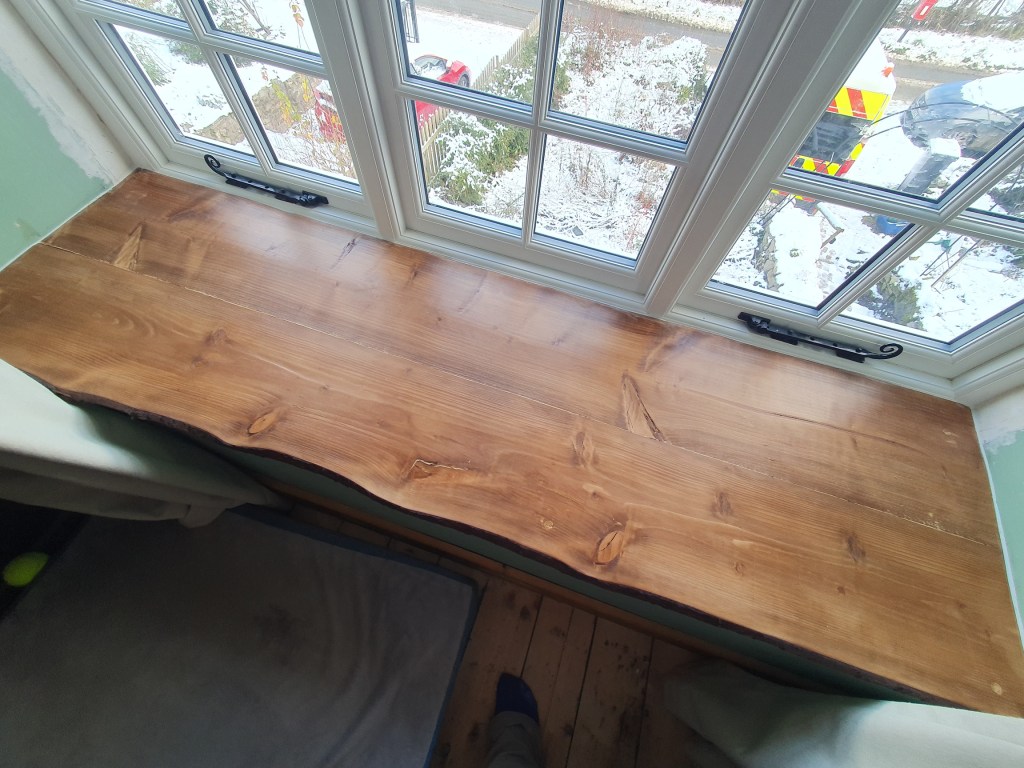
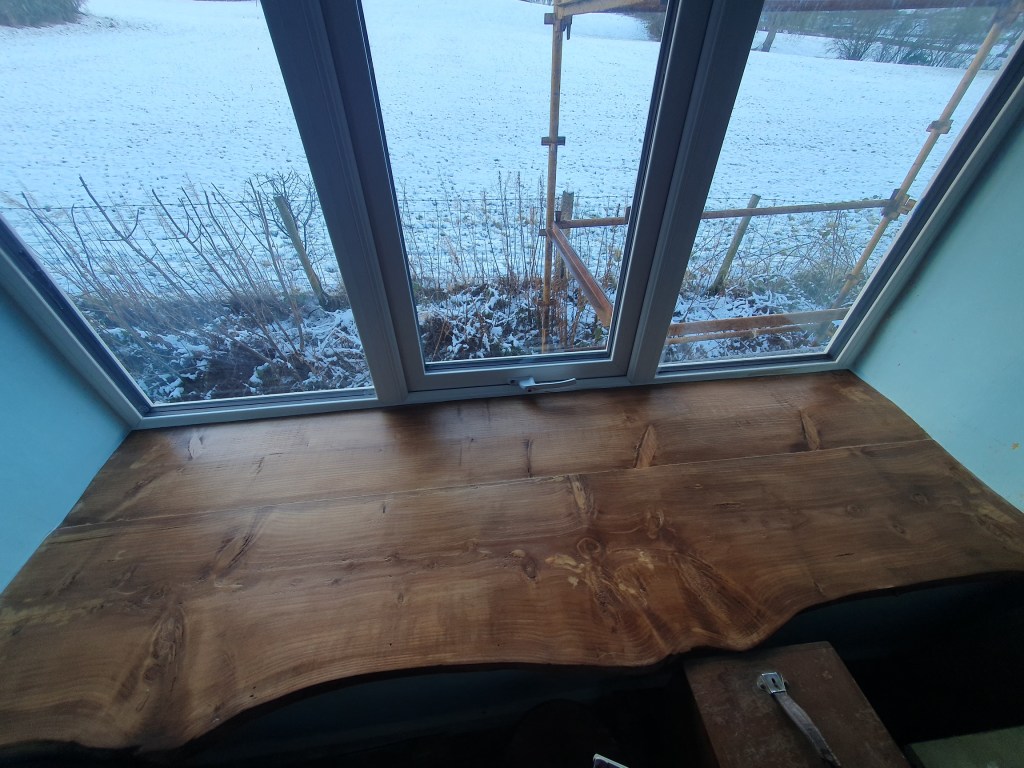
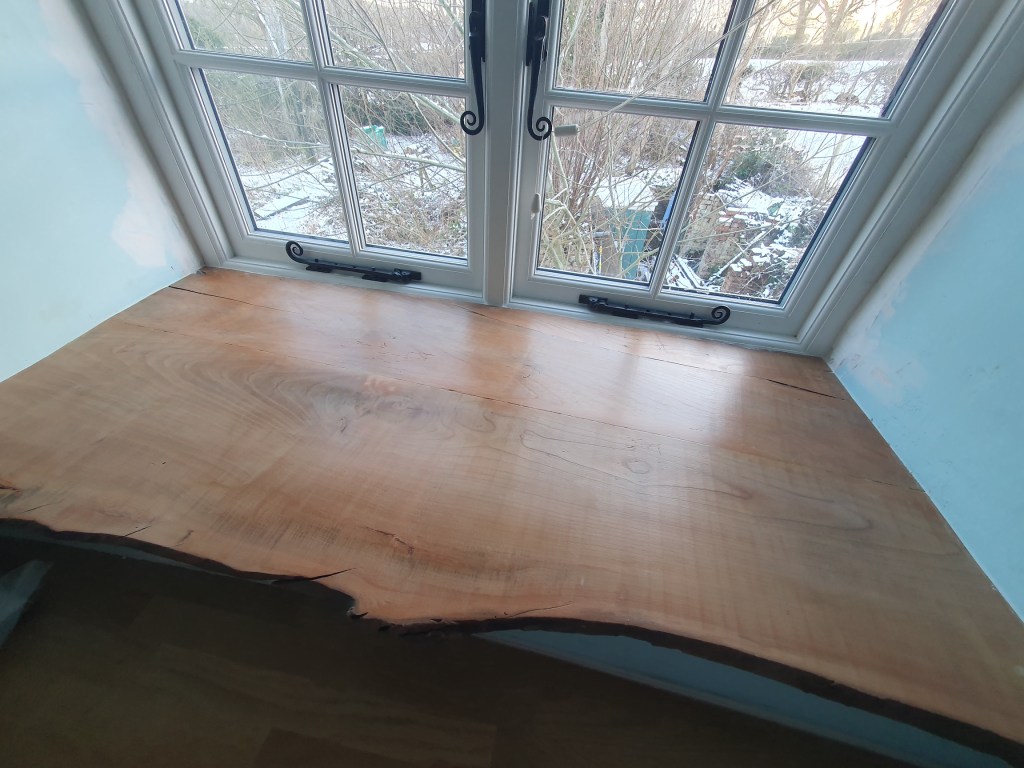
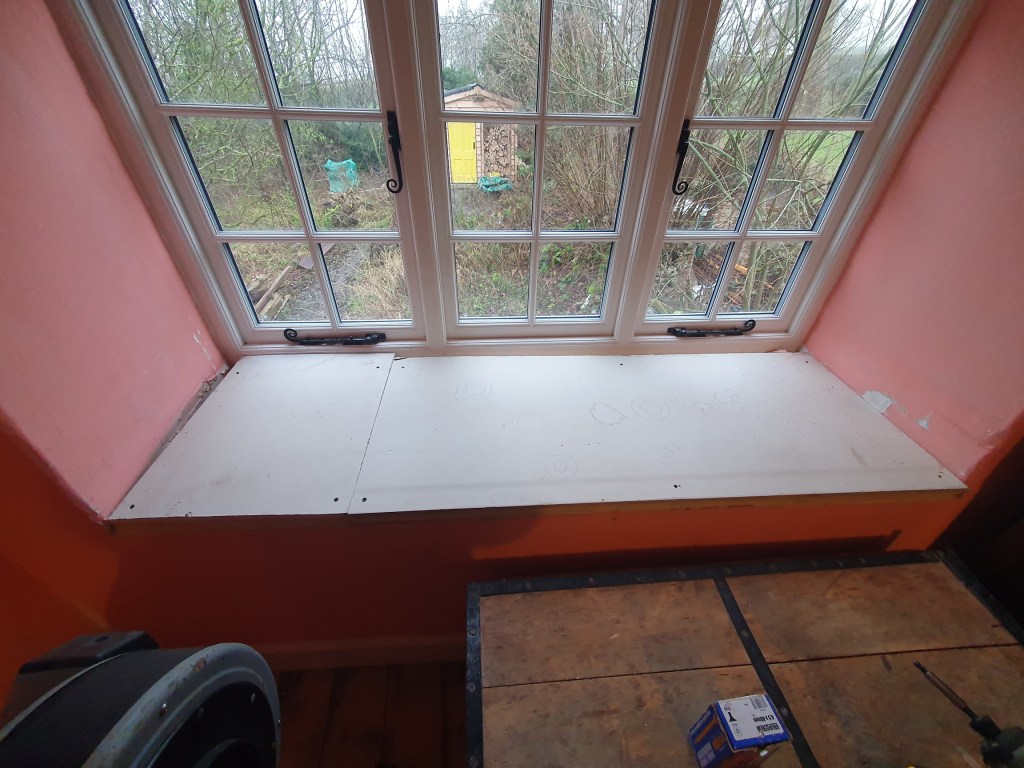
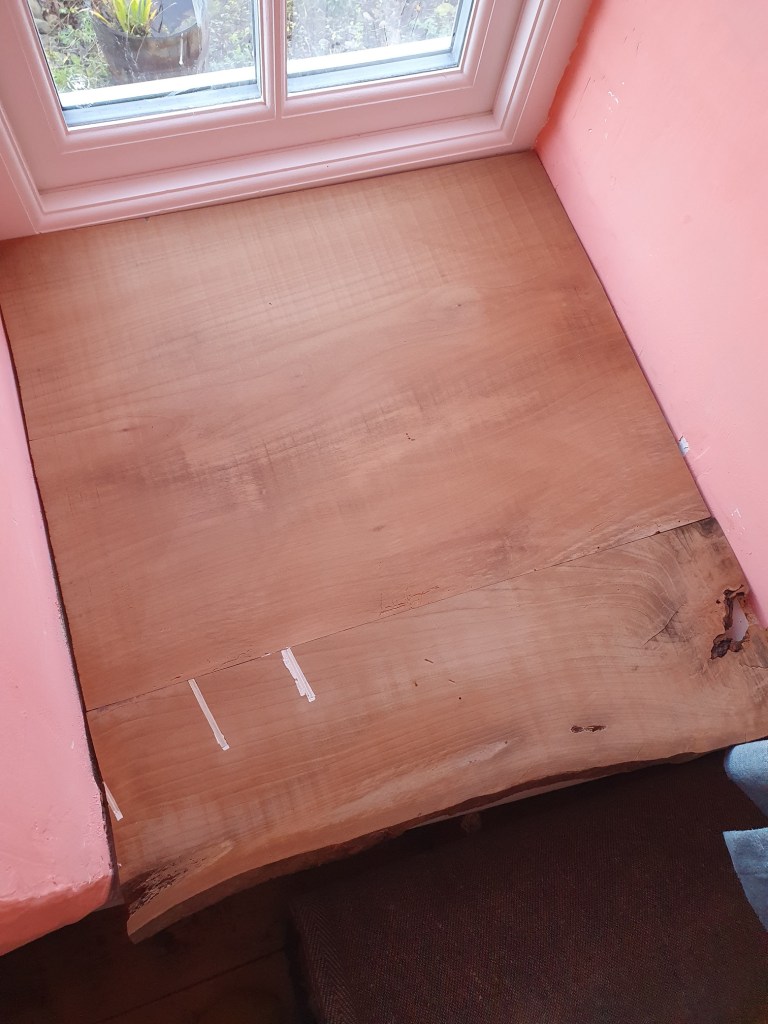
All windowsills attached, fill and sanded, the final job was two coats of the same treatment we were using for the wooden floor. Overall I’m really pleased with the end result. Fitting windowsills for our large window recesses.

One of the reasons I wanted to get the windowsills in was because it’s the last job needed in many of our rooms before they can have their final coat of paint.
With the varnish dried, I caulked around the edges, and filled the exposed board beneath the large windowsill in the spare bedroom. At the same time Chris filled some rough patches on the walls. Everything sanded, I started on the final coat of paint.

I made my way round the room applying the second coat to the walls, and another coat to the skirting and arcitrave. Stretching up and kneeling down is quite tiring work when 31 weeks pregnant, but finally the bedroom is done.
Now we can start to move our things in, and hang up pictures. With the windowsills finished in the study and other bedroom too, these can now also have final coats of paint. It’s getting tight to the deadline, but it’s feeling a little more achievable with one room ticked off.
-
Layers
It’s always the little jobs that seem to take an age. After previously filling and sanding the skirting in the lounge and part of the kitchen, I thought I’d do the quick job of painting it. However, the cheap and cheerful wood paint we’d brought was thin as water, and four coats later the small section of skirting had taken me half a day.
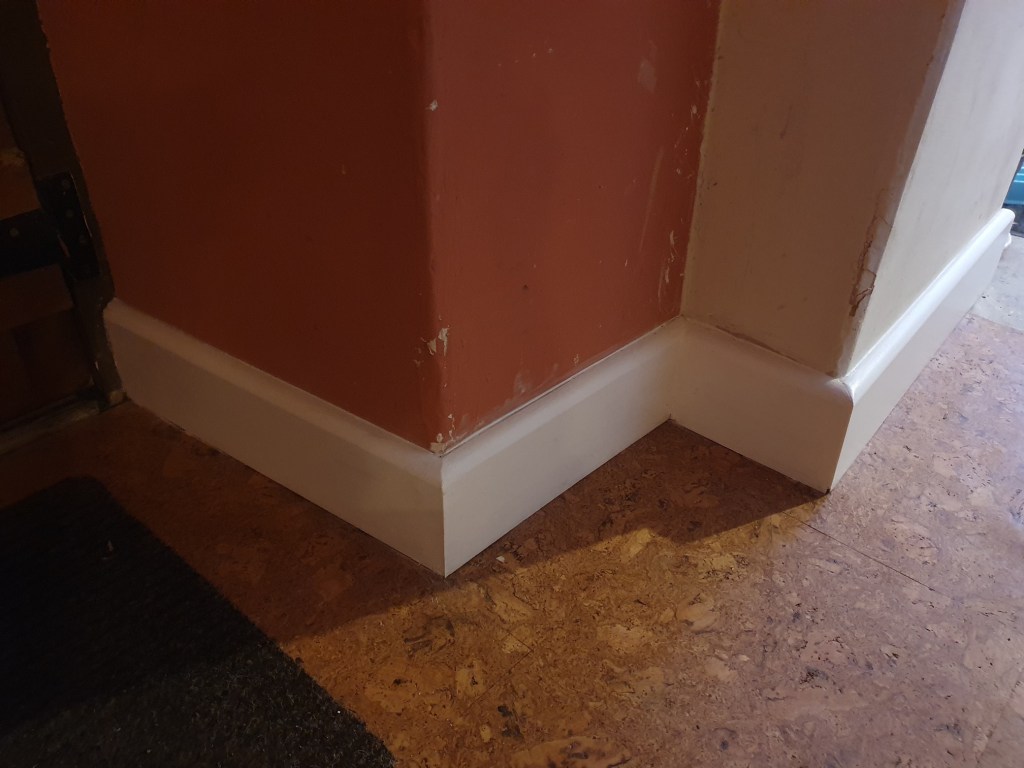
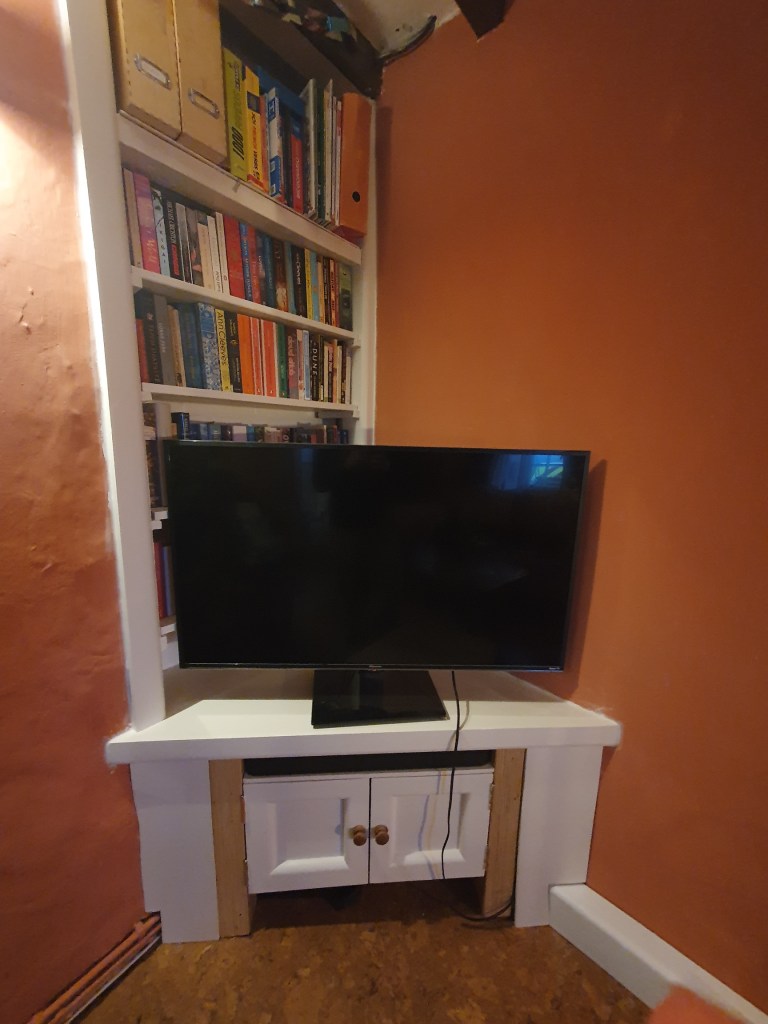
In the lounge, the much better quality cream heritage paint covered in two coats, and the TV unit is finally finished.
Upstairs I wanted to attach the windowsill in the spare bedroom but Chris reminded me he wanted the thicker insulated plasterboard replacing with the thinner fibre cement board. The reason was because the thicker board caused the windowsill to sit quite high on the windowframe. I felt a little bad replacing it given this was the third time, installed once by the contractors, only for my knee to go through it when we were installing the window, and then replaced by Max on his DIY week. Still at least all the boards were left overs from the previous work.
Frustratingly, having installed the new board it turned out the countersink bit was no where to be found, so I couldn’t install the windowsill after all.

So, with no luck installing windowsills, I moved on to cutting out the wood for the last one. Awkwardly the remaining wood was only just wider enough so I couldn’t afford to lose much in the cutting.

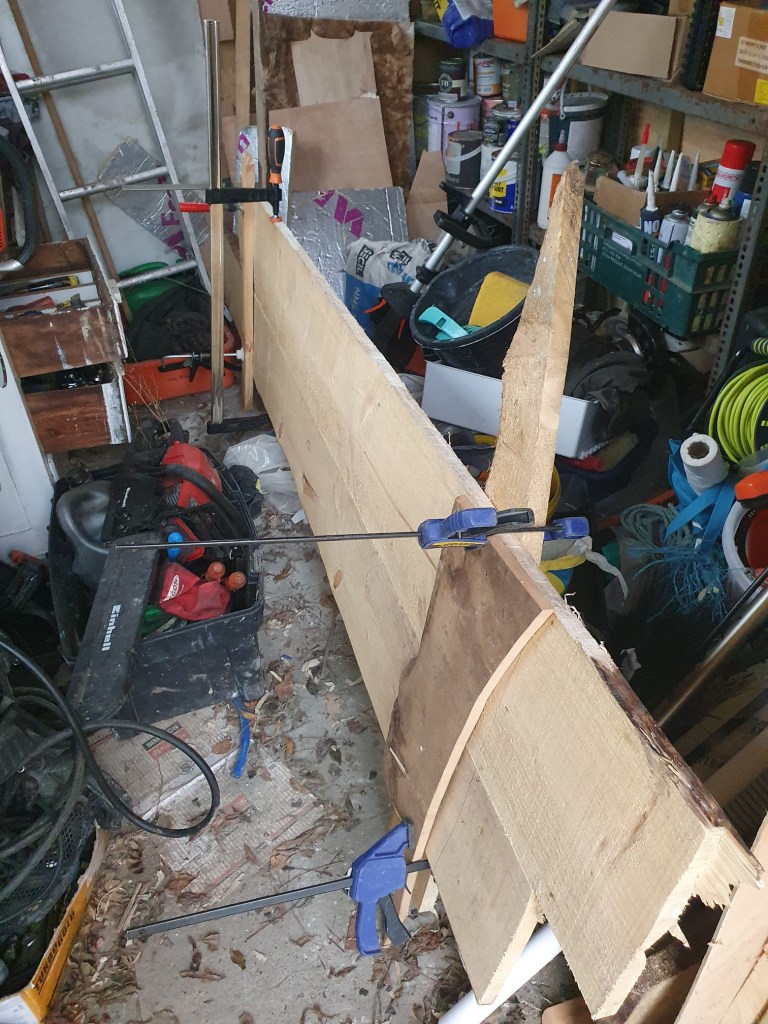
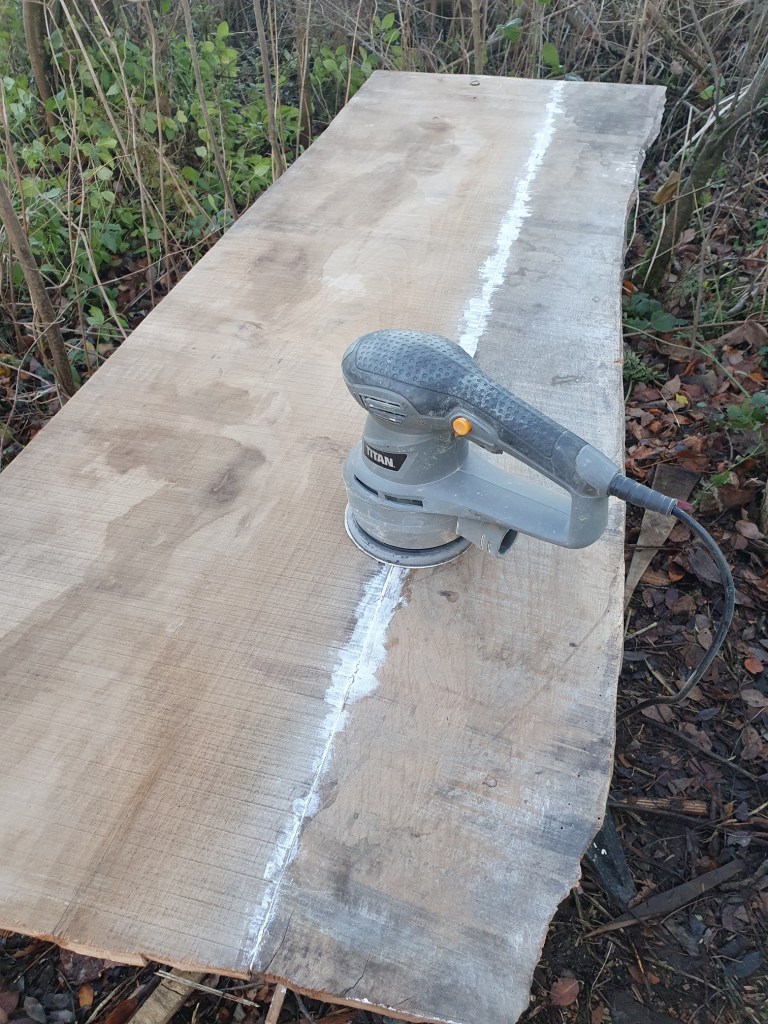
Having cut out the pieces I left them to dry for a few days before planing the edges and joining the pieces, and leaving the whole thing to set in the shed.
It wasn’t too tricky to cut the windowsill to shape for once, with just a couple of trims needed. I then used some wood filler on the gap for this new windowsill and the one I’d previously made for the study.
With that, and a bit of dry weather, I took both of the windowsills outside for a sand. The spruce was much rougher than the elm, and so harder to sand, but it came out well after working through a couple of grades of sandpaper.
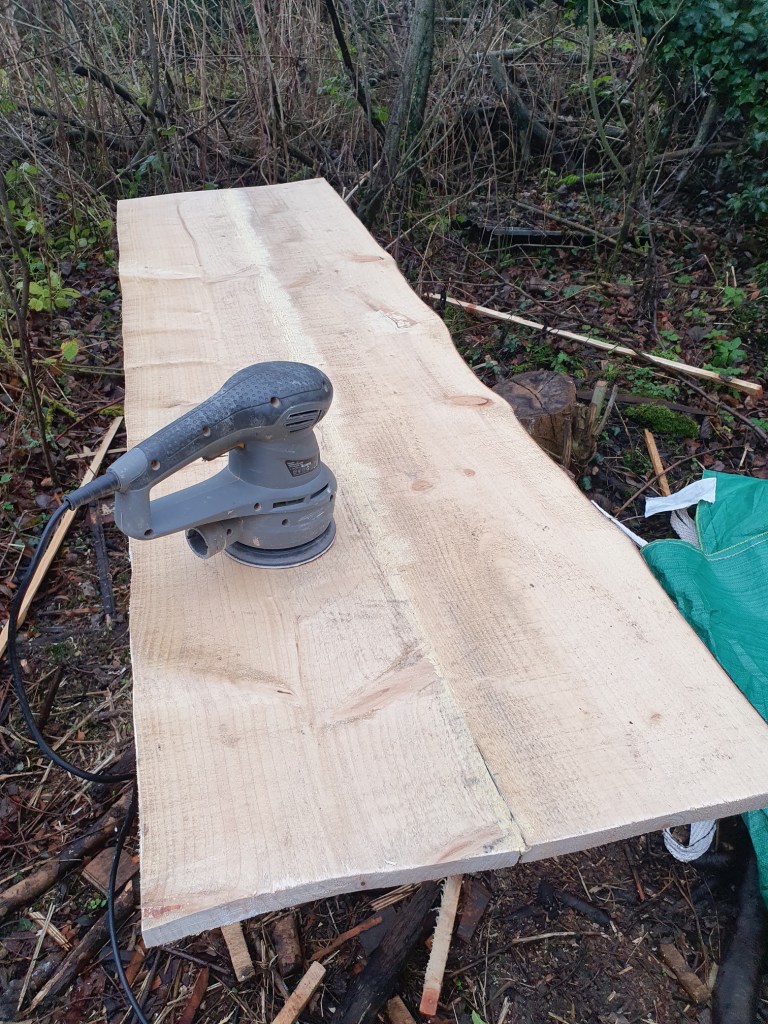
Both done and back in their places, they just need attaching, screw holes filling and sanding, and treating… once we’ve bought a new countersink bit.
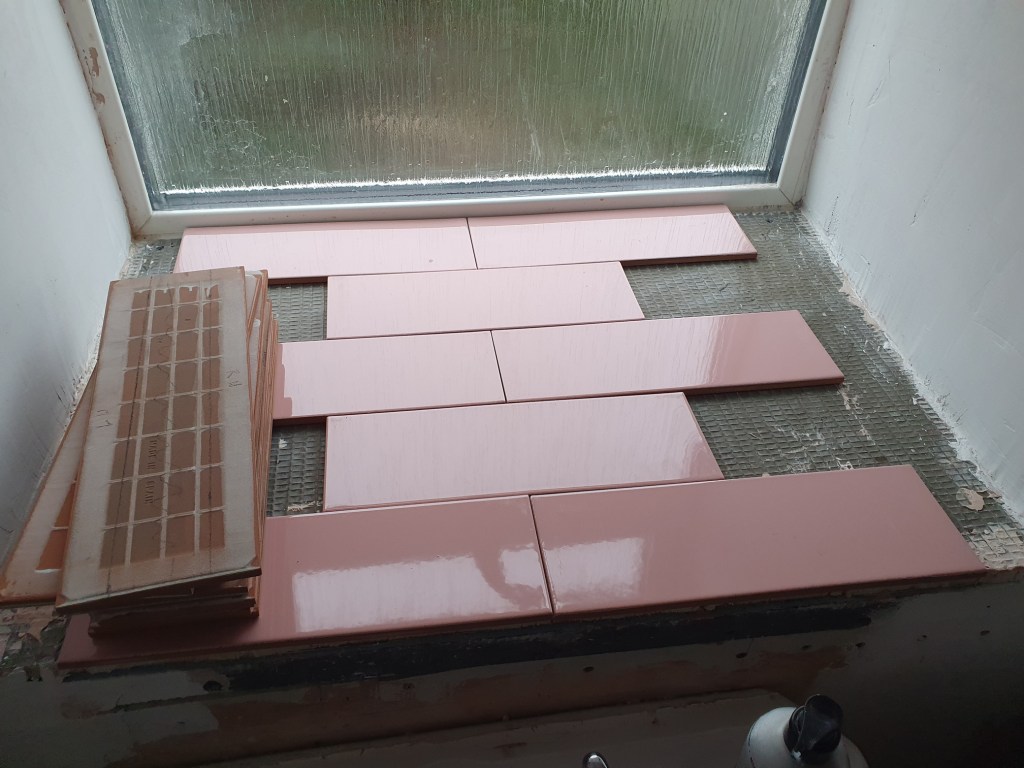
After umming and ahhing and ordering so many different tile samples the tile company rang me up, we finally settled on a pink for the downstairs toilet windowsill. I’ve marked them ready to cut, we just need to dig out the tile cutter.
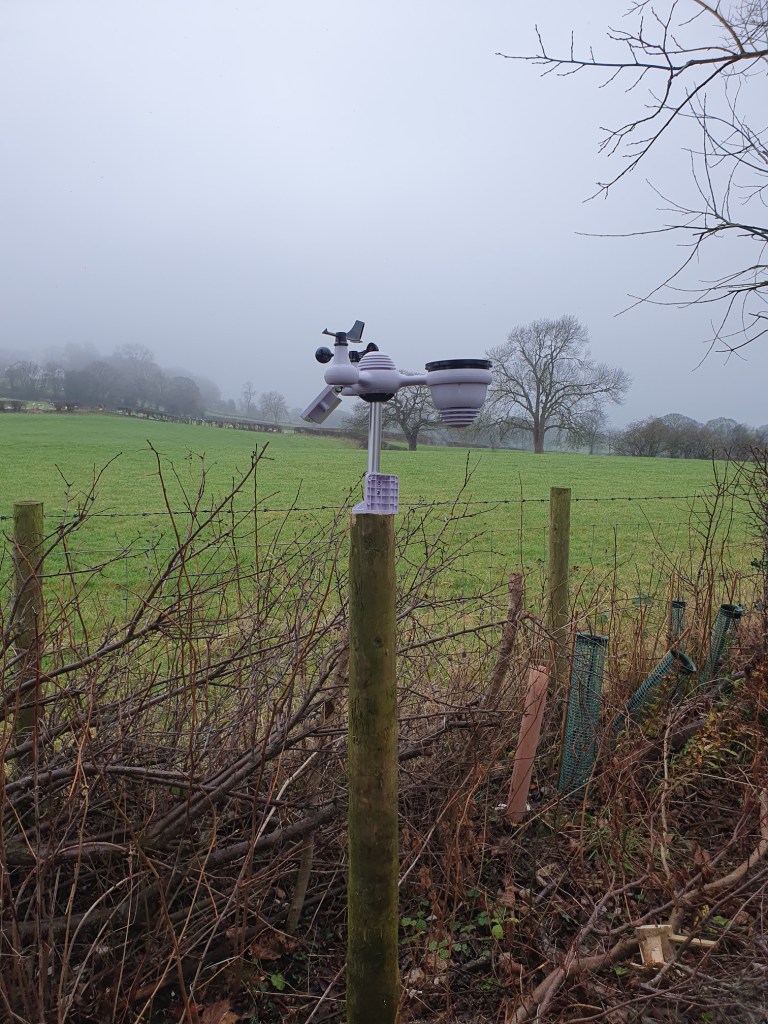
While I’ve been ticking off the odd job here and there Chris has been preoccupied with a mixture of attending Christmas parties, working and being ill. However, he did manage to finally set up and install our weather station. He’d ordered it so we could monitor our wind speeds, with the plan to install a small wind turbine at some point to add to our green energy.
Phew – it’s felt a busy build up to Christmas but we’re finally here. A few days with family to do nothing but eat and slob around, and then a brief bit of DIY chaos to build up to the New Year – what else could you want?

Merry Christmas!
-
Inside – outside
We spent half a day sorting through several moving boxes currently living in our study, trying to remember why we have so much stuff. By the end we managed to relocate many of the items to elsewhere in the house, or offer them up to charity. What remains is a box of pictures and another of photo albums, both of which won’t find homes till after the final coat of paint. While not the most exciting job, this gets us one step closer to carpeting the study, which will be the baby’s room, so worth a slow start to DIY this weekend.

Released from box sorting I decided to try and finish off the corner cabinet. First the side panels needed attaching. To do this I had to screw in some batons to attach the panels to, a little tricky in the small space but doable.

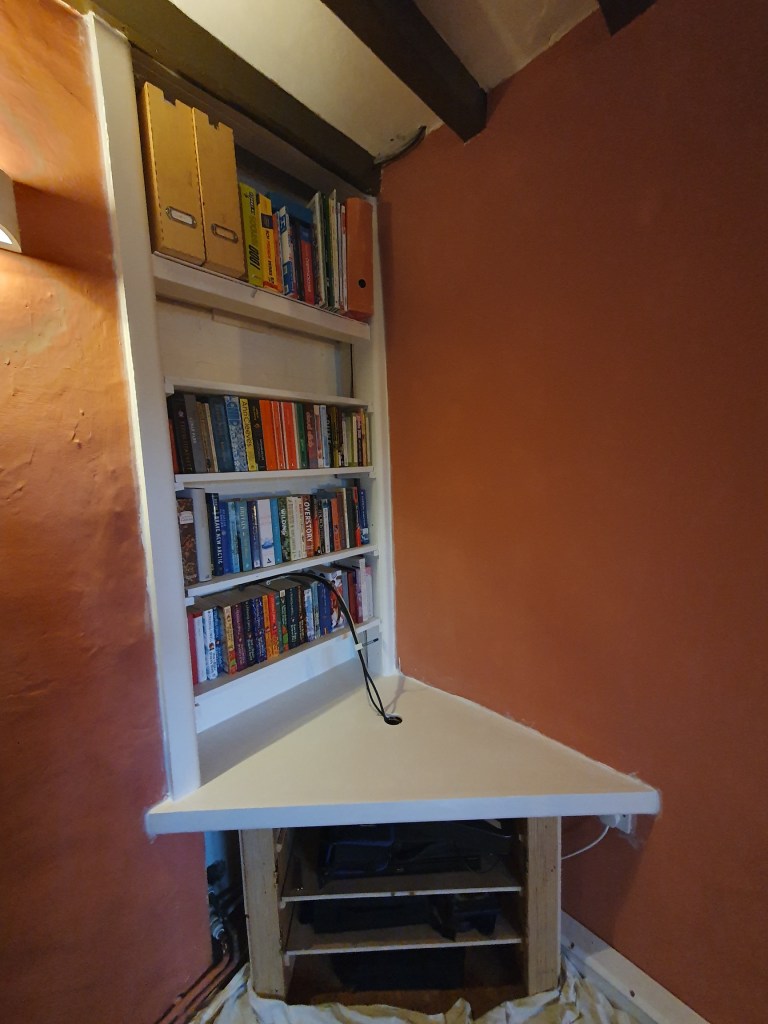
Before they can be attached they needed painting, so I coated them in primer before doing the same with the top shelf of the TV unit and the new shelf and brackets in the bookcase.
The rest of the unit got a quick sand, to tidy up some filler, and a coat of cream paint. The whole thing now needs a second coat, as do the pieces coated in primer, but this can’t happen till everything has dried.
I moved on to filling the screw holes and joins on the skirting.
Having some leftover filler I tried to smooth out some lumpy patches on the ceiling. Clearly a poor repair, before our time, we’d ignored it as none urgent, but I’ve been finding it more and more irritating, so filler it is.
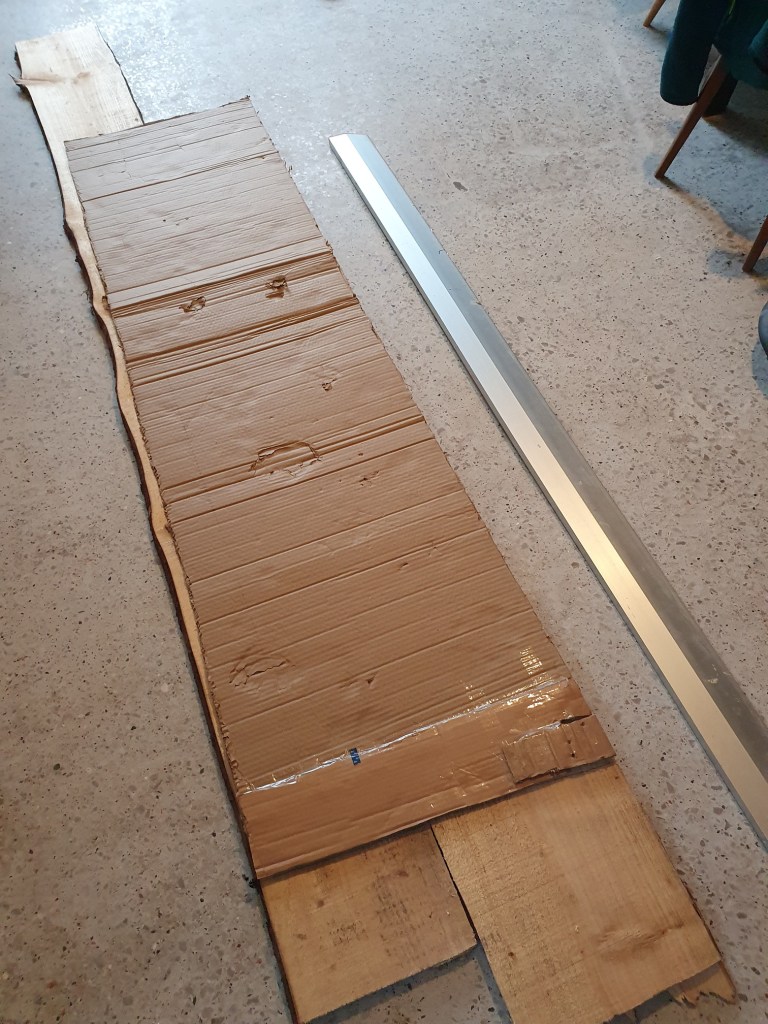
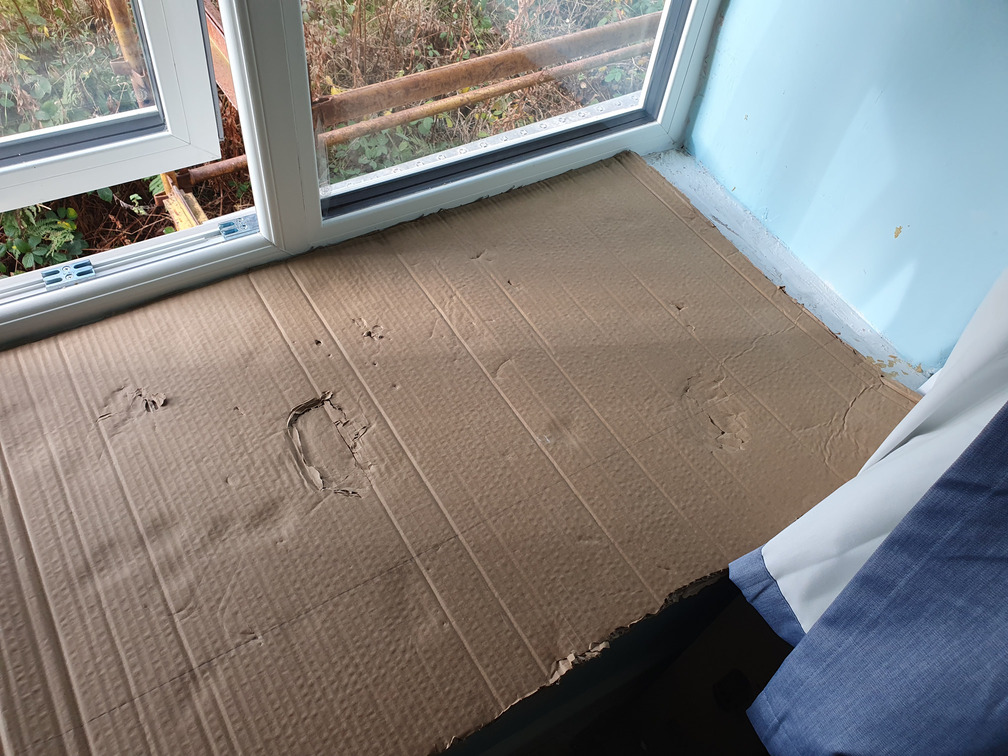
While everything dried out downstairs I cut a cardboard template for the final windowsill upstairs, ready to cut out the final pieces of wood another day.

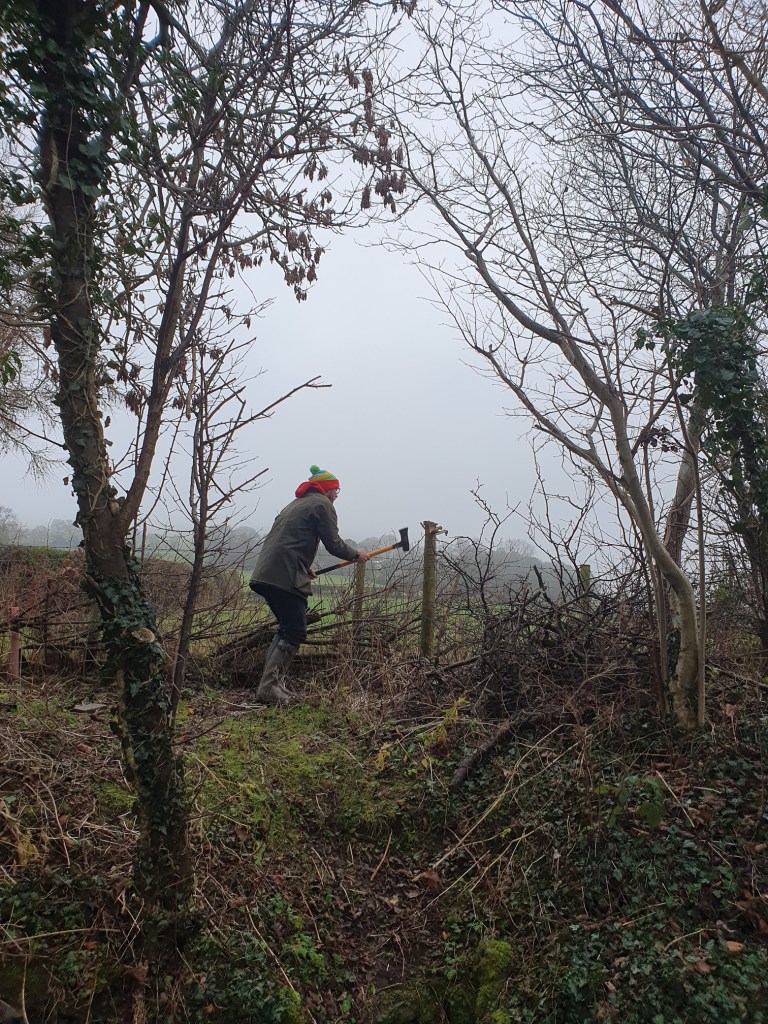
While I was labouring away inside, Chris had opted to brave the rain outside the house, working first on his car before moving on to give the hedge its winter cut. Cutting back the laid hedge will encourage it to thicken up, which will make it better for wildlife in the long-term. Cutting every other year once established can also be beneficial to leave berries in place through the winter.
He also spent some time tidying the shed. A leaking chainsaw had covered several shelves in oil, and cleaning it up was not a fun job, but a necessary one.
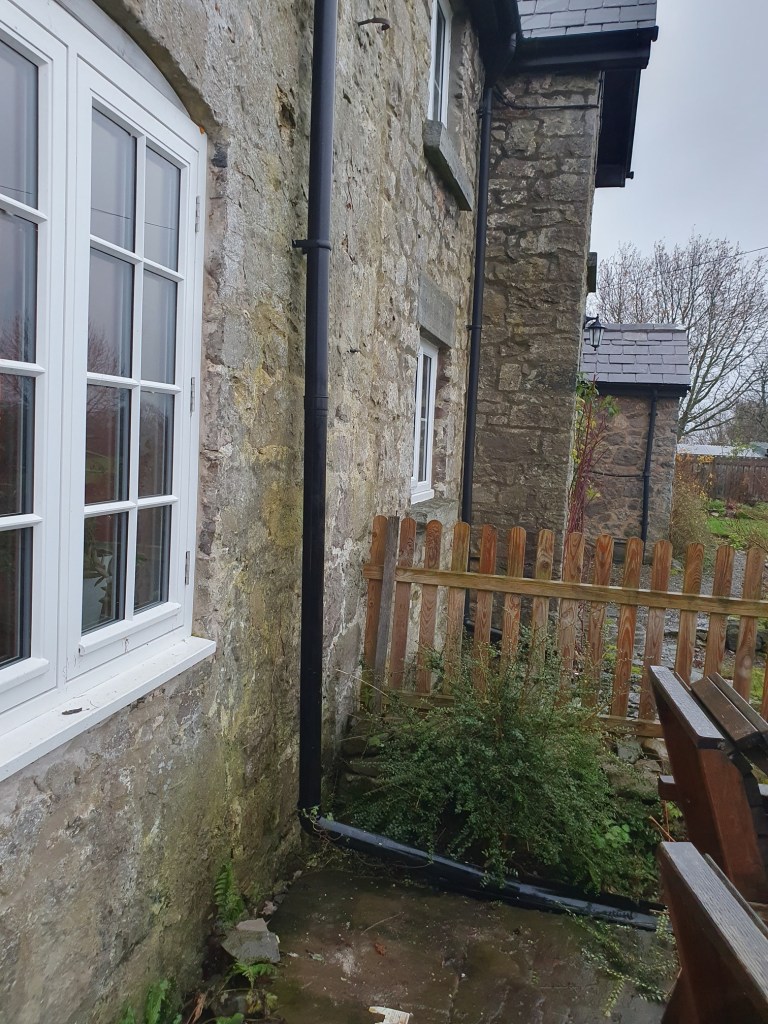
Finally, he spent some time reattaching a downspout at the front of the house, which had fallen off in a previous storm. By attaching an elbow to it we can direct the water away from the house and into the flowerbeds, better for the house and the garden.
Though not big jobs this weekend it’s always good to feel we are moving forward, particularly at such a busy time of year. After all, only three months till the baby is due, and time will be even less available for DIY.
-
Still Windowsills…
Time keeps ticking away, and the baby is getting bigger and bigger. At 25 weeks into the pregnancy we still have plenty we want to get done before the due date. So despite not having much time, with busy weekends and dark, uninviting evenings, we still tried to get a few jobs done, to move forwards bit by bit.

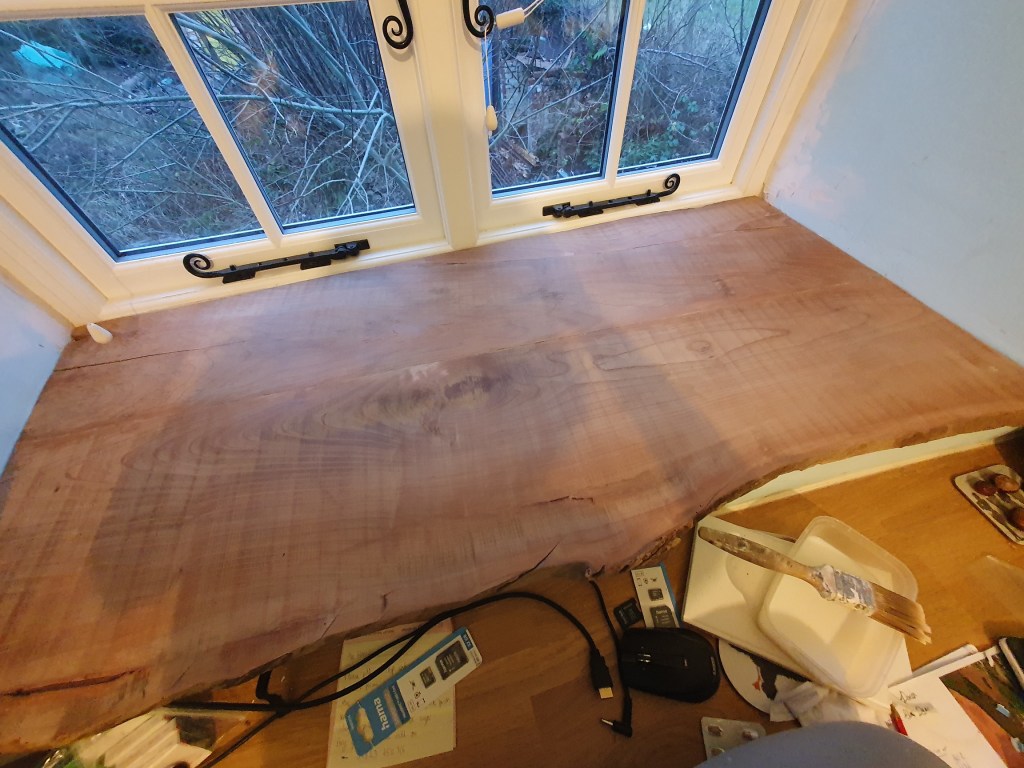
Having glued the planks for the study windowsills, I cut them to size. I needed Chris’s help to lift the bigger windowsill in and out of the alcove to try the fit.
The smaller windowsill wasn’t as tricky, and I managed to trim it down without too much back and forth. All trimmed, I sanded it down using 80 and then 120 grit sandpaper. It needs a little filling and a final sand, before being attached.

Having previously filled the large windowsill in the spare room, I sanded this one down as well.
The smaller windowsill had previously been sanded, but needed another go over to sand back the filler I’d used to fill gaps surrounding the biscuits.
The final windowsill to sand will be a bit of a test run, as this is our first windowsill in spruce as opposed to elm. It’s a much rougher wood so it might need a harsher sand.
After that there’s only one more wooden windowsill to make, and of course all the windowsills to fill, fix and treat.

On a less exciting piece of house admin – I finally emptied the three large, and mostly collapsed boxes, that had been living in the cupboard in our room. Having purchased some plastic boxes I was able to create two crafts and a games box, while rehousing quite a bit to other locations around the house. We still need to build shelving for the cupboard, but at least, after 2yrs of living in the house, we actually know what’s in our cupboard….
-
Time off?
We’d booked off two blocks of time, a Thursday/Friday on week 1, and Wedsday/Thursday/Friday in week 2. We’d hoped long weekend number 1 would get the kitchen floor finished off, but as week 2 rolled round there was still plenty to do.
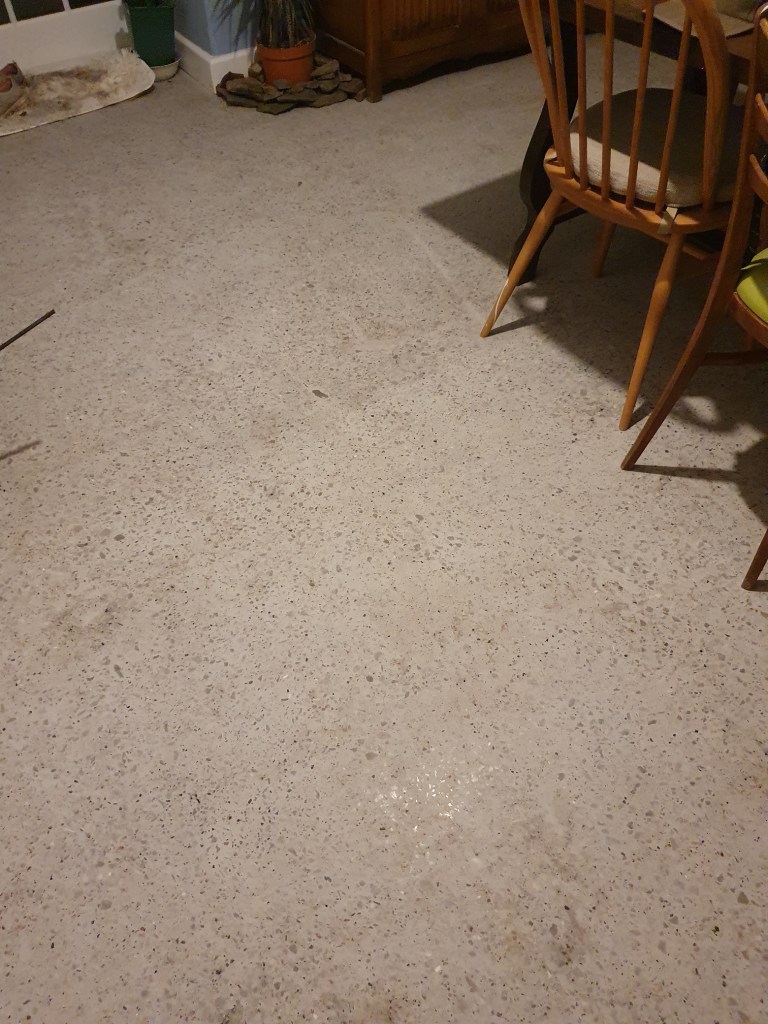
First we moved the furniture off the final area in need of treatment. Though we’d stopped polishing at a 1,500 pad on this section, Chris had since decided to continue on to 3,000 in other areas, so this patch needed one more polish with the higher pads, several mops to clean it up, and then painting with sealant.
On top of that everything in the kitchen was covered by a thick layer of dust. Cupboards needed cleaning out, crockery, glasses and pans needed washing, every surface and piece of furniture needed wiping down.
It was after Chris helped to move the furniture he announced he was moving on to another job, as one person could finish this job. Sigh.
It was a long and exhausting day, getting the kitchen back into order, but most things are finally cleaned and back in place. Overall, I think the floor does look better, though it doesn’t feel as satisfying as it could for 5 days of two people’s work. But it’s done at least.

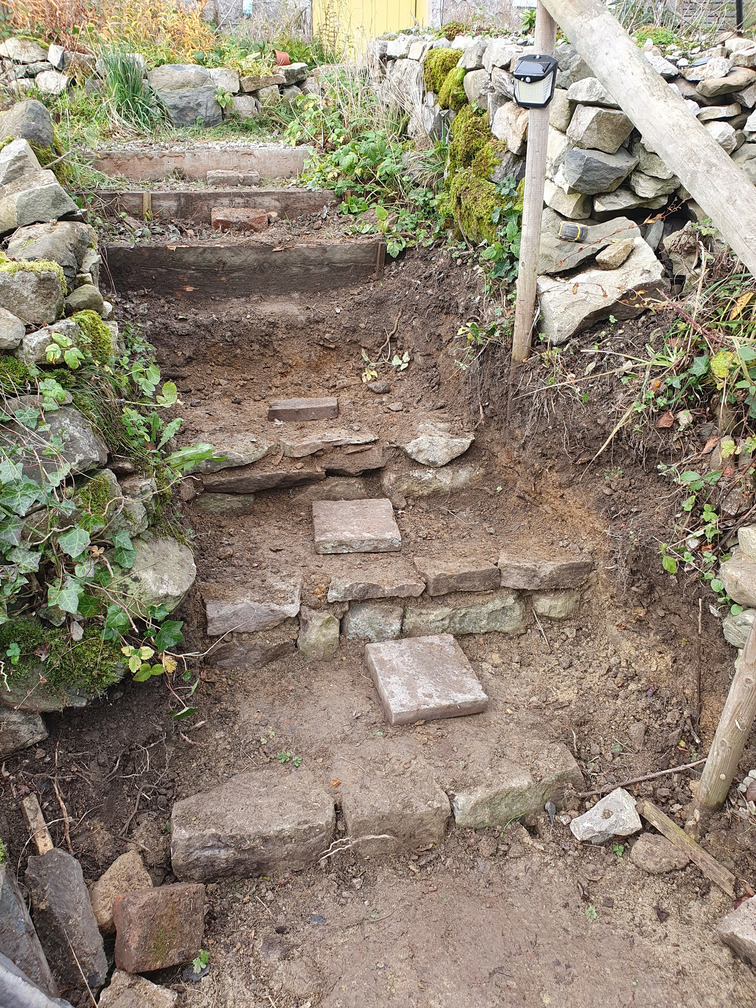
The job Chris moved on to was re-laying the steps up to the house. Our steps were a bit of a hazard, with wobbly, uneven slate, threatening to cause a lawsuit at any moment.
Chris has already replaced the top steps, but doing the bottom ones meant digging down a fair way, rather back breaking work.

Having dug out the steps, Chris used some of our piles of stones to create the step bases.
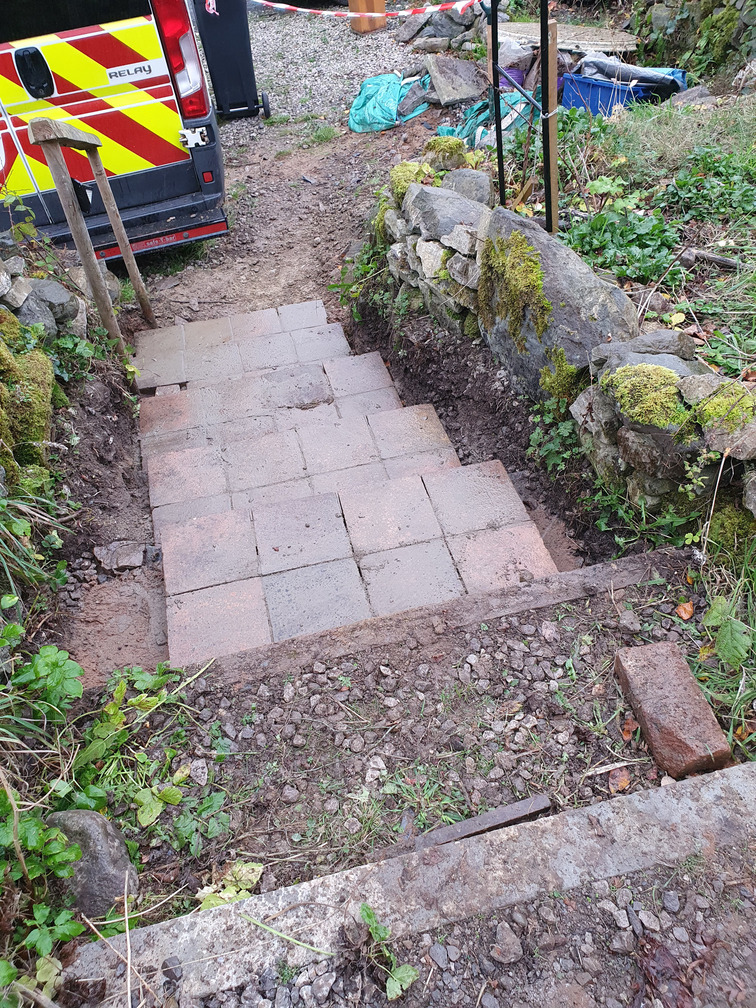
He then reused the tiles we salvaged from the side of the house prior to laying the patio. To give them a bit of stability he mortared in between.
Next we’ll need to rebuild the lower walls beside the path, which have been undermined, and put in a new handrail. Still, a lot safer and nicer looking already.
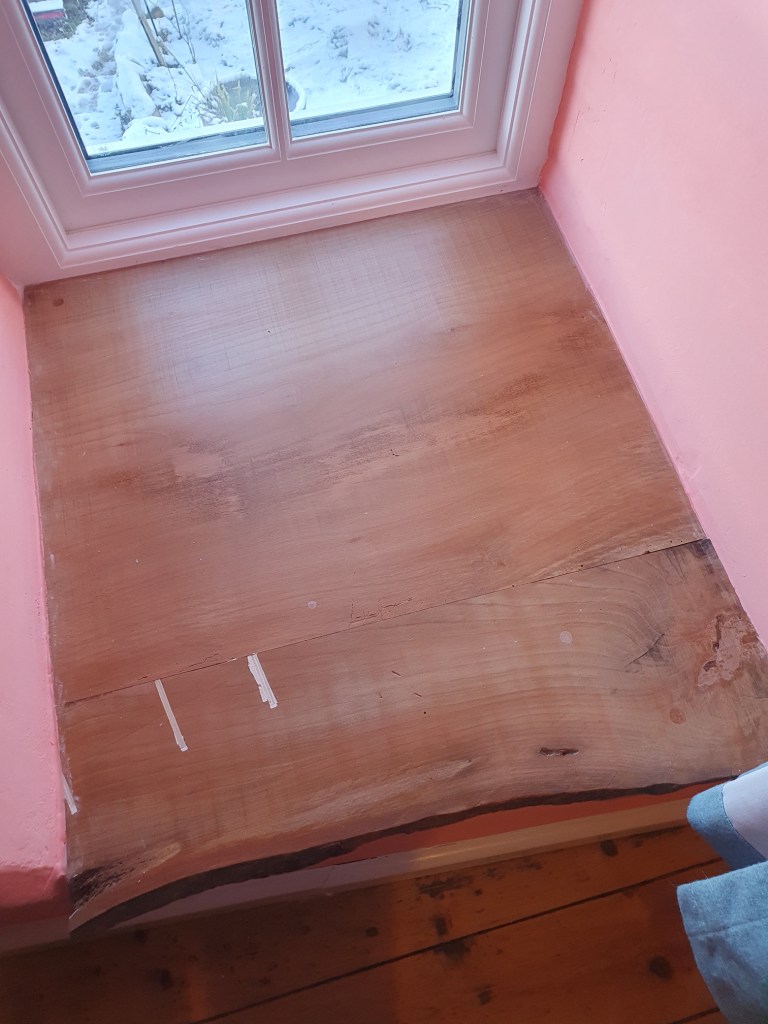
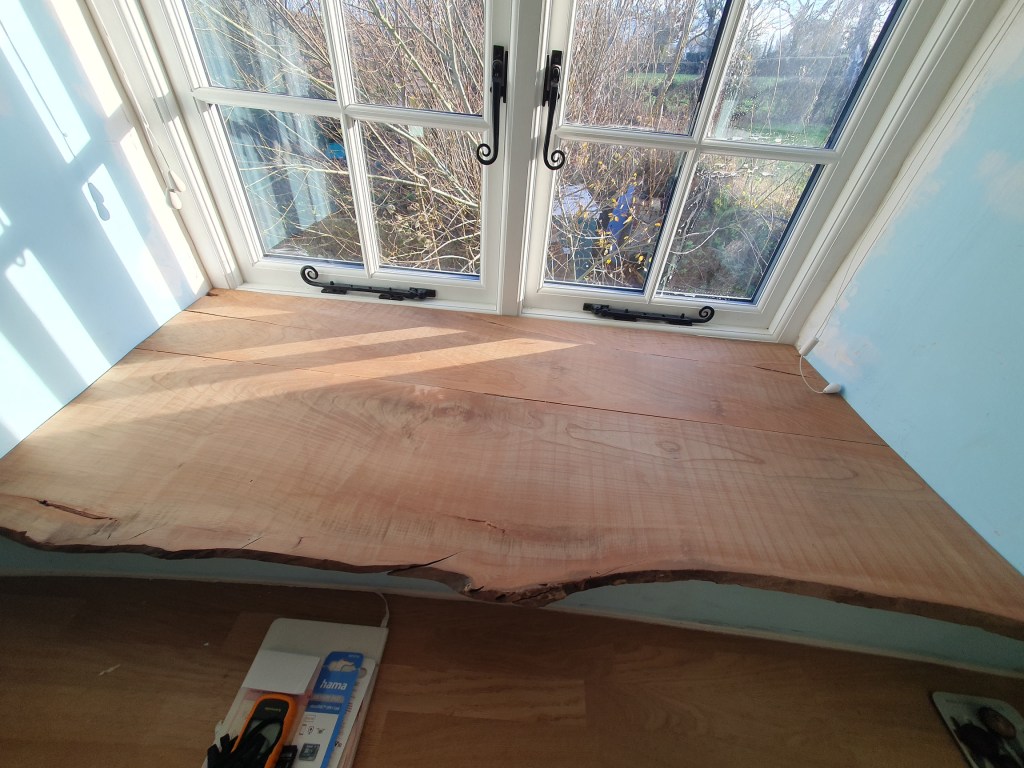
Having finished the kitchen floor I moved on to more windowsills. I decided to focus on the two windowsills in the study. I managed to reuse the template from the bedroom, with a small addition needed, for the large windowsill.
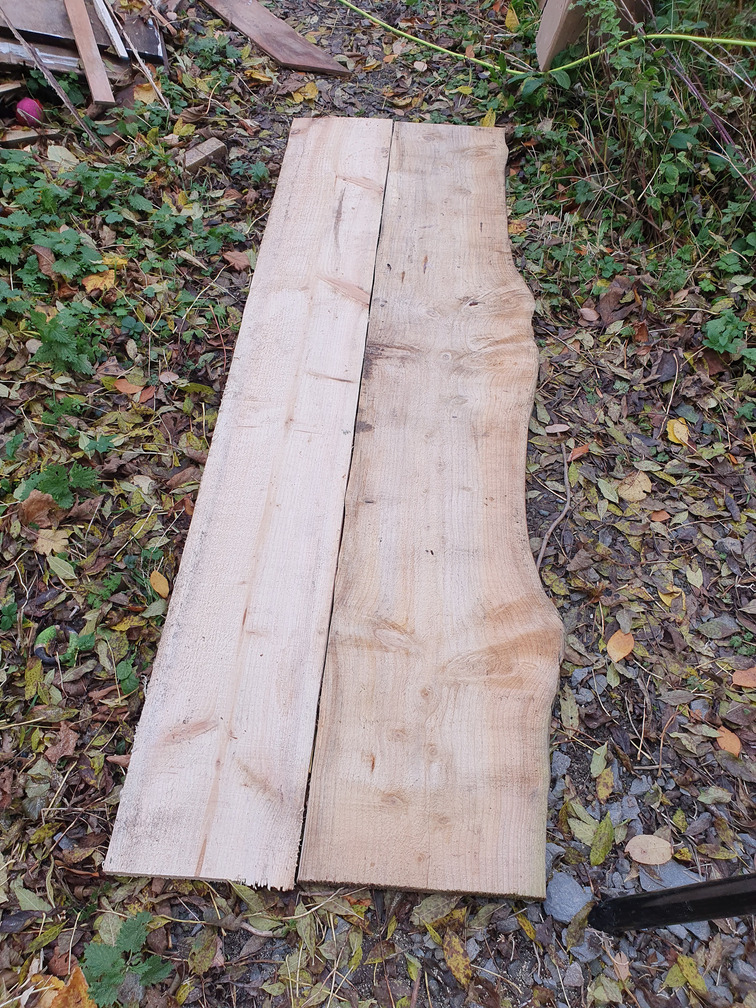
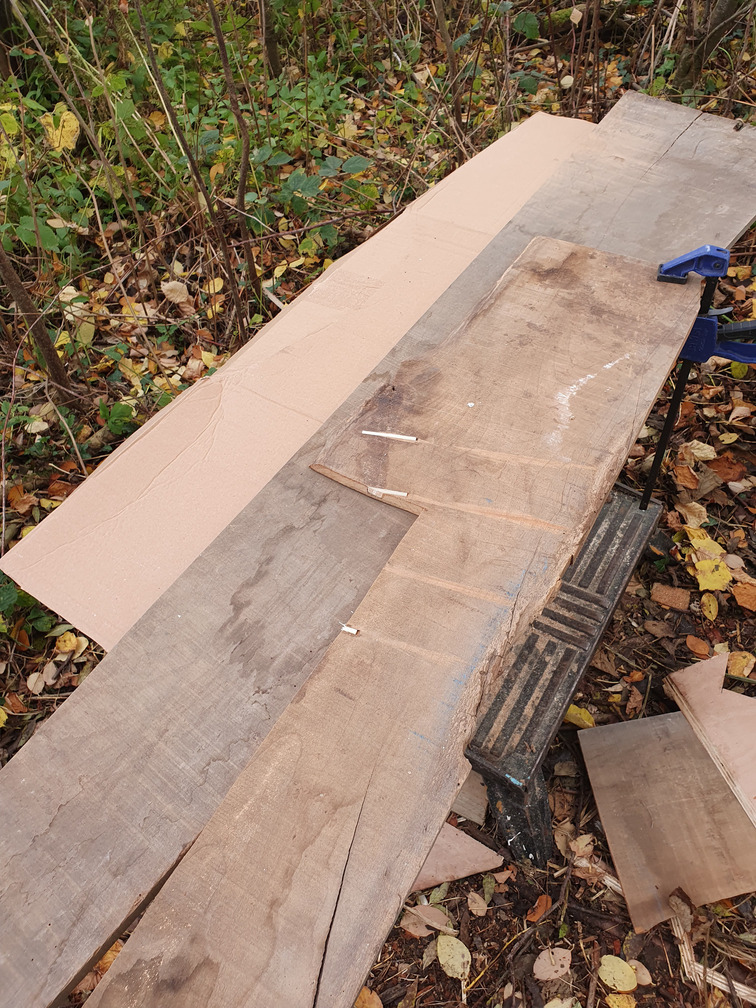
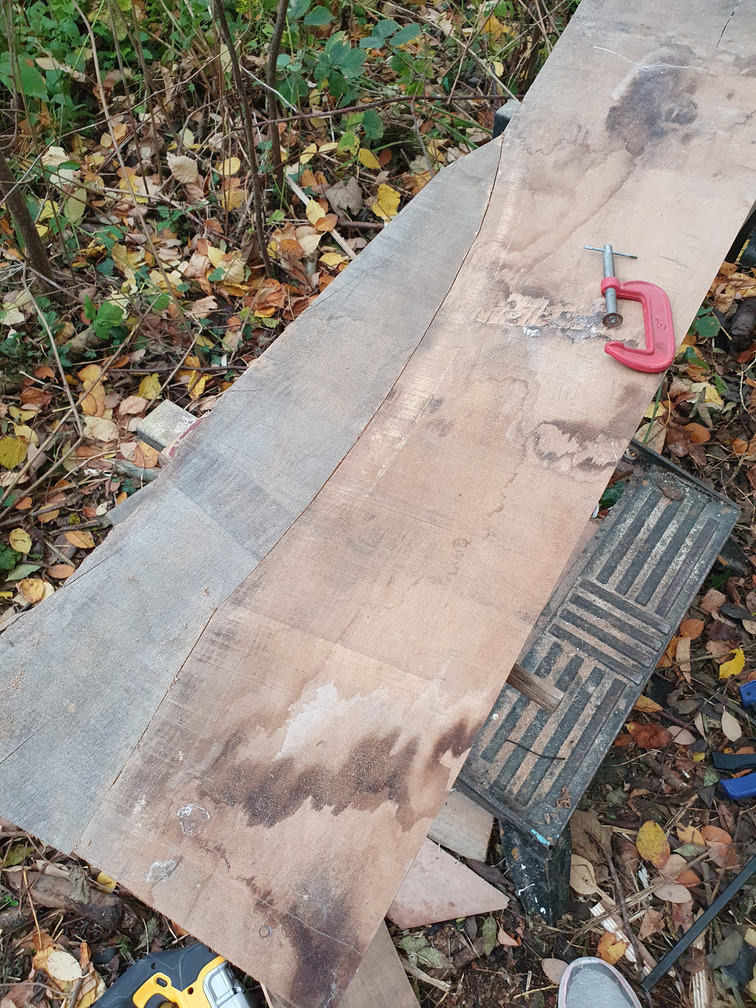
We are out of large pieces of elm so I cut down two pieces of the same spruce we used to clad the shed. I cut straight edges on both sides of one piece, and one straight edge on the second piece, leaving a wavy edge.
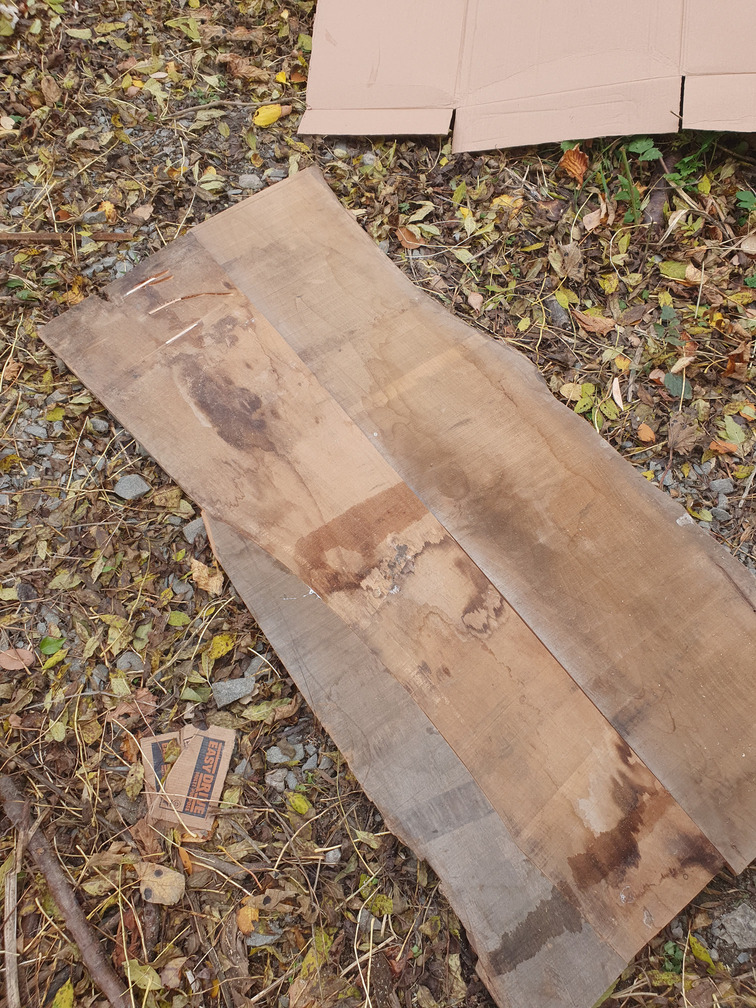
For the smaller windowsill, there was just enough elm to fit the space. Unfortunately, one corner wasn’t quite wide enough, so I had to splice in a third piece of elm. I cut the smaller piece first, clamping both pieces together and cutting the irregular shape in one go, to get a closer match. I then cut the biscuit slits and glued and clamped.

Both sets of boards then needed clamping and planing to get matching edges, before cutting more biscuit slits.
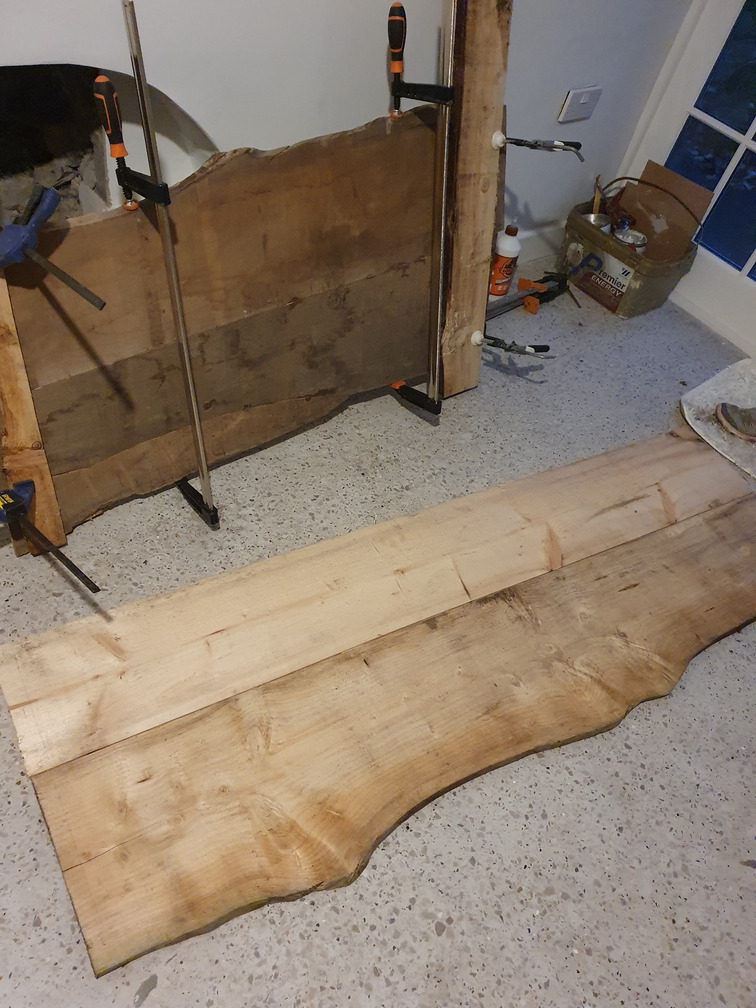
I didn’t have enough clamps to glue and clamp both windowsills so I did the smaller one, and can swap the clamps over once it’s dried. Then both will need to be cut to the template and sanded.
Phew! It’s been a tiring few weeks, but we got through our list of jobs, which is very satisfying. The next few weekends are busy, with few opportunities to progress, so it was nice to take some big steps forward in the last couple of weeks.
-
Subscribe
Subscribed
Already have a WordPress.com account? Log in now.
